
Related Manuals for Velocity Velocity Buffet 1200 Wide


Summary of Contents for Velocity Velocity Buffet 1200 Wide
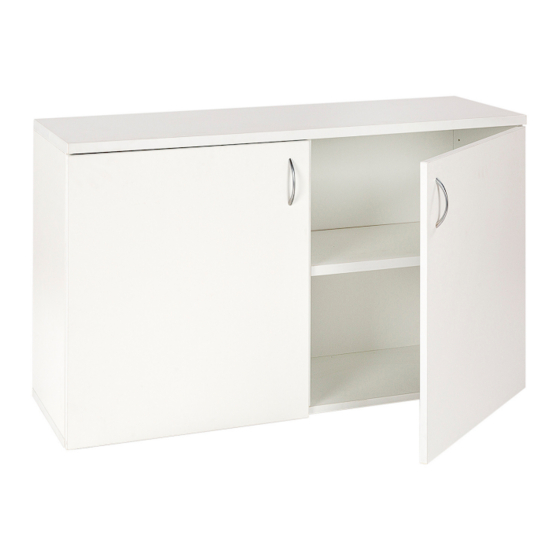
- Page 1 Assembly Instructions Velocity Buffet 1200 Wide 2 CARTONS MANUFACTURER CODE: VB124 OW CODES: CPVELBFWH, CPVELB12WI, CPVELBFGR, CPVELB12BW manufactured by designtec www.designtec.com.au 1 / 7...
- Page 2 NOTE Please check you have all hardware before assembling. If you are missing any hardware, please contact the store of purchase. Please ensure you have the name of the item, required hardware part and quantity. Please retain your receipt as proof of purchase to validate your warranty. CAUTION Do not tighten screws before all screws are in the right place.
- Page 3 HARDWARE INCLUDED Note - Individual hardware images are not to scale. A & B - TWO PART FOOT C - PIN D - 16mm SCREW x 16 x 24 E - CONFIRMAT SCREW F - SHELF SUPPORT x 10 H - HINGE I - HINGE PLATE J - HANDLE SCREW K - HANDLE...
- Page 4 STEP 1 Unscrew the two part foot to separate PART (A) from PART (B). Fix PART (A) of two part foot to the bookcase base using SCREW (D). PART (B) of the two part foot can now be attached to PART (A) by placing it on top and rotating clockwise.
- Page 5 STEP 3 Fix ten (10) PINS (C) into the outer pre-drilled holes on the back panels with your screwdriver. NOTE: these pre-drilled holes are slightly offset to the edge. BACK PANEL STEP 4 Align the CAM HOUSING on your end panels with your PINS (C) on your back panel. Tighten by rotating the screw to the right.
- Page 6 STEP 6 Fix your HINGE PLATES (I) in the top and bottom pre-drilled holes on each end panel, use your screw driver to secure. Then fix HINGES (H) onto the doors, use your screw drive and 16mm SCREWS (D) to secure (two screws per hinge).
- Page 7 STEP 8 Align door hinges with hinge plates. Hook front section of the hinge to the hinge plate then push the back of hinge until it clicks in place and is secure. STEP 9 To insert shelves, place your SHELF SUPPORTS (F) in the holes on the end panels at the desired shelf height and the shelf sits on top NOTE: You can adjust your doors using the 2 screws location on your hinge.
Need help?
Do you have a question about the Velocity Buffet 1200 Wide and is the answer not in the manual?
Questions and answers