Table of Contents
Advertisement
Quick Links
Advertisement
Table of Contents

Summary of Contents for Prestigio RoadRunner 527DL
- Page 1 Car Video Recorder RoadRunner 527DL User Manual Version 1.0 www.prestigio.com...
- Page 2 About this user manual This user manual is specially designed to detail the device’s func�ons and features. - Please read this manual before using the device to ensure safe and proper use. - Descrip�ons are based on the device’s default se�ngs. - Pres�gio con�nuously strives to improve its products.
-
Page 3: Device Overview
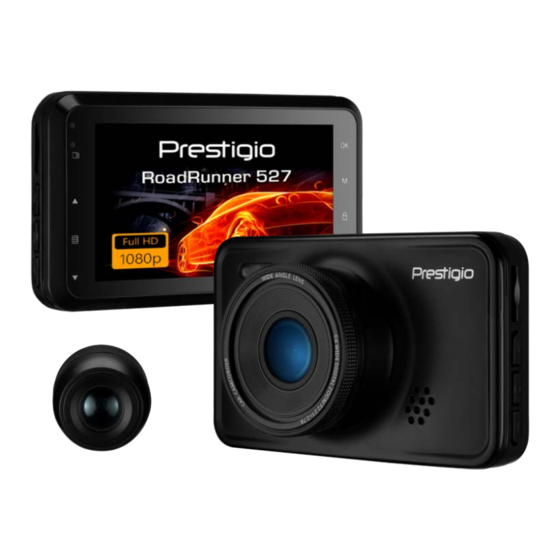
1. Unboxing Inside your package • Car video recorder • Car charger • Mount • Quick start guide • Crowbar for cable installation • USB cable • Rear camera Device overview HDMI Lock MENU Reset Prestiqio Lens Speaker User Manual RoadRunner 527DL... -
Page 4: Getting Started
2. Getting started Insert a microSD card Before star�ng video recording, please insert a microSD card (not included) into the slot un�l it locks in place. The device will automa�cally recognize it as default storage and all the data will be saved on this card. - Page 5 How to install the rear view camera - Fix the rear view camera on the rear bumper, for example, on the license plate frame with screws, or on the rear window (reveresed inside) on 3M sticker (included). - With the crowbar help install the rear view camera cable inside the car ceiling (crowbar included). - Connect the video cable to the DVR HDMI input.
-
Page 6: Video Settings
3. Settings Before recording, you can set up the device according to your requirements. - In video/picture preview mode, press [MENU] to enter video/picture settngs, press it again go the general settngs, press it third time to exit. - In settng list, use [ ]/[ ] to navigate the menu, press [OK] to get the options and confirm the selection, press [MENU] to exit. - Page 7 GENERAL SETTINGS Date/Time: Set date and time on device. Car No stamp: Off/On. Auto Power Off: Set automatic power off when the device is not in use. Off, 1 Minute, 3 Minutes, 5 Minutes, 10 Minutes. Beep Sound: Off/On. Turn off/on beep sound. Stamp Date: Off/On.
-
Page 8: File Management
4. Recording Record a video Auto video recording Connect the device to car charger, when the car engine launches, the device will automa�cally turn on and start loop video recording. When shut off the car engine, the device will save the last file and turn off. Manual video recording In video preview mode, press [OK] bu�on to start and stop video recording. -
Page 9: Specifications
6. Playback Play video on DVR 1. In playback mode, press [ ]/[ ] to scroll through the files. 2. Press [OK] to start/Pause playback. to stop playing. 4. Press [MENU] again to exit playback mode. Playback on PC Remove memory card from DVR and insert it into computer’s card reader. DVR’s USB port is for charging purpose only.


Need help?
Do you have a question about the RoadRunner 527DL and is the answer not in the manual?
Questions and answers