Advertisement
Quick Links
Read this instruction carefully. See hardware and furniture part list for guidance.
Be sure all parts are complete, before you assemble. Place all wooden furniture
parts on a clean and flat soft surface to prevent from being scratched.
Follow the figure to start assembling.
CAUTIONS :
1. Do not FULLY - TIGHTEN the nut or nut bolt until all nut or bolt is ready assembed.
2. Do not OVER - TIGHTEN the nut or bolt to avoid causing damages to the thread.
3. Keep all hardware parts out of reach of children.
NOTE : THE LIST AND QUANTITY SHOWN ARE FOR 1 UNIT ASSEMBLY.
Tool needed : Screwdriver & Rubber Mallet (not provided).
STEP 1
Loosen the pre-inserted
bolt on the
headboard and footboard
using Allen key ball shape
(10).
STEP 1.4
10
ASSEMBLY INSTRUCTIONS
STEP 1.1
12
G
STEP 1.3 x 2
13
STEP 1.2
9
2
5
4
14
3
11
G
Don't screw tied
x 2
PARTS LIST
ITEM
DESCRIPTION
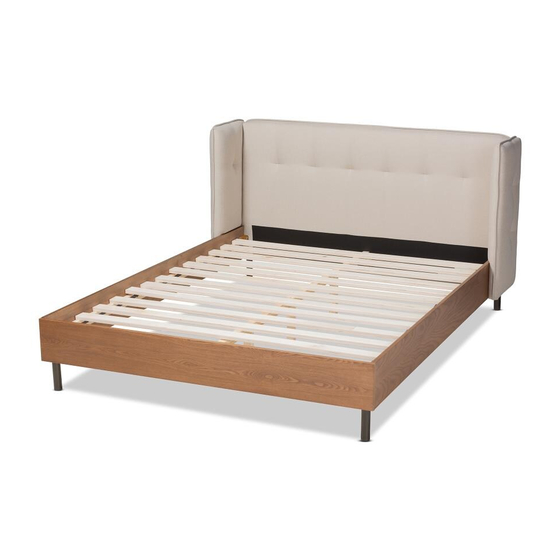
A
HEADBOARD
B
FOOTBOARD
C
SIDE RAIL
D
HEADBOAR WINGS(L&R)
E
CENTER RAIL
F
CENTER SUPPORT LEG
G
BED LEG
H
BED SLAT
STEP 2
F
x 2
HARDWARE LIST
ITEM
DESCRIPTION
QTY
1
JCBC BOLT M6 x 40mm
1 PC
2
JCBC BOLT M6 x 20mm
1 PC
3
M6 FLAT WASHER
4
M6 SPRING WASHER
2 PCS
5
M8 SPRING WASHER
2 PCS
6
WOOD SCREW M4 x 38mm
1 PC
7
WOOD SCREW M4 x 20mm
3 PCS
8
WOOD DOWEL M8 x 30mm
4 PCS
9
M4 ALLEN KEY (BALL SHAPE)
1 SET
10
M5 ALLEN KEY (BALL SHAPE)
11
METAL BRACKET FOR LEGS
12
PVC BLACK WASHER
13
M8 HEX NUT
14
SPANNER 13mm
E
x4
D
PAGE 1 OF 3
QTY
6 PCS
4 PCS
10 PCS
4 PCS
2 PCS
9 PCS
10 PCS
4 PCS
1 PC
1 PC
2 PCS
2 PCS
2 PCS
1 PC
8
Advertisement

Related Manuals for Baxton Studio BBT6809 Queen


Summary of Contents for Baxton Studio BBT6809 Queen
- Page 1 ASSEMBLY INSTRUCTIONS PAGE 1 OF 3 Read this instruction carefully. See hardware and furniture part list for guidance. PARTS LIST HARDWARE LIST ITEM DESCRIPTION Be sure all parts are complete, before you assemble. Place all wooden furniture ITEM DESCRIPTION JCBC BOLT M6 x 40mm 6 PCS parts on a clean and flat soft surface to prevent from being scratched.
- Page 2 ASSEMBLY INSTRUCTIONS PAGE 2 OF 3 STEP 4 STEP 3 Note : Finish Step 4, please make sure (C) & STEP 4.2 (B) corner edge are come together in line Don't screw tied before assembled the bolts then screw tied all the bolts.
- Page 3 ASSEMBLY INSTRUCTIONS PAGE 3 OF 3 STEP 7 STEP 8 STEP 9 STEP 10 * When moving the bed position, the center support legs must be adjust to be straight to avoid any broken problem.