Subscribe to Our Youtube Channel
Summary of Contents for Hisense H10B Series
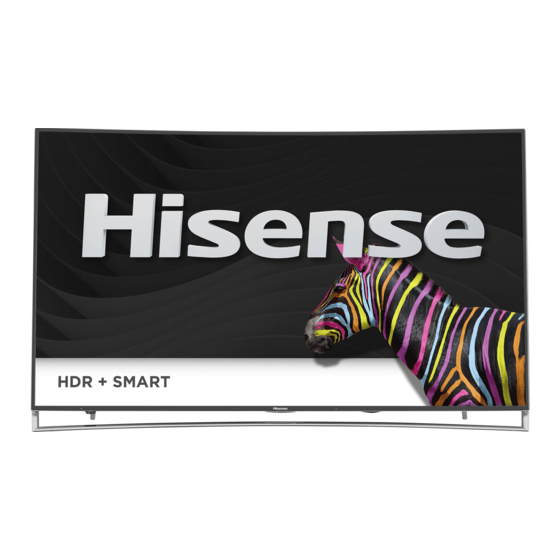
- Page 1 65H10B* Hisense H10B Series Smart TV Quick Start Guide "*" would be replaced by any number and letter.
- Page 2 © 2015 Hisense Company Ltd. All Rights Reserved. All material in this Quick Start Guide is the property of Hisense Company Ltd. and its subsidiaries, and is protected under US, CANADA, MEXICO and International copyright and/or other intellectual property laws. Reproduction or transmission of the materials, in whole or in part, in any manner, electronic, print, or otherwise, without the prior written consent of Hisense Company Ltd.
- Page 3 • AirBridge technology to share content between the TV and Connectors) your mobile device • 1 LAN (Ethernet) port • Hisense-developed HiMedia Player to play back digital content that's stored on your USB drive or in a Cloud account • Many other cool features...
-
Page 4: Register Your Tv
TV. Because we value your business, we want to keep you in the know of 'all things Hisense'. Using your mobile phone, scan the Registration page QR code to register your TV. -
Page 5: Packaged Contents
Your package in which you purchased your new TV contains the following items: 2 AAA batteries A curved base stand and two rear base stands H10B Series 4K UHD Smart TV Quick Start Guide (this document) 8 screws (M4×12) Important Safety Information and Warranty Card leaflet... - Page 6 Buttons and Ports on the H10B Series 4K UHD Smart TV Back View of the TV (65H10B*) TV Side View TV Bottom View Power Input HDMI 3(2.0) HDMI 4(2.0)
- Page 7 STEP 1. Attach the TV stand or wall mount bracket (not included) Attach the TV Stand (For steps to attach the wall mount see page 7) CAUTION: Be sure to disconnect the A/C power cord before installing a stand or Wall-Mount brackets. The LED display is very fragile and must be protected at all times when installing the legs that form the stand.
- Page 8 3. Take the curved base stand out of the top foam and 4. Take the two rear base stands out of the top foam and secure it to the TV with the 4 screws that are provided in the secure them to the TV with the screws that are provided in the accessory bag.
- Page 9 Attach the Wall Mount Bracket (not included) Before you begin the third-party manufacturer instructions, be • To prevent internal damage to the TV and ensure it is mounted securely, be sure to use fixing screws (not sure to do the following things: provided) that are 9.5 - 11.5 mm in length when measured 1.
-
Page 10: Step 2. Connect Devices To Your Tv
STEP 2. Connect devices to your TV Check to ensure that you have selected the right cables for the ports and that they are connected securely. Loose connections can affect the quality of the picture image and color. TV label Port Cable External Equipment... - Page 11 TV label Port Cable External Equipment Brief Description Connect an optical cable from an external digital audio system. DIGITAL AUDIO OUT Audio Amplifier Speaker Connect headphones to hear audio from the AUDIO OUT Connect an audio adapter (not provided) from White an external analog audio system.
-
Page 12: Buttons On Your Tv Remote
Buttons on your TV remote Infrared transmitter Change TV input source Power on / off INPUT Enter Channels / input numbers Dash button Turn Closed Caption On/Off Select a digital sub-channel Special function buttons Quick Setup menu All Apps Confirmation button D-pad (up/down/left/right navigation buttons) Exit the application... -
Page 13: Step 3. Begin Using Your Remote
Important Information about the remote and batteries: A list of Hisense codes for the most common Cable and Satellite • Discard batteries in a designated disposal area. Do not providers are listed below. Use the Hisense code that is associated with your Cable or Satellite provider (if applicable). -
Page 14: Step 4. Power On The Tv
STEP 4. Power on the TV Satellite provider's customer service center. If your Cable or Satellite provider does not have a Hisense code Plug the power cord into a power outlet. available, please contact us at one of the phone numbers on Page 2. -
Page 15: Network Connection
TV. A splash screen that shows the Hisense logo appears. Next, the After the splash screen that shows the Hisense logo appears, begin First-Time Setup Menu begins by prompting you to choose your the first-time setup menu. -
Page 16: Step 6. Begin To Enjoy Your Tv
Disclaimer: Subscriptions or other payments may be required to access content through some applications. Some or all of the included or downloaded application services in this Hisense device may not function depending on the Internet connection, local limitations of included applications or other reasons outside of Hisense’s control. HISENSE EXPRESSLY DISCLAIMS RESPONSIBILITY FOR ANY... -
Page 17: Product Specifications
PRODUCT SPECIFICATIONS Model Name 65H10B* Dimension Without Stand 56.9 × 33 × 6 inches (W × H × D) (1446 × 839 ×152 mm) With Stand 56.9 × 34.5 × 11.3 inches (1446× 877×288 mm) Weight Without Stand 61.7 lbs (28 kg) With Stand 70.5 lbs (32 kg) Active Screen Size (Diagonal) -
Page 18: Quick Problem-Solving Tips
QUICK PROBLEM-SOLVING TIPS When you experience an issue with your TV, turn it off and on again. If this does not resolve the problem, then refer to the tips below. If the problem is still not resolved, then contact us at one of the phone numbers on Page 2. ISSUES POSSIBLE SOLUTIONS •... -
Page 19: Certification And Compliance
©2015. All rights reserved. Hisense and the Hisense logo are registered following measures: trademarks of Hisense. Other brand and product names are registered trademarks of their respective owners.


Need help?
Do you have a question about the H10B Series and is the answer not in the manual?
Questions and answers