Table of Contents
Advertisement
Quick Links
Advertisement
Table of Contents

Related Manuals for Rampage ACD-13CS


Summary of Contents for Rampage ACD-13CS
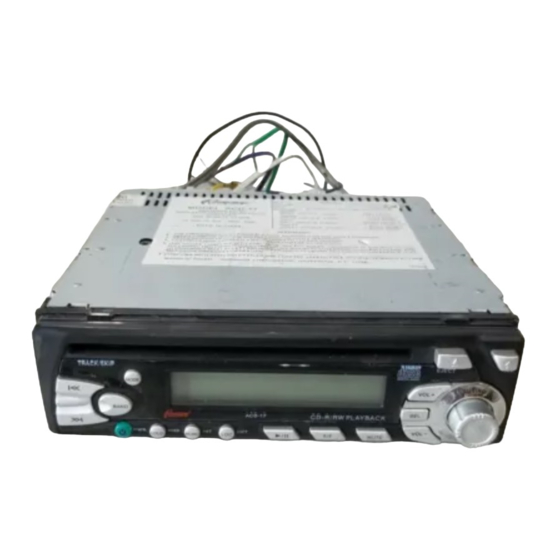
- Page 1 O O O O O WNER'S MANU WNER'S MANU WNER'S MANUAL WNER'S MANU WNER'S MANU TRACK/SKIP EJECT T U NI N G BAND ACD-13 MUTE ACD-13CS ACD-13CS ACD-13CS ACD-13CS ACD-13CS AM/FM/MPX RADIO WITH DETACHABLE FRONT PANEL, COMPACT DISC PLAYER AND QUARTZ CLOCK...
- Page 2 THIS PAGE INTENTIONALLY LEFT BLANK 2 2 2 2 2...
-
Page 3: Installation Instructions
INSTALLATION INSTRUCTIONS INSTALLATION INSTRUCTIONS INSTALLATION INSTRUCTIONS INSTALLATION INSTRUCTIONS INSTALLATION INSTRUCTIONS This unit is designed for installation in cars, trucks, and vans with an existing radio opening. In many cases, a special installation kit will be required to mount the radio to the dashboard. These kits are available at electronics supply stores and car stereo specialist shops. - Page 4 T T T T T OLL-FREE INST OLL-FREE INST OLL-FREE INST OLL-FREE INST OLL-FREE INSTALL ALLA A A A A T T T T T ION ASSIST ION ASSIST ION ASSIST ION ASSIST ION ASSISTA A A A A NCE The installation and wiring connections for this unit are so simple, we doubt you'll need our help, but, if you do, we're here to help you.
- Page 5 R R R R R A A A A A DIO WIRING DIO WIRING DIO WIRING DIO WIRING DIO WIRING REFER TO PAGE 6 FOR SPEAKER WIRING CONTAINS: 1- 15A FUSE 1- 0.5A FUSE 5 5 5 5 5...
- Page 6 SPEA A A A A K K K K K ER WIRING ER WIRING ER WIRING ER WIRING ER WIRING WARNING! ! NEVER COMBINE (BRIDGE) OUTPUTS FOR USE WITH 1 SPEAKER. REFER TO PAGE 5 ! NEVER GROUND NEGATIVE SPEAKER LEADS TO CHASSIS GROUND. FOR RADIO WIRING ! FAILURE TO WIRE EXACTLY AS SHOWN BELOW MAY CAUSE ELECTRICAL DAMAGE TO THE RADIO.
-
Page 7: Volume Control Buttons
OPER OPERA A A A A T T T T T ING INSTRUC OPER ING INSTRUC ING INSTRUCT T T T T IONS ING INSTRUC IONS IONS OPER OPER ING INSTRUC IONS IONS TRACK/SKIP EJECT T U NING BAND ACD-13 MUTE 8, 22 12,20... - Page 8 response as desired. The bass level will be on the display panel. Within 5 seconds of choosing the Fader mode, press the VOL + or shown on the display panel from a mini- mum of B -7 to a maximum of B 7 (BAS 0 - buttons to adjust the front-rear speaker levels as desired.
- Page 9 bm bm bm bm bm bq bq bq bq bq FM MONO/INTRO (INT) SELECT BUTTON LIQUID CRYSTAL DISPLAY PANEL During FM radio operation, press this button to FUNCTIONS select mono or stereo reception of the broadcast The Liquid Crystal Display (LCD) panel dis- signal.
- Page 10 cn cn cn cn cn continue until all tracks on the disc have been RANDOM (RND) SELECT played, after which playback will automatically During disc play, press and hold the LOUD/ stop (unless the repeat mode had been RND button for 2 seconds to play the tracks on selected).
- Page 11 following circumstances as it will erase the The correct time-of-day can also be set into the time memory: unit by pressing the Time/Frequency Selector button. This procedure is outlined later in these 1. Upon initial installation after all wiring is operating instructions.
-
Page 12: Specifications
SPECIFICATIONS SPECIFICATIONS SPECIFICATIONS SPECIFICATIONS SPECIFICATIONS Size: 7" W 2" H x 6-1/8" D 178 mm x 50 mm x 155 mm Operating Voltage: 12 volts DC, negative ground Fuse Ratings: Constant (yellow) lead: 15 AMP. Switched (red) lead: 0.5 AMP. Output Power: 80 watts maximum (20 watts x 4 channels) Output Wiring:... -
Page 13: Care And Maintenance
CARE AND MAINTENANCE CARE AND MAINTENANCE CARE AND MAINTENANCE CARE AND MAINTENANCE CARE AND MAINTENANCE The radio section of your new sound system does not require any maintenance. recommend that you keep this manual for reference on the many features found in this unit as well as how to set the clock. - Page 14 12 MONTH LIMI 12 MONTH LIMI 12 MONTH LIMI 12 MONTH LIMI 12 MONTH LIMITED W TED W TED W TED WA A A A A RR TED W RRA A A A A NT NT NT NT NT Y Y Y Y Y AUDIOVOX CORPORATION (the Company) warrants to the original retail purchaser of this product that should this product or any part thereof, under normal use and conditions, be proven defective in material or workmanship within 12 months from the...
- Page 15 THIS PAGE INTENTIONALLY LEFT BLANK 15 15 15 15 15...
- Page 16 © 2002 Audiovox Electronics Corp., Hauppauge, NY 11788 Printed in China 128-6439...
Need help?
Do you have a question about the ACD-13CS and is the answer not in the manual?
Questions and answers