Advertisement
Quick Links
Advertisement

Related Manuals for Lechler XactClean HP

Summary of Contents for Lechler XactClean HP
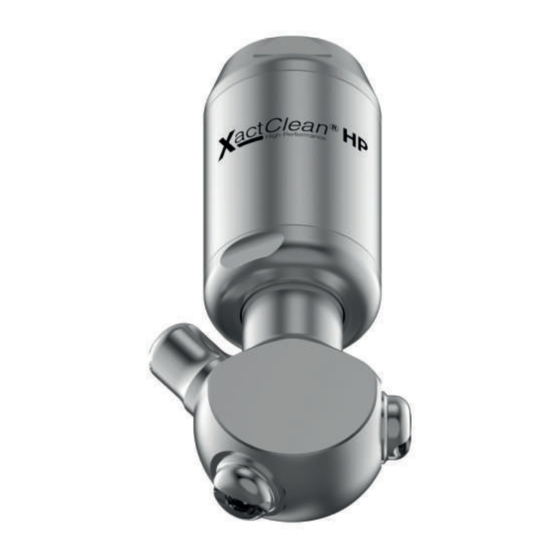
- Page 1 Maintenance Instructions XactClean ®...
-
Page 2: Table Of Contents
CONTENT 1 Introduction 2 Disassembly 3 Correct inspection 4 Reassembly 4.1 Reassembly – Method A 4.2 Reassembly – Method B... -
Page 3: Introduction
® HP tank cleaning nozzle. Please note: The Lechler assembly tool (Ordering No. 05S.290.30.00.00.0) and the spare parts package (order No. 5S2.000.1Y. 00.50.0) are required for maintenance. The assembly tool can be reused. The spare parts package is needed for one time main- tenance only. -
Page 4: Disassembly
DISASSEMBLY To dismantle the XactClean ® HP open the housing first. „ To unscrew the housing please use a Either the connection piece or the bea- „ „ suitable flat wrench or a pliers wrench ring unit will become loose. and a vise with soft jaws. - Page 5 Remove the pin. Remove the O-ring from the other side of „ „ the housing. The gear unit can be easily removed by The O-ring from the other side of the „ „ pulling it out. housing must be removed. The turbine can now be easily pulled out.
- Page 6 „ „ piece. Use both grooves in the spray head „ shaft to remove the spray head from the bearing unit. It is recommended to use the Lechler as- „ sembly tool for disassembling the spray head. Ordering No. 05S.290.30.00.00.0...
- Page 7 Place the ends of the Lechler assembly „ Use a suitable spanner or pliers wrench „ tool pin in the grooves of the bearing unit. to unscrew the spray head together with the Lechler assembly tool. The coating on the thread of the bearing unit may come off when unscrewing. This is consi- „...
-
Page 8: Correct Inspection
CORRECT INSPECTION Rotate the beige colored part while hol- „ ding the blue one to check the function of the turbine. The rotation should be smoo- th with minimal friction. There should be very little play in the turbine head. If the turbine cannot be turned by hand „... - Page 9 Description Part number Turbine unit for type 5S2.95X 5S2.959.T7.00.10.0 Turbine unit for type 5S3.05X 5S3.059.T7.00.10.0 Turbine unit for type 5S3.11X 5S3.119.T7.00.10.0 Turbine unit for type 5S3.18X 5S3.189.T7.00.10.0 Turbine unit for type 5S3.23X 5S3.239.T7.00.10.0 Turbine unit for type 5S3.26X 5S3.269.T7.00.10.0 Gear box 5S2.000.1Y.00.21.0 If the turbine unit or gearbox does not function properly, it is recommended...
- Page 10 CORRECT INSPECTION Spray head O-ring 4x Turbine Bearing unit Gear box Housing Connection piece The spare parts package includes a bearing unit, a pin and four O-rings. „ The bearing unit is the most common worn part of the XactClean ®...
-
Page 11: Reassembly
REASSEMBLY The Lechler assembly tool is required „ to screw the spray head onto the new bearing unit. The bearing unit should be tightened with a torque of 20 Nm. The housing has grooves on each side which differ in size. - Page 12 REASSEMBLY Insert new O-ring into the O-ring groove „ of the housing part. A suitable grease for EPDM can be used for mounting the O-rings. Insert a new O-ring into the O-ring groove The connection piece is now screwed „ „...
- Page 13 Once the three pins are located in the Push the new pin into the transverse bore „ „ grooves, it is possible to assemble a new of the output shaft of the gear unit. O-ring into the O-ring groove. To mount the bearing unit with the „...
-
Page 14: Reassembly - Method A
REASSEMBLY There are two ways in which the bearing unit can be assembled with the housing. Method A Mark the position of the pin with a „ permanent marker on the outside of the housing. Mark the position of the grooves with a „... -
Page 15: Reassembly - Method B
Method B Screw the bearing unit into the housing „ by hand until a slight resistance is felt. Do not use excessive force to tighten, the pin may not be fully inserted into the two grooves. Rotate the spray head by hand while blocking the turbine shaft with one finger until the pin „... - Page 16 REASSEMBLY With the use of a vice and a torque „ wrench, the connecting piece is tighte- ned to a torque of 30 Nm. Turn the spray head to check that all parts are correctly mounted. „ There should be minimal force. It is possible for the rotation of the head to be stationary „...
- Page 17 LECHLER WORLDWIDE World Headquarters Lechler Companies Sales Offices Lechler, Inc. · Precision Nozzles · Nozzle Systems 445 Kautz Rd. St. Charles, IL 60174 · Phone: 800-777-2926 · Fax: 630-377-6657 info@lechlerusa.com · www.lechlerusa.com...
Need help?
Do you have a question about the XactClean HP and is the answer not in the manual?
Questions and answers