Canon PIXMA MX700 Cleaning Manual
Cleaning the timing strip
Hide thumbs
Also See for PIXMA MX700:
- Quick start manual (204 pages) ,
- Network setup manual (132 pages) ,
- Service manual (44 pages)
Advertisement
Cleaning the Timing Strip on Your Canon Printer
The timing strip is a clear, plastic strip approximately ¼" in height positioned horizontally across the
center of the unit, just in front of the carriage drive belt. The timing strip contains many thin black
vertical lines that help determine the carriage position during operation.
During certain uncommon tasks such as the removal of a paper jam, it is possible to inadvertently touch
a lubricated area on the printer's chassis causing a small amount of grease to be deposited onto the
timing strip.
Grease on the timing strip may result in poor print quality including; mis-aligned or distorted characters,
vertical lines or, in some cases, an inoperable error condition or knocking / grinding noise.
In most cases, it is easy to remove the grease from the timing strip using common household items. If
you wish, you may follow the steps below to remove the grease from the timing strip.
Items needed:
• Clean, unused cotton swab
• Small amount of Isopropyl Alcohol or window cleaner
• Flashlight or other light source
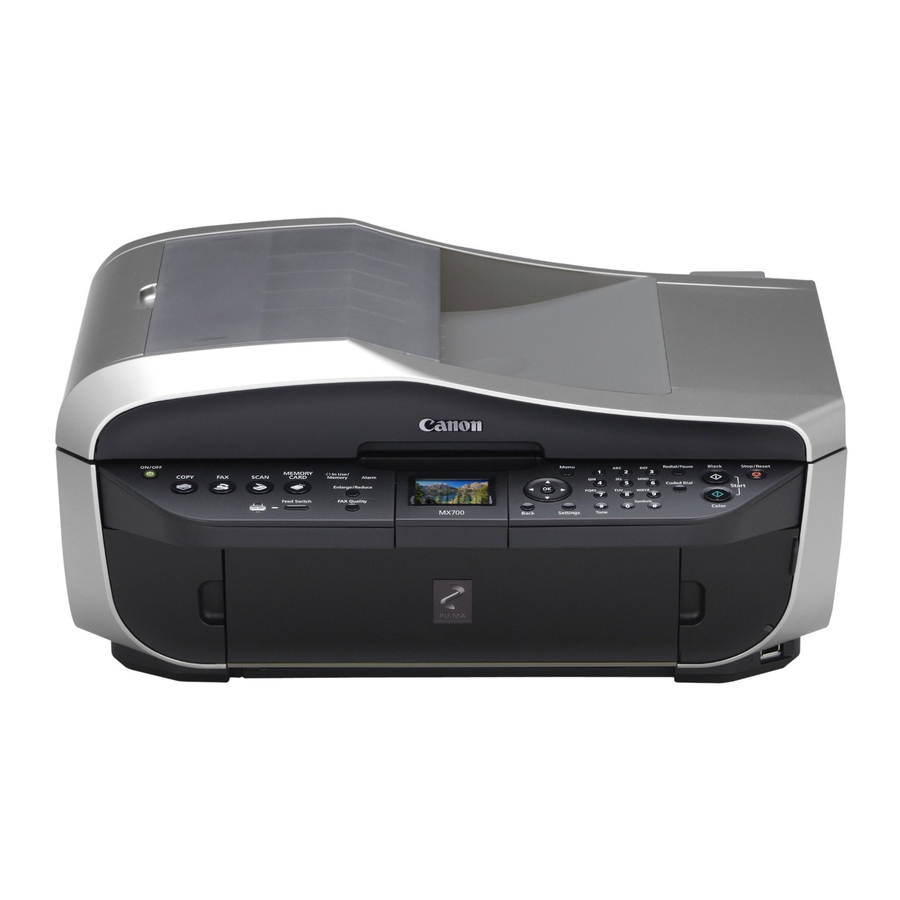
Note: The illustrations will display a PIXMA MX700; however, the parts and cleaning procedure will be
the same for your model.
1) Power on the printer and open the main access cover (scanning unit cover).
The Print Head Holder (carriage) will move to ink changing (center) position.
Advertisement
Table of Contents

Related Manuals for Canon PIXMA MX700


Summary of Contents for Canon PIXMA MX700
-
Page 1: Cleaning Timing Strip
• Small amount of Isopropyl Alcohol or window cleaner • Flashlight or other light source Note: The illustrations will display a PIXMA MX700; however, the parts and cleaning procedure will be the same for your model. 1) Power on the printer and open the main access cover (scanning unit cover). - Page 2 2) With the access cover open, unplug the power cord from the printer. Be sure the printer’s power LED is no longer illuminated. This will allow you to easily slide the carriage left to right. 3) Gently slide the carriage to the right side of the printer until it stops. 4) Using a flashlight, carefully inspect the timing strip for grease that may have attached to the timing strip.
- Page 3 grease can impact print quality. Note: The timing strip is in front of the carriage drive belt. 5) Moisten the cotton swab with Isopropyl alcohol and carefully remove the grease from the timing strip. To prevent further spreading of grease, be careful not to touch the chassis or other areas inside the unit which may contain grease from the factory.
- Page 4 8) Lift the scanning unit support and then close the printer’s main access cover. 9) Reconnect the power cord and power on the printer. (The indicator light blinks steadily while the printer initializes.) 10) Confirm operation of the unit by printing a photo or other print sample such as a Pattern.
- Page 5 Nozzle Check Pattern: 1) Make sure that the machine is powered on, open the Paper Output Tray, and extend the Output Tray Extension. 2) Load a sheet of A4 or Letter-sized plain paper in the Rear Tray or the Front Tray. 3) Press the Feed Switch to select the paper source where you have loaded paper.
- Page 6 Examining the Nozzle Check Pattern: Examine the nozzle check pattern, and perform cleaning if necessary. Note: If the ink level is low, the nozzle check pattern will not print correctly. To resolve this, replace the relevant ink tank. 1) Check the nozzle check pattern you printed. a.
- Page 7 b. If lines are missing or white streaks are present, select [Also B] and press the <OK> button. The cleaning confirmation screen is displayed. c. Select [Yes] and press the <OK> button to start Print Head Cleaning.
Need help?
Do you have a question about the PIXMA MX700 and is the answer not in the manual?
Questions and answers