Table of Contents
Advertisement
Quick Links
Advertisement
Table of Contents

Related Manuals for Price PARC NODE

Summary of Contents for Price PARC NODE
- Page 1 Flush Channel Installation Guide...
- Page 2 Flush Channel Installation Guide NODE FLUSH CHANNEL INSTALLATION GUIDE v001 © 2020 Price Industries Limited o/a PARC. All rights reserved. TABLE OF CONTENTS Product Overview ................................2 Read and Save These Instructions ............................ 3 Before You Start ................................3 Tools Required .................................. 3 Site Conditions, Storage and Handling Instructions ......................
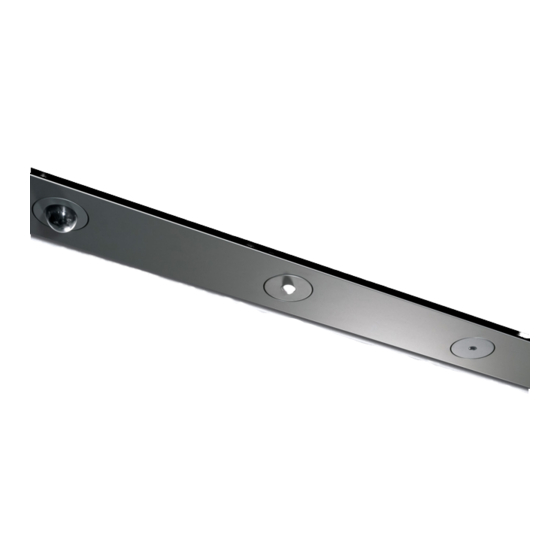
- Page 3 Flush Channel Installation Guide Product Overview The Node Flush Channel assembly consists of two mounting angles held together by intermittent mounting brackets, which interface with the channel face. 9.84 OVERALL WIDTH 11.81 OVERALL WIDTH 3.57 CHANNEL HEIGHT 4.16 CHANNEL HEIGHT RECOMMENDED CLEARANCE W/ SURROUNDED CEILING 4.72...
- Page 4 Flush Channel with Diffuser Flush Channel Installation Guide Installation Guide Read and save these instructions before beginning to install the Node Flush Channel. Read and Save these Instructions before beginning to install Node Flush Channel with Diffuser: Warning! To reduce the risk of fire, electric shock, or injury to persons, observe the following: Warning! To reduce the risk of fire, electric shock, or injury to persons, observe the following: •...
- Page 5 Flush Channel Installation Guide 118.11 3000 MAX LENGTH 56.06 1424 Flush Channel Installation Sequence Before installing the Node Channel, ensure whenever possible, there is access to both sides. MOUNTING ANGLE Flush Channel with Soft Cell Panel The Node Flush Channel assembly consists of two mounting angles held together by intermittent mounting brackets which interfaces with the Channel Face MOUNTING ANGLE 118.11...
- Page 6 Flush Channel Installation Guide Connecting Node Flush Channel Face to Mounting The Node Channel Face pushes onto the mounting brackets until you hear a click. BRIDGE BRACKET CHANNEL FACE Figure 4 Connecting Node Flush Channels Node Flush Channels can be connected together by way of plastic alignment clip. Alignment clips should be used to ensure a high quality joint between adjacent channel faces.
- Page 7 Flush Channel Installation Guide End Caps The Node Flush Channel can be provided with or without end caps as project design requirements. End caps are factory installed as requested. END CAP END CAP Flush Channel with Weave Panel Flush Channel with Soft Cell Panel Flush Channel with Weave Panel Flush Channel with Soft Cell Figure 7...
- Page 8 Figure 9 Waste Disposal Management PARC Node Channels are shipped and packaged with protective material that should be disposed of in an appropriate manner. Please remove or recycle waste and packaging materials as per your local waste disposal requirement. EMERGENCY LIGHT...
Need help?
Do you have a question about the PARC NODE and is the answer not in the manual?
Questions and answers