Table of Contents
Advertisement
Quick Links
MODELS
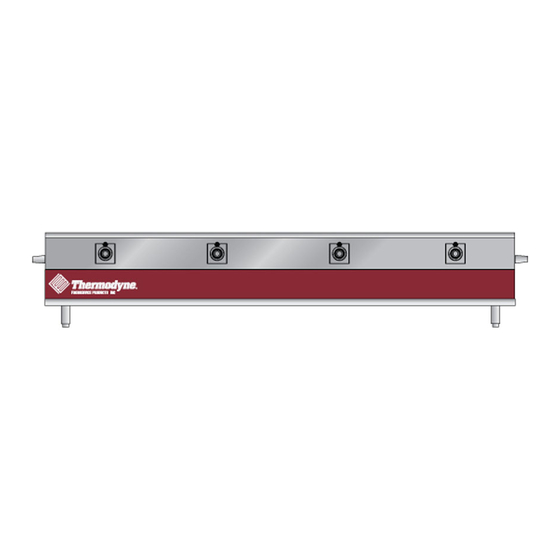
742-HW-CT
744-HW-CT
For additional information on Thermodyne Foodservice Products, Inc.,
Please visit our website to Register your Thermodyne unit. Registration ensures that you
get up-to-date warranty and product information, along with fast and convenient service.
Thermodyne Foodservice Products, Inc.
4418 New Haven Avenue
Fort Wayne, IN 46803
(10-17)
or to locate an authorized parts and service provider in your area,
visit our website at www.tdyne.com.
http://www.tdyne.com/register.aspx
INSTALLATION &
OPERATION MANUAL
1-800-526-9182
www.tdyne.com
Advertisement
Table of Contents

Summary of Contents for THERMODYNE 744-HW-CT
- Page 1 Please visit our website to Register your Thermodyne unit. Registration ensures that you get up-to-date warranty and product information, along with fast and convenient service.
- Page 2 IMPORTANT FOR YOUR SAFETY THIS MANUAL HAS BEEN PREPARED FOR PERSONNEL QUALIFIED TO INSTALL ELECTRICAL EQUIPMENT, WHO SHOULD PERFORM THE INITIAL FIELD STARTUP AND ADJUSTMENTS OF THE EQUIPMENT COVERED BY THIS MANUAL. READ THIS MANUAL THOROUGHLY BEFORE OPERATING, INSTALLING OR PERFORMING MAINTENANCE ON THE EQUIPMENT.
- Page 3 : Before removing any sheet metal panels or servicing this equipment, always perform the Electrical LOCKOUT/TAGOUT Procedure. Be sure all circuits are disconnected. Failure to comply with this procedure can cause property damage, injury or death. : Do not operate this equipment without properly placing and securing all covers and access panels.
-
Page 4: Table Of Contents
TABLE OF CONTENTS INTRODUCTION ..........................5 GENERAL ..........................5 SPECIFICATIONS ........................5 UNPACKING ..........................6 Thermodyne Damaged Goods Policy ................... 6 INSTALLATION CODES AND STANDARDS ................6 INSTALLATION ..........................7 LOCATION ..........................7 ELECTRICAL CONNECTION ....................7 ELECTRICAL SPECIFICATIONS ....................7 OPERATION ............................. -
Page 5: Introduction
INTRODUCTION GENERAL Thermodyne cabinets are produced with quality and carefully follow all of the instructions provided. workmanship and materials. Proper installation, The cabinets described in this manual are operation and maintenance will result in many programmable for the desired holding temperature. -
Page 6: Unpacking
UNPACKING INSTALLATION CODES AND STANDARDS All Thermodyne cabinets are factory tested for performance and certified free from defects. These installation instructions are for the use of qualified installation and service personnel only. Thermodyne Damaged Goods Policy 1. Installation or service by other than qualified... -
Page 7: Installation
5. Use proper lifting equipment to raise the or other local electrical codes. cabinet. 6. Set cabinet on a level surface. : Disconnect the electrical power to the Thermodyne unit and follow LOCKOUT/TAGOUT procedures. Refer to the wiring diagrams in this manual for wiring information. ELECTRICAL SPECIFICATIONS... -
Page 8: Operation
Once the cabinet is installed and electrical Process Unit connections have been made, thoroughly test the Output 1 Indicator Thermodyne cabinet before operation. Indicator (C on top, F on bottom) Output 2 1. Check that all packing materials and other Lower... -
Page 9: Set-Up
“unit”. 2. Press the “Up” or “Down” key to choose. Preheating Preheat the Thermodyne cabinet when first used for the day or whenever the unit is cold. Preheating takes approximately 30 minutes at which time the temperature set point and the actual temperature will display the same temperature. -
Page 10: Cleaning And Maintenance
CLEANING AND MAINTENANCE ELECTRICAL LOCKOUT/TAGOUT STAINLESS STEEL CARE PROCEDURE Cleaning : Before performing any cleaning or maintenance that involves Stainless steel contains 70-80% iron, which will electrical connection or disconnection rust if not properly maintained. It also contains 12- and/or exposure to electrical components, 30% chromium, which forms an invisible passive, always follow the Electrical LOCKOUT/ protective film that shields against corrosion. -
Page 11: Heat Tint
DRAINING WATER FROM HOT WELLS If signs of breakdown appear, restore the stainless steel surface. First, thoroughly clean, rinse and 1. Locate drain on rear of unit. dry the surface. Then, on a daily basis, apply a high-quality stainless steel polish according to 2. -
Page 12: Troubleshooting
TROUBLESHOOTING Most problems associated with the holding cabinet are due to low water level. Always check water level first. PROBLEM POSSIBLE CAUSE SOLUTION No Power 1. Main power switch off. 1. Turn switch on. 2. Not plugged in. 2. Check plug. 3. -
Page 13: Schematic Wiring Diagram
SCHEMATIC WIRING DIAGRAM — 13 —... -
Page 14: Warranty
Thermodyne Foodservice, Inc.’s option. Claims under this warranty must be presented to Thermodyne Foodservice Products, Inc. in writing, promptly. Thermodyne stainless steel cabinets are warranted for 5 years and all other original equipment parts such as heat transfer plates, doors, casters, fluid system components and electrical components are warranted against defect for 2 years from the date of purchase. - Page 15 — 15 —...


Need help?
Do you have a question about the 744-HW-CT and is the answer not in the manual?
Questions and answers