Table of Contents
Advertisement
Quick Links
Advertisement
Table of Contents

Related Manuals for Russell Hobbs 23972ZA


Summary of Contents for Russell Hobbs 23972ZA
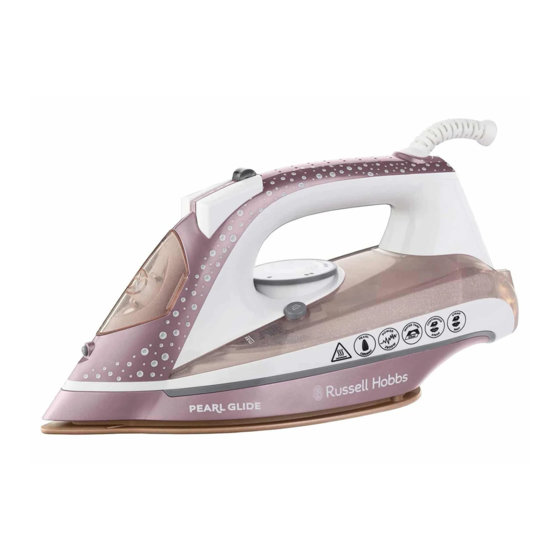
- Page 1 INSTRUCTIONS AND WARRANTY MODEL NO: 23972ZA RUSSELL HOBBS PEARL GLIDE IRON...
-
Page 2: Important Safeguards
Congratulations on purchasing our Russell Hobbs Pearl Glide Iron. Each unit is manufactured to ensure safety and reliability. Before using this appliance for the first time, please read the instruction manual carefully and keep it for future reference. FEATURES 1. Dry, steam and spray iron 2. - Page 3 the user. 4. The appliance is intended for household use only. Commercial use invalidates the warranty and the supplier cannot be held responsible for injury or damage caused when using the appliance for any other purpose than that intended. 5. This appliance is not intended for use by persons (including children) with reduced physical, sensory or mental capabilities, or lack of experience and knowledge, unless they have been given supervision or instruction concerning the use of the appliance by a person responsible for their safety.
- Page 4 19. Always operate the appliance on a smooth, even, stable surface. Do not place the unit on a hot surface. 20. Ensure that the switch is in the “0” or “OFF” position after each use. 21. Don’t iron clothing while it’s being worn – you’ll burn or scald the wearer. 22.
-
Page 5: Parts Diagram
41. Do not operate this appliance by means of an external timer. 42. The manufacturer does not accept responsibility for any damage or injury caused by improper or incorrect use, or for repairs carried out by unauthorised personnel. 43. In case of technical problems, switch off the appliance and do not attempt to repair it yourself. -
Page 6: Before First Use
OPERATING INSTRUCTIONS BEFORE FIRST USE • Remove any protective films or stickers from the soleplate and the iron’s body. • Wipe the soleplate with a dry soft cloth. • Unwind and straighten the power cord. • Fill the iron as described in the section “How to Fill the Water Tank”. •... -
Page 7: Temperature Setting Guide
HINTS AND TIPS FOR IRONING 1. Sort the articles to be ironed according to the type of fabric. This will minimize the frequency of temperature adjustment for different garments. 2. Start ironing the fabrics requiring the lowest temperature and progress to the higher ones because the iron heats up quicker than it cools down. -
Page 8: Burst Of Steam
5. Fill water through the water-filling inlet hole up to the MAX level mark indicated on the side of the iron/ water tank. Never fill above this mark. Pour the water slowly to prevent an airlock and over filling. 6. Close the water inlet cover and wipe off any spillages on Iron. Note: For the best result, it is advisable to use de-mineralized water or distilled water. -
Page 9: Vertical Steaming
To further prevent leaking water from the soleplate, do not press the burst of steam button continuously for more than three (3) seconds. Allow at least a one (1) minute interval before pressing the burst of steam button again. Stubborn creases should be removed within three (3) burst of steam button presses. -
Page 10: Steam Ironing
3. Turn the temperature dial to the correct ironing temperature according to the recommendation of the garment label. 4. Wait until the pilot light cycles a few times or wait for at least 3 minutes for the temperature to stabilize before ironing. 5. - Page 11 • Set the steam knob to the “0”/ “no steam” / “OFF” position. • Fill the iron as described in “How to Fill the Water Tank” and fill the water tank up to the MAX position. Do not put vinegar or other descaling agents in the water tank. •...
-
Page 12: Cleaning And Maintenance
CLEANING AND MAINTENANCE • After use, lift the iron with the water inlet filling hole downwards to empty the remaining water from the water tank into the sink. • Insert the plug into the socket and set the temperature to MAX for 1-2 minutes to evaporate the remaining water. -
Page 13: Troubleshooting
• Never wrap the power cord around the appliance. TROUBLE-SHOOTING Problem Possible Reasons Solution Not enough heat or too much The temperature dial may have Set the temperature dial to heat been rotated improperly. the correct position and The temperature dial may have check if the iron is plugged been set to the incorrect position or into the mains power supply. -
Page 14: Servicing The Appliance
SERVICING THE APPLIANCE There are no user serviceable parts in this appliance. If the unit is not operating correctly, please check the following: • You have followed the instructions correctly • That the unit has been wired correctly and that the wall socket is switched on. •... - Page 15 PLEASE AFFIX YOUR PROOF OF PURCHASE/RECEIPT HERE IN THE EVENT OF A CLAIM UNDER WARRANTY THIS RECEIPT MUST BE PRODUCED. 2 YEAR WARRANTY 1 year retail ⵏ 1 year extended warranty upon registration* visit www.russellhobbs.co.za W A R R A N T Y AND EXTENDED WARRANTY Home of Living Brands (Pty) Limited ("Home of Living Brands") warrants to the original purchaser of this product ("the customer") that this product will be free of defects in quality and workmanship which under normal personal, family or household use and purpose may manifest within a period of 1 (one) year from...
- Page 16 EXCLUSIONS TO W A R R A N T Y AND EXTENDED WARRANTY Any accessories supplied with the product, including but not limited to, bowls, jugs, mills or carafes made either of glass or plastic and supplied with this appliance (hereinafter referred to as “the accessory or accessories”), is warranted to be free from material and workmanship defects for the duration of the appliance warranty.
Need help?
Do you have a question about the 23972ZA and is the answer not in the manual?
Questions and answers