Sign In
Upload
Download
Table of Contents
Contents
Add to my manuals
Delete from my manuals
Share
URL of this page:
HTML Link:
Bookmark this page
Add
Manual will be automatically added to "My Manuals"
Print this page
×
Bookmark added
×
Added to my manuals
Manuals
Brands
Grundig Manuals
Refrigerator
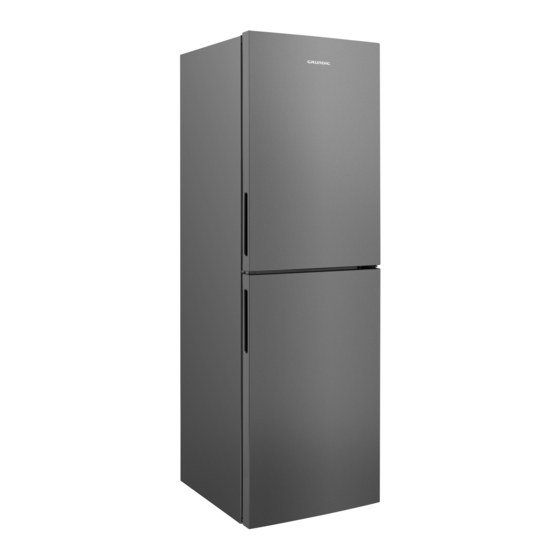
GKNG3691DG
User manual
Grundig GKNG3691DG User Manual
Hide thumbs
1
2
Table Of Contents
3
4
5
6
7
8
9
10
11
12
13
14
15
16
17
18
19
20
21
22
23
24
25
26
27
28
29
30
31
32
33
34
35
36
37
38
39
40
41
42
43
page
of
43
Go
/
43
Contents
Table of Contents
Troubleshooting
Bookmarks
Table of Contents
Table of Contents
Important Instructions for
General Safety
HC Warning
For Products with a Water Dispenser
Intended Use
Children's Safety
Compliance with WEEE Directive and Disposing of the Waste Product
Compliance with Rohs Directive
Package Information
Your Refrigerator
Installation
Appropriate Installation Location
Installing the Plastic Wedges
Electrical Connection
Preparation
Things to be Done for Energy Saving
Initial Use
Using Your Refrigerator
Thermostat Setting Button
Defrost
Freezing Fresh Food
Recommendations for Preservation of Frozen Food
Changing the Door Opening Direction
Open Door Warning
Changing the Illumination Lamp
Recommendations for Freshfood Compartment
Chiller Shelf and Vegetable Compartment
Using the Water Dispenser
Filling the Water Dispenser's Tank
Cleaning the Water Tank
Drip Tray
Maintenance and Cleaning
Avoiding Bad Odours
Protecting the Plastic Surfaces
Troubleshooting
Advertisement
Quick Links
Download this manual
Refrigerator
User manual
GKNG3691DG - GKNG3691 G
EN /
58 4592 0000/AC
Table of
Contents
Previous
Page
Next
Page
1
2
3
4
5
Advertisement
Table of Contents
Need help?
Do you have a question about the GKNG3691DG and is the answer not in the manual?
Ask a question
Questions and answers
Related Manuals for Grundig GKNG3691DG
Refrigerator Grundig GKNG1691DG User Instructions
(43 pages)
Refrigerator Grundig GKNG47920DX User Manual
(42 pages)
Refrigerator Grundig GKNG1682N User Instructions
(42 pages)
Refrigerator Grundig GKNG1682DN User Instructions
(42 pages)
Refrigerator Grundig GKNG3691 G User Manual
(43 pages)
Refrigerator Grundig GKNG 26840 N User Manual
(129 pages)
Refrigerator Grundig GKNG1691G User Instructions
(41 pages)
Refrigerator Grundig GKNG 26840 User Manual
(26 pages)
Refrigerator Grundig GKN 16822 User Manual
(114 pages)
Refrigerator Grundig GKN 16830 X User Instructions
(82 pages)
Refrigerator Grundig GKNI 15730 User Instructions
(105 pages)
Refrigerator Grundig GKN16910X User Instructions
(38 pages)
Refrigerator Grundig GKN16715X User Instructions
(32 pages)
Refrigerator Grundig GKN17920FX User Instructions
(116 pages)
Refrigerator Grundig GKN 16230 User Instructions
(105 pages)
Refrigerator Grundig GKN 26240 XN Instructions Of Use
(64 pages)
This manual is also suitable for:
Gkng3691 g
Table of Contents
Print
Rename the bookmark
Delete bookmark?
Delete from my manuals?
Login
Sign In
OR
Sign in with Facebook
Sign in with Google
Upload manual
Upload from disk
Upload from URL


Need help?
Do you have a question about the GKNG3691DG and is the answer not in the manual?
Questions and answers