Advertisement
Quick Links
Advertisement

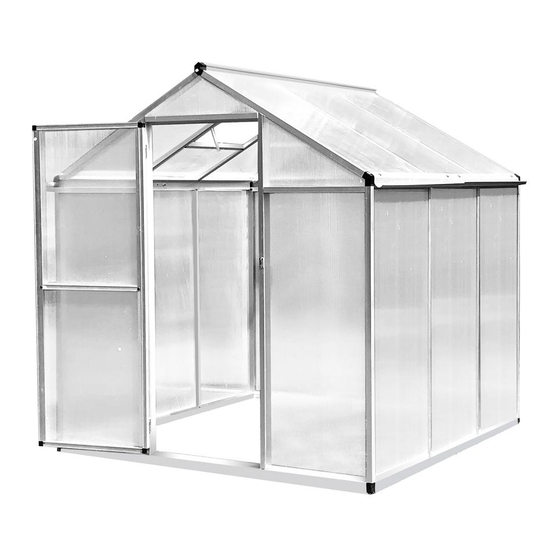
Summary of Contents for Outsunny 845-243
- Page 1 C190923...
- Page 5 Step 1: put 2 parts 5 connect with the base part 3 by plastic connector 32 Step 2::put 12 and 13 connect with 3 by screw...
- Page 6 Step 3: slide PC panel G into groove 5 and 12 13 Step 4: connect 19 with 5 by screw 39...
- Page 7 Step 5: Slide sunlight panels H into the grooves of 5 and 12,13, then tighten the screws Step 6: Connect 8 with 9 by plastic connector 34, then connect 8,9 with 5 by connector 33-1/33-2...
- Page 8 Step 7: Slide PC panel I into grooves of 8,9 ,then connect 21 with 12 and 13, then tighten the screws Step 8: The door: Connect 25 and 27 by plastic connector ; slide one PC panel K into the groove of 27and 28; slide 28 with its groove to connect with K; then slide the other K into the groove of 26, 28 and 29...
- Page 9 Step 9: According to the above step, assemble other side of greenhouse Step 10 :stand greenhouse, connect 1,2 with front and back by connector 32...
- Page 10 Step 12: connect 6,7 with both ends of 5 by plastic connector 33-1/33-2 Step 13: Connect both ends of 23 with 8,9/10,11 by plastic connector 34; slide the window into the groove of 23;...
- Page 11 Step 14: Connect 23 with plastic connector 34 by screw 42 tep15: :Connect 16,17,18 with 6 ,7, 23 by screws, but keep the screws loose for later PC panels assembly; then connect 18 with 24...
- Page 12 Step 16: Slide PC panels A(the wall), B(the roof), and J(the roof) into the grooves 17and then tighten screws...
- Page 13 Step 17: Connect dewatering profile with 6,7 by screw; Connect 31 with 6,7 by screw 38; Step 18: Push the plastic cover onto the top plastic connector.
- Page 14 Put 44 on inside 4 base corner, then connect screw 46 and 45 fixed in to the floor...


Need help?
Do you have a question about the 845-243 and is the answer not in the manual?
Questions and answers