Table of Contents
Advertisement
Advertisement
Table of Contents

Summary of Contents for IOTAVX SA 3
- Page 1 Integrated Amplifier SA 3 SA 3 Owner Manual...
-
Page 2: Please Read These Important Safety Instructions And Keep In A Safe Place
Increase the separation between the equipment and the receiver. • Connect the equipment to an outlet on a circuit different to the one that the receiver is connected to. • Consult the dealer or an experienced radio/television technician for help. SA 3 Owner Manual... - Page 3 An appliance and cart combination should be moved with care. Before any transportation, your product must be packed correctly to avoid any damage. I M P O R T A N T SA 3 Owner Manual...
-
Page 4: Table Of Contents
Contents PLEASE READ THESE IMPORTANT SAFETY INSTRUCTIONS AND KEEP IN A SAFE PLACE ..........2 About the IOTAVX Integrated Amplifier SA 3 ......................... 5 Product Description ................................5 Front Panel ................................5 Rear Panel ................................. 5 Remote Control ................................. 7 Connections .................................. -
Page 5: About The Iotavx Integrated Amplifier Sa 3
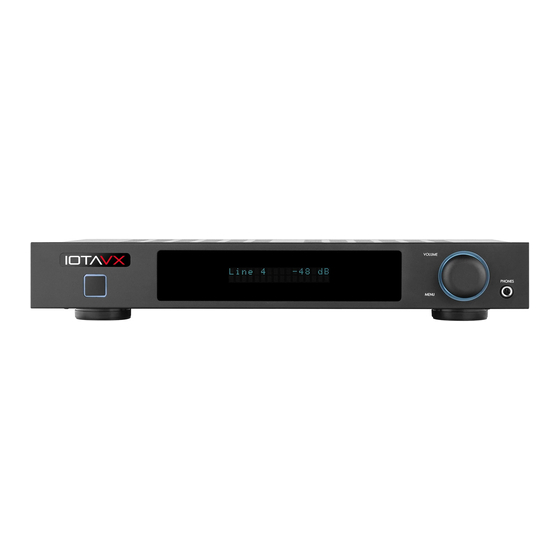
With 50 Watts per channel, the ability to match with the IOTAVX PA 3 for additional power, as well as an array of digital and analogue inputs including Phono (MM) and Bluetooth, the SA 3 is a truly versatile machine while remaining elegantly simple to use. - Page 6 11. RS232C RS232C port for firmware upgrade or external control via a control system. 12. Dimmer Link Out The DIMMER LINK OUT jacks are used to control the brightness and the brightness of other connected IOTAVX products. 13. Trigger Output Connects to the trigger input and output jacks on other connected components to control the power amplifier.
-
Page 7: Remote Control
(typically labeled “L”). • Push plugs in all the way to make good connections (loose connections can cause noise or malfunctions). • To prevent interference, keep audio and video cables away from power cords and speaker cables. SA 3 Owner Manual... -
Page 8: Cables And Jacks
Making the Speaker Cable Connections: Unscrew the Knob Insert the bare speaker cable end through the hole in the post Tighten down the knob (finger tight only) to secure the cable SA 3 Owner Manual... -
Page 9: Stereo Connection
SA3 will always amplify the right input signal and output to the connected speaker. Please connect the PA3 to the left preamp output "PRE-OUT" of the SA3. Please Note!! Set the amplifier Mode switch to Mono (Bridge) position. SA 3 Owner Manual... -
Page 10: Basic Operation
This jack will output a low frequency signal and its level is automatically raised and lowered along with the main Volume control. • Connect to an Active (Powered) Subwoofer using Analogue RCA cable (Mono 1RCA-1RCA): NOTE: The SUB OUT Jack is constantly active, and the level is controlled automatically by the main Volume control. SA 3 Owner Manual... -
Page 11: Troubleshooting
If any problems remain after you have checked the items below, please consult your nearest Authorized Dealer or Authorized IOTAVX Service Center. If you experience any of the following difficulties while using the system, use this troubleshooting guide to help remedy the problem before requesting servicing. -
Page 12: Specification
*Design and specifications are subject to change without notice. This symbol marked on the product and instruction manual means that your electrical and electronic equipment should always be disposed of at the end of its life separately from your general household waste. SA 3 Owner Manual... - Page 13 Should you experience any technical difficulty in setting up or using your new product please feel free to contact our dedicated customer service help desk Tech Support Number: +44 (0) 1642 232188 Tech Support E-Mail Address: help@iotaenterprises.co.uk Wishing you many years of pure audio-visual pleasure with your new IOTAVX equipment SA 3 Owner Manual...


Need help?
Do you have a question about the SA 3 and is the answer not in the manual?
Questions and answers