
Subscribe to Our Youtube Channel
Related Manuals for Honeywell Home Evohome


Summary of Contents for Honeywell Home Evohome
- Page 1 Evohome Wi Fi Zone Controller EN Installation Guide Online Guides getconnected.honeywellhome.com...
- Page 2 Thanks for choosing evohome evohome means more comfort, and more control of your heating system. It’s simple to install and easy to use. Follow these instructions to set up the evohome system. Devices that need to be connected to the mains electricity supply should be installed by a competent person.
-
Page 3: Step 1: Wire Up The Heating System
(such as a boiler) in order to communicate with the evohome Controller. It's recommended that these items are installed first to simplify the binding process later in the setup. The evohome Controller will give on screen instructions when these devices should be powered up. - Page 4 Installing the Wireless Relay Box (BDR91) Refer to boiler instruction to locate the room thermostat terminals, determine if the boiler required a Turn off at mains permanent live supply. and isolate the supply before starting. MINIMUM 30CM Mount the Wireless Relay Box on a nonmetal BOILER surface at least 30cm from your boiler, other wireless devices or metal objects...
-
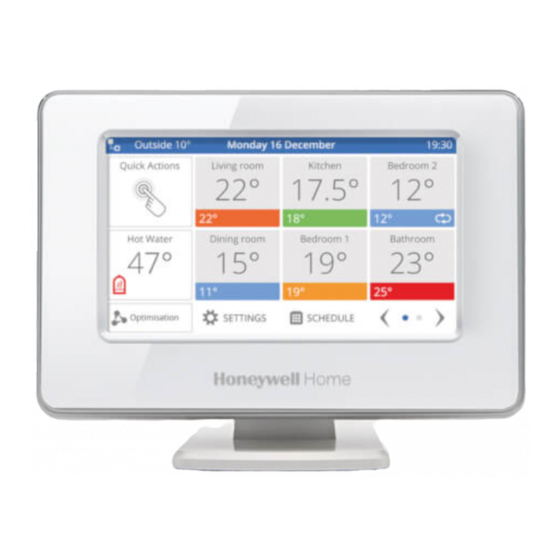
Page 5: Step 2: Set Up Your Evohome Controller
If you skipped the "Guided Configuration" option when you first powered up the evohome Controller you can find if again in the Installation Menu - press and hold the "Settings" button for 5 seconds. - Page 6 Controller can be easily removed from the table stand rechargeable or wall bracket for ease of programming. After 30 batteries minutes the evohome Controller will emit a beep to provided. indicate that it should be replaced on the stand or wall bracket...
- Page 7 To create an account and register the evohome Controller, the homeowner will need the MAC ID and CRC which can be found: On a label behind the front cover of the evohome Controller On screen during the WiFi set-up In the SETTINGS > WiFi SETTINGS menu after...
-
Page 8: Step 3: Power Up And Bind Devices
Step 3: Power up and bind devices Using 'Guided Configuration' on the evohome Controller follow the on screen instructions and use this section to put the devices into binding mode. When you bind a device they permanently store the connection and there should never be a need to rebind them again - even after a power cut. - Page 9 5 seconds (until the red LED BOILER CONTROL blinks slowly) Press BOILER RELAY. PRESS AND HOLD 5 SEC On the evohome Controller press the green bind button You should receive a SUCCESS message on the evohome Controller (if not go back and re-bind)
- Page 10 Controller If you are NOT following GUIDED CONFIGURATION Power up the Radiator Controllers follow these steps on your evohome Controller display first: Press and hold ‘Settings’ Remove the top cover 3 seconds Press the green tick Press ADD ZONE...
- Page 11 Bind the Radiator Controllers (HR92) Press the button You should receive a SUCCESS once − it should say message on the evohome Controller UNBOUND (if not go back and re-bind) The name of the allocated zone PRESS ONCE should appear on the HR92 display...
- Page 12 Bind the Radiator Controllers (HR91) Press binding button You should receive a SUCCESS for 5 secs message on the evohome Controller (if not go back and PRESS re-bind) AND HOLD 5 SEC Either press the green tick to add another radiator to the zone.
- Page 13 Install the Radiator Controllers (HR91 or HR92) Locate the room (zone) Remove any existing control on the for the radiator controller radiator valve Screw the white end of the adaptor on Slide the locking to the radiator valve mechanism to the unlock position Push the controller fully...
- Page 14 Selecting the adapter The radiator controller fits on common radiator valves of the type M30 x 1.5. Adapters are required for some valve types. Check whether an adapter is required and, if necessary, select the appropriate adapter Slide the adapter onto the radiator valve and turn it until you feel it click into place If necessary, screw the adapter tight with a screw Brand Illustration...
-
Page 15: Step 4: System Test
Step 4: System test Now that all the devices are bound to your evohome Controller and installed in their final locations, check that the system works properly and that all the devices are responding to commands from the evohome Controller. - Page 16 Controller: Wireless Relay Box (BDR91) • The Relay Box will flash the red LED from 1 flash (poor) to 5 flashes (excellent) – no flashing means the Relay Box has not received a test signal from the evohome Controller...
- Page 17 1 (poor) to 5 (excellent) – 0 should say BIND means the Radiator Controller has not received PRESS HOLD a test signal from the evohome 4 SEC Controller Turn the dial to To exit test mode turn the dial to exit display RF CHECK and press the button.
- Page 18 Configuration and modification Once you’ve completed these steps you’re ready to start using your evohome system. You can also make parameter adjustments in the evohome Controller to match the exact requirements of the heating system. The operation and functions of the each zone can also be adjusted.
- Page 19 • Do not burn the product. • Remove the batteries. • Dispose of the batteries according to the local statutory requirements and not with the usual domestic refuse. evohome Controller technical data Electrical RF communication 30m in a residential Table Stand...
- Page 20 Country of origin : UK ©2020 Resideo Technologies, Inc. All rights reserved. (EU) 811/2013 The Honeywell Home trademark is used under license from Honeywell International Inc. 32322825 001 B This product is manufactured by Resideo Technologies, Inc. and its affiliates.
Need help?
Do you have a question about the Evohome and is the answer not in the manual?
Questions and answers