Table of Contents
Advertisement
Quick Links
Other Robotic Attractions from Milagrow
Window Robots
Living Robots
Amitabh Bachchan
India's Most Respected Film Star
"Robotic firm totally fascinating. Humans
shall create their own substitute..."
(Tweet 804)
Manohar Parrikar
Chief Minister, Goa, India
"Milagrow Body Massaging Robot is a
wonder device and it is one such
innovation, that benefits lives.
Media Speak
Lawn Robots
Body Robots
Celebrity Speak
Saina Nehwal
India's Olympic Medalist
"Humane Technology for a better
world"
Anupam Kher
Famous Indian Actor
"Zero Germs, Zero Bacteria with
Milagrow Robots."(On Quest for Zero
Pollution on Times Now)
Pool Robots
'Build your Robots'
Advertisement
Table of Contents

Related Manuals for Milagrow Spaze Wet


Summary of Contents for Milagrow Spaze Wet
- Page 1 Anupam Kher Famous Indian Actor Chief Minister, Goa, India "Zero Germs, Zero Bacteria with "Milagrow Body Massaging Robot is a Milagrow Robots."(On Quest for Zero wonder device and it is one such Pollution on Times Now) innovation, that benefits lives.
- Page 2 OPERATING MANUAL India’s No.1 Domestic Robots World’s 1st Artificially Intelligent Home Safety & Floor Cleaning Robots Vacumm cleaners and 'homes with germs' are now history!
-
Page 3: Table Of Contents
Table of Contents Table of Contents Safety Instructions Advanced features Product introduction Structure of the Robot Panel of the Robot Battery installation for the Robot Introduction of the auto charging dock station Introduction of the remote controller Settings of the UV lamp on the remote controller/intelligent Water tank Settings of schedule/time for the remote controller Introduction of the virtual wall Installation &... -
Page 4: Safety Instructions
Safety Instructions Before using this product, please read the following safety instructions and follow all routine safety precautions! Please read these instructions carefully. Please properly keep this book of instructions. Any operation not in compliance with this book is likely to cause damage to the product. The right to final interpretation resides with the Company. -
Page 5: Advanced Features
Advanced features 01. Patented Intelligent programmable water tank Robot Robot 02. Intelligent voice prompts 03. Multi-function double dustbin box may 0.65 0.35 04. Patented ONE COVER ALL cleaning system Patented 05. Patented 3D UV steriliztion 06. Patented 3D filter blockage 07. - Page 6 08. Swap between suction and sweeping It can swap between the suction assembly (mainly used for floors with too many hairs to avoid entanglement) and sweeping assembly according to the home condition. Refer to page 15-17. for swap between suction and sweeping: 09.
- Page 7 Robot Wall (Optional) (Optional) (Optional) (Optional)
-
Page 8: Structure Of The Robot
Structure of the Robot... -
Page 9: Panel Of The Robot
Panel the Robot... - Page 10 Panel the Robot The" "icon lit up on the cleaner indicating the suction inlet is blocked or the dust bin is full, or the garbage sensors is covered with dust. When the cleaner is at stand by, press the" "on the remote controller and the cleaner will enter the FULL GO mode.
- Page 11 1. Securely mount the charging dock station onto a flat ground near a wall and perpendicular to the ground. 2. Avoid obstacles and uneven areas within 2m in front of the docking station and 1m on both sides. 3. If the infrared signal emission surface of the docking station is blocked, the cleaner will be unable to find the docking station for charging .
- Page 12 Press" "and the cleaner will enter the auto charging mode Press" " and the cleaner will enter the sleep/wake-up mode (in sleep mode, press and hold this button for 10 seconds to enter the wake-up mode). Press" " and the cleaner will enter the Turbo cleaning mode, suitable for very dirty floor or hairy carpet Press"...
- Page 13 Settings of the UV lamp on the remote controller/ intelligent water tank 1. Setting of the UV lamp Settings: On default mode from the factory, the UV is on , if you want to turn off the UV lamp during cleaning , follow the below instructions . In standby mode, press the"...
-
Page 14: Settings Of Schedule/Time For The Remote Controller
Settings of Schedule/time for the remote controller 1. Settings of current week day, hour/minute a. Settings of current week day: In the standby mode, press the" "button, then press the" "button to enter the Settings of current week day; press the" ", " "buttons to switch Monday/Sunday; Press the"... -
Page 15: Introduction Of The Virtual Wall
Introduction of the virtual wall Introduction to the virtual wall Toggle“ ”to turn off the power for virtual wall, switch among front, side, and front/side; Toggle“ ”to Off: the power of virtual wall is cut off. Toggle“ ”to“ ”position: it indicates the power of the virtual wall on, at this point of time, this is the front position, and the control radius of the virtual wall is 4 m. -
Page 16: Installation & Removal And Cleaning Of The Dust Bin
Installation, removal & cleaning the dust bin 1.Installation & removal of the dust bin of the cleaner 01. Press “PUSH” on the panel to pop out the dust cover (Fig. 1). 02. Take out the dust bin (Fig. 2). 2.Cleaning of the dust bin 01. - Page 17 Installation, removal & cleaning of the main brush assembly 1. Removal of the roller brush assembly: As shown in Fig. 1, pick the U shaped clip on each side of the sweeping bracket simultaneously with both index fingers to remove the sweeping bracket. As shown in Fig.
- Page 18 Installation and removal of the ONE COVER ALL main brush assembly 2. Installation of roller brush assembly As shown in Fig. 1 ( an enlarged view of the upper right part ), fit the right end of the assembly into the drive shaft of the cleaner and make sure the shaft of the ONE COVER ALL brush aligns with the drive shaft.
-
Page 19: Installation And Removal Of The Suction Inlet
Installation and removal of the suction inlet 1. Installation of the suction inlet: Installation of the suction inlet: 1.As shown in Fig. 1, pick the U shaped clip each side of the sweeping bracket simultaneously with both index fingers to remove sweeping bracket. As shown in Fig. -
Page 20: Installation Of The Intelligent Water Tank/Trailing Bar/Mop
Installation of the intelligent water tank/ trailing bar/ mop 1. Installation of the trailing bar/ mop: Install the mop onto the position where it is to be attached. As shown in Fig. 1, mount the trailing bar onto the unit by aligning it with holes. 2. -
Page 21: Common Failures And Troubleshooting
Common Failures and Troubleshooting The cleaner will sound the alarm when it stops working or fails to start working in the following circumstances; Users may follow the prompts & respond accordingly. Failure Code Cause Failure Identification Troubleshooting Failure of ground The sensor head is blocked or the Clean the cliff sensor ground detector E001... -
Page 22: Dimensions And Parameters
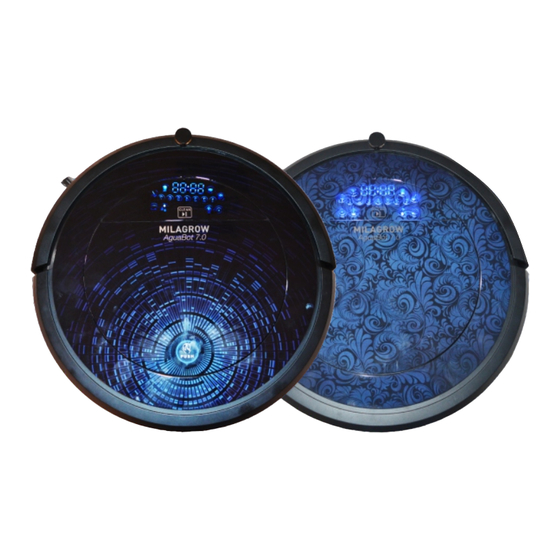
Dimensions and Parameters Technical specification for the cleaner Index parameter Item Remark Spaze or Cashmere Model AguaBot 7.0 Rated voltage DC 14.8V Rated power Operating temperature range -10℃ ~45℃ Input voltage/current DC 24V/0.5A Infrared remote control 38KHZ Dimension 350mmX87.5mm Weight 2.9KG Battery Lithium-ion 2200mAh...
Need help?
Do you have a question about the Spaze Wet and is the answer not in the manual?
Questions and answers