Advertisement
Advertisement

Subscribe to Our Youtube Channel
Related Manuals for AVYCON DIVERSITY Series


Summary of Contents for AVYCON DIVERSITY Series
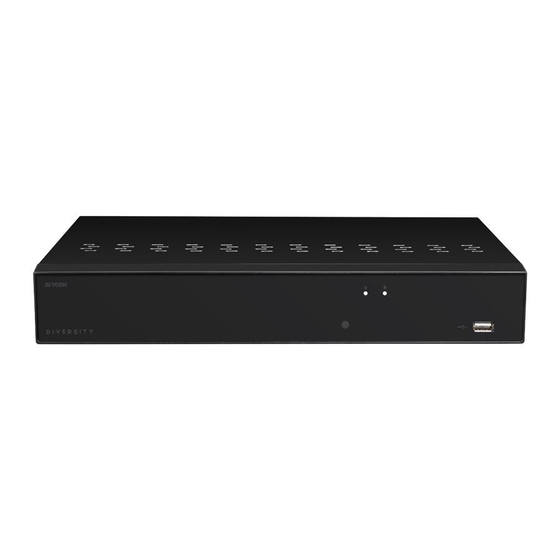
- Page 1 DIVERSITY SERIES QUICK START GUIDE DIGITAL VIDEO RECORDERS...
-
Page 2: Table Of Contents
TABLE OF CONTENT Connection Diagram........................ HDD Installation........................Startup Wizard........................... Remote Access via Web Client....................Remote Live View on Mobile Devices.................. -
Page 3: Connection Diagram
The first time you run the DVR, you will be required to set your password immediately in order to protect your privacy. Please be sure to record your username and password and save them in a secure place. If you forget your password, you will be unable to login the system, please contact your reseller to reset the password. -
Page 4: Hdd Installation
HDD Installation Caution: DO NOT install or remove the hard disk drive while the device power is turned ON. a) Connect the data and power cables to the HDD and place the HDD on the DVR case. b) Carefully flip the DVR case and secure the HDD to the DVR with the screws. NOTE: Depending on the model you purchased, the actual product may be slightly different from the images above. -
Page 5: Startup Wizard
Startup Wizard Wizard setting menu includes: start wizard page, Network, Network Configuration, Date/ Time, IPC Setup, Disk, Resolution , Mobile and Summary. 1) Start Wizard 2) Network Configuration Click the Start Wizard to proceed to the next step If you connect to a router allows to use DHCP, please check the DHCP box. - Page 6 PPPoE This is an advanced protocol that allows the DVR to connect to the network more directly via DSL modem. Check the “Enable PPPOE” box, and then enter the User name & Password of the PPPoE. This is a prior using the mobile network, you need to connect a 3G dongle to the DVR. Enable the 3G option, enter the APN, Dial Code, User name &...
- Page 7 NTP stands for Network Time Protocol. This feature allows you to synchronize the date and time automatically on the DVR over Internet. Therefore, the DVR needs to be connected to the Internet. Check the “NTP” box, and select the NTP server. DST stands for Daylight Savings Time.
- Page 8 4)IP Camera This menu allows you to add IP cameras to the DVR. Click Search to search IP cameras in the same network. Choose the IP camera(s) you want to add, and then click icon to add to the DVR. Enter the camera's user name &...
- Page 9 Click Search button to search IP cameras, and then click one of the IP camera in the device list. IP Address/Domain: IP address or domain name of the IP camera Alias: Name of the IP camera Position: Position to display the camera name on the screen. Port: Port of the IP camera Protocol:...
- Page 10 5)Disk If the HDD is installed in the DVR for the first time, it must be formatted. Select the HDD and then click button Format HDD to format the HDD. Overwrite: Use this option to overwrite the old recordings on the HDD when the HDD is full.
- Page 11 7)Mobile If your DVR come with a P2P ID, you can scan the QR code with your mobile app to view the DVR remotely. 8)Summary You can check the system summary information you had set in the start wizard and finish the wizard.
- Page 12 Live View Screen Overview Camera Title Status Icons Camera Quick Toolbar Start Menu Task Menu Bar System Date & Time Camera Title To display the camera title A-: This indicates that the camera connected is an AHD camera T-: This indicates that the camera connected is a TVI camera C-: This indicates that the camera connected is a CVI camera IP: This indicates that the camera connected is an IP camera DIGITAL VIDEO RECORDERS | AVR SERIES...
- Page 13 Status Icons This indicates that the DVR is currently recording. This icon appears when the camera has detected motion. The icon indicates that the external I/O alarm device is triggered. This icon indicates that the HDD is in error to work. This icon indicates the HDD is unformatted.
-
Page 14: Remote Access Via Web Client
Remote Access via Web Client Use the Web Client to remotely access your DVR at anytime via a PC. Before you access the Web Client, you need to ensure that the network settings of the DVR are configured properly. The most convenient and easiest way is if you have set the DVR a static IP address . It means you only need to open the web browser on your PC and type in the static IP address you have set on the DVR. - Page 15 Notice for Windows 8 and Windows10 Users: 1) If you are running Windows 8 or Windows10,you will have to right click on Internet Explorer from the start menu and select “Run as administrator”. 2) After successful Login to the Net Viewer,the system will enter into live display interface and connect to audio/video feed automatically.
-
Page 16: Remote Live View On Mobile Devices
Remote Live View on Mobile Devices 1.) Open the App Store (iOS) or Play Store (Android). 2.) Search for and install AVY MobileOne application. 3.) Open AVY MobileOne application ( 4.) Go to Device. Click ‘ ’ to add new device. Scan QR code under NVR box. Then input client port, user name, and password, and then click “Save”... - Page 17 Copyright © AVYCON. All rights reserved. Specifications and pricing are subject to change without notice. phone: 949-752-7606 email: info@avycon.com social: @avycon_aivo website: avycon.com...
Need help?
Do you have a question about the DIVERSITY Series and is the answer not in the manual?
Questions and answers