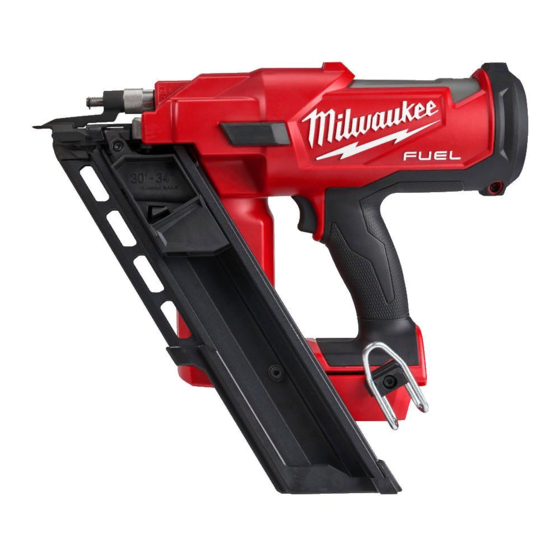
Milwaukee M18 FFN Original Instructions Manual
Hide thumbs
Also See for M18 FFN:
- Original instructions manual (140 pages) ,
- Operator's manual (8 pages) ,
- Original instructions manual (29 pages)
Advertisement
Quick Links
Advertisement

Related Manuals for Milwaukee M18 FFN


Summary of Contents for Milwaukee M18 FFN
- Page 1 M18 FFN Original instructions...
- Page 2 Text section with Technical Data, important Safety and Working Hints and description of Symbols...
- Page 3 Remove the battery pack before starting any work on the machine. click 78-100 % 55-77 % 33-54 % 10-32 % < 10 %...
- Page 5 Press and hold the Power/Actuation 2 sec Low Battery LED button to turn on the tool. If the red light will on, the battery is low. The tool will not be able to fi re nails. To continue work, charge the battery.
- Page 6 9 sec...
- Page 7 Single Sequential Actuation Contact (Bump) Actuation Switch to single sequential Switch to Contact Actuation: actiation: Press MODE Button - LED will Press MODE Button - LED will light. light. Push the tool against the work surface, compressing the workpiece contact. Pull and hold the trigger Pull the trigger to drive the fastener.
- Page 8 max. Retract a dropped striker.
- Page 10 STOP click click...
- Page 11 Attach the protective cap to protect sensitive surfaces. click...
- Page 12 Do not dispose of used battery packs in the household drive wheel. plugged in. refuse or by burning them. Milwaukee Distributors off er to Do not pull back on the adjustment wheel, the wheel is Temperatures in excess removeof 50°C (122°F) reduce the retrieve old batteries to protect our environment.
-
Page 13: Operation
Use only Milwaukee accessories and Milwaukee spare 1. Remove battery pack. parts. Should components need to be replaced which have not been described, please contact one of our Milwaukee 2. WARNING! Always point the tool away from yourself service agents (see our list of guarantee/service addresses). - Page 15 Copyright 2020 Techtronic Industries GmbH Max-Eyth-Straße 10 71364 Winnenden Germany +49 (0) 7195-12-0 (10.20) 4100 4702 00 www.milwaukeetool.eu...
Need help?
Do you have a question about the M18 FFN and is the answer not in the manual?
Questions and answers