Sign In
Upload
Download
Add to my manuals
Delete from my manuals
Share
URL of this page:
HTML Link:
Bookmark this page
Add
Manual will be automatically added to "My Manuals"
Print this page
×
Bookmark added
×
Added to my manuals
Manuals
Brands
IBM Manuals
Server
p5 510
Quick start manual
IBM p5 510 Quick Start Manual
Hide thumbs
Also See for p5 510
:
Quick start manual
(16 pages)
1
2
3
4
5
6
7
8
9
10
11
12
13
14
15
16
page
of
16
Go
/
16
Bookmarks
Advertisement
Quick Links
Download this manual
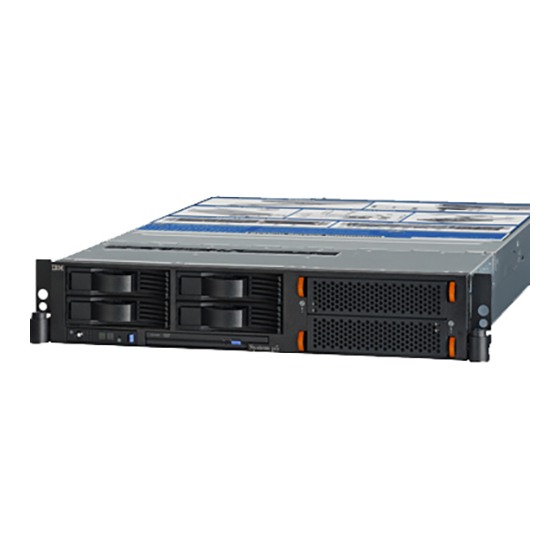
IBM Systems
Quick start guide for p5 510 (9110-51A)
Table of
Contents
Previous
Page
Next
Page
1
2
3
4
5
Advertisement
Need help?
Do you have a question about the p5 510 and is the answer not in the manual?
Ask a question
Questions and answers
Related Manuals for IBM p5 510
Server IBM eserver p5 510 Quick Start Manual
(16 pages)
Server IBM REDPAPER 520Q Technical Overview And Introduction
Ibm server - home server user manual (110 pages)
Server IBM p5 520 Quick Start Manual
(16 pages)
Server IBM p5 590 System Handbook
(316 pages)
Server IBM p5 550 Technical Overview And Introduction
(78 pages)
Server IBM System p5 Cabling Manual
(194 pages)
Server IBM System p5 505 Quick Start Manual
(22 pages)
Server IBM Power 755 Hardware Announcement
(47 pages)
Server IBM Power 750 Technical Overview And Introduction
(204 pages)
Server IBM power PS700 Problem Determination And Service Manual
(294 pages)
Server IBM Flex System p24L Installation And Service Manual
Compute node (482 pages)
Server IBM P 615 series Service Manual
(491 pages)
Server IBM IntelliStation POWER 285 Quick Start Manual
(9 pages)
Server IBM PC Server 330 User Handbook Manual
(382 pages)
Server IBM PureFlex System Installing And Configuring
(46 pages)
Server IBM Flex System p270 Compute Node Installation And Service Manual
(510 pages)
This manual is also suitable for:
9110-51a
Print
Rename the bookmark
Delete bookmark?
Delete from my manuals?
Login
Sign In
OR
Sign in with Facebook
Sign in with Google
Upload manual
Upload from disk
Upload from URL


Need help?
Do you have a question about the p5 510 and is the answer not in the manual?
Questions and answers