Advertisement
Quick Links
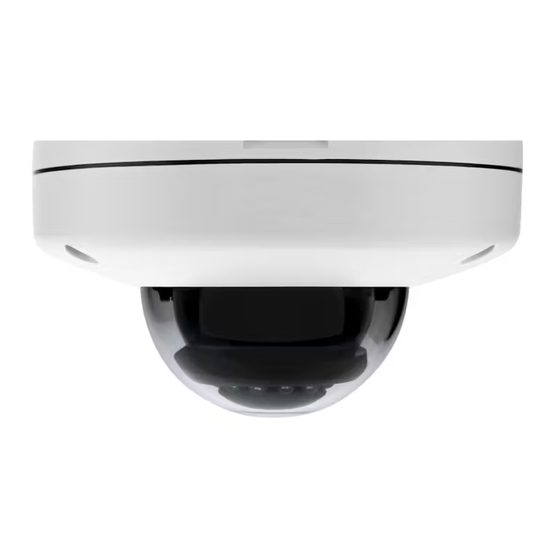
V‑5054D INDOOR/OUTDOOR HD
VIDEO CAMERA
Installation Guide
Figure 1: V‑5052D Camera
DESCRIPTION
The V‑5054D is a 4 Megapixel
indoor/outdoor video camera
that allows users to view live and
recorded HD video clips in the
Virtual Keypad™ app.
To activate the camera, you need an
active Dealer Admin account at
dealer.securecomwireless.com.
Compatibility
•
Any active Virtual Keypad
account with SecureCom
Cameras & NVRs enabled
What is Included?
•
One V‑5054D Camera with
Mounting Plate
•
Mounting Template
•
Hardware Pack with Security
Torx L‑key
1
WIRE THE CAMERA
Before connecting the Ethernet cable, install the waterproof
Ethernet cap if desired. Refer to Figure 2.
Standard Power Connection
Connect a 12 VDC power supply (not included) to the camera
power connector. Connect a network cable to the camera Ethernet
connector. For compatible power supplies, refer to "Accessories".
PoE Connection
Connect a network cable to the camera Ethernet connector.
Connect the cable to a PoE switch or injector.
From router/switch
End Cap
Cover
Wire
O-Ring
and
crimp,
then
plug in
to camera
Ethernet
connector
Figure 2: Installing the Waterproof Ethernet Cap
A
12 VDC Power Connector
Ethernet Connector
B
Cover
C
Reset Button
D
E
Mounting Snaps
F
Mounting Holes
1/4
Seat
Turn
o-Ring
between
cover and
Ethernet
connector,
then slip
cover over
connector
A
D
Figure 3: Camera Details
Turn
until
tight
B
E
F
C
Advertisement

Related Manuals for SECURECOM V‑5054D


Summary of Contents for SECURECOM V‑5054D
- Page 1 Cover cover over Compatibility connector Wire O-Ring • Any active Virtual Keypad crimp, account with SecureCom then plug in Cameras & NVRs enabled to camera Ethernet connector Figure 2: Installing the Waterproof Ethernet Cap What is Included? • One V‑5054D Camera with Mounting Plate •...
- Page 2 Figure 4: Standard Mounting Figure 5: Heavy Duty Mounting MOUNT THE CAMERA The camera design offers two options for mounting: standard mount using the included mounting base or heavy duty mount using the included anchoring hardware. Standard Mount Refer to Figure 4 during standard mounting. Use the included screws and wall anchors to secure the mounting base to a wall or ceiling, then snap the camera onto the mounting base.
- Page 3 Log in to Dealer Admin. Find the customer and select the relevant account number. Select Edit. In Video, enable SecureCom Cameras & NVR, then press Save. On the System Information page, press the Add Camera button and enter the camera’s 12‑digit MAC Address.
- Page 4 V-5054D INDOOR/ Ordering Information V-5054D 4 MP Indoor/Outdoor HD Video Camera OUTDOOR HD VIDEO Accessories CAMERA 371-500B-W 12 VDC Power Supply Specifications Compatibility Sensor and Lens Any DMP system with an active Virtual Keypad™ account Image Sensor 4 MP, 1/3” CMOS Network 802.3 compliant 10/100 LAN IP Protocol IPv4...
Need help?
Do you have a question about the V‑5054D and is the answer not in the manual?
Questions and answers