Advertisement
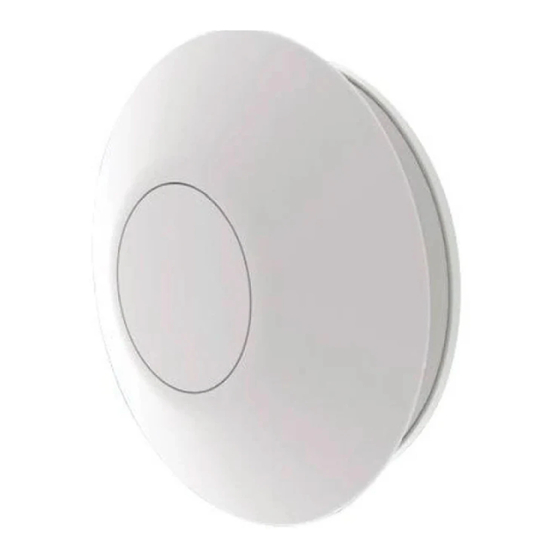
Unity CV3 (SELV)
Decentralised Mechanical Extract Ventilation (dMEV)
Installation and Operating Instructions
The Unity CV3 is a continuously
-running (dMEV) extract fan, designed
to offer a simplistic approach to meet
Building Regulations and provide an
energy efficient domestic ventilation
solution to improve indoor air quality
in dwellings.
Please read instructions before
commencing the installation.
Please make these instructions
available for the user.
Advertisement
Table of Contents

Summary of Contents for Greenwood Unity CV3
- Page 1 Unity CV3 (SELV) Decentralised Mechanical Extract Ventilation (dMEV) Installation and Operating Instructions The Unity CV3 is a continuously -running (dMEV) extract fan, designed to offer a simplistic approach to meet Building Regulations and provide an energy efficient domestic ventilation solution to improve indoor air quality in dwellings.
-
Page 2: Weee Statement
Your Unity CV3 (SELV model reference CV3SV) may have the following features activated: Intelligent sensing via the Greenwood TimerSMART and Greenwood HumidiSMART technology (fully automatic integral delay / over-run timer and humidity functions) which monitor the homeowners’... -
Page 3: Installation Preparation
Electrician and in accordance with the current editions of Building Regulations and BS7671: IEE Wiring Regulations. The Unity CV3 fan is supplied with a 100mm nominal spigot for connection of ducts for installation - 100mm diameter rigid duct should... -
Page 4: Installation
Installation Installation STEP 1 Connect ducting to the spigot on the back of the Unity CV3 Note: If using flexible ducting, ensure this is pulled taut (to a min. 90% stretch capacity) between fan and termination STEP 2 Loosen retaining screw until... -
Page 5: Electrical Installation Preparation
Installation Secure via cable clamp STEP 3 Note: This part must be fitted to Wire the fan comply with safety standards Secure using outer 4 fixing points on a smooth flat surface, using No. 8 screws provided Electrical Installation Preparation Installation or disconnection must be carried out by a qualified Electrician and all wiring must conform to IEE Wiring or local Regulations. - Page 6 Installation SELV Box Installation Install SELV Back Plate and Power Supply (see images below), using the two fixing holes, in a suitable location outside of the room where the Unity SELV fan (CV3SV) is installed. The location should be as such that air can circulate around the Power Supply unit and it should never be covered.
- Page 7 Installation STEP 4 Turn power off and locate main body cover via the arrow & unlock position, rotate clockwise to ‘lock position’ Tighten retaining screw until main body cover cannot be opened. Turn power on and follow respective commissioning on pages 8 & 9 Unlock position Lock position STEP 5...
- Page 8 To confirm speed selection press ‘Trickle’ button. Upon confirmation of the Boost and Trickle flow rates, your Unity CV3 will start to go through its initialisation sequences for the respective flow rate commissioning. Select required settings for TimerSMART and HumidiSMART and refit the ‘outer cover’ onto fan (see Step 5 on page 7) .
- Page 9 Minimum Android operating requirements for functionality via the APP is OS 4.3. Upon first power up, your Unity CV3 will commence a diagnostic check, whereby the capacitive touch buttons will flash. You should hear a range of beeps, 1 long beep followed by between 2-5 short beeps (depending on how the unit has been configured).
-
Page 10: Servicing & Maintenance
Service / Maintenance must be carried out by a trained / competent person. The Unity CV3 fan contains a unique backward curved mixed flow impellor that has been designed to reduce build-up of dirt. The fan motor has sealed for life bearings, which do not require lubrication. -
Page 11: Troubleshooting
APP. To review / How do I change my fan’s settings change your settings, download our Unity CV3 APP from our website or via Google Play. You can view your settings by removing the front cover and placing your android device over the NFC symbol. - Page 12 See website for warranty period details. Zehnder Group UK Ltd reserves the right to change specifications and prices without prior notice. © Copyright Zehnder Group UK Ltd 2019. Greenwood Airvac is a division of Zehnder Group UK Limited Zehnder Group UK Limited Watchmoor Point, Camberley,...


Need help?
Do you have a question about the Unity CV3 and is the answer not in the manual?
Questions and answers