Advertisement
Questions? Call our customer service department at 1-855-995-5578, 8:30 a.m. - 5 p.m., EST, Monday - Friday
PACKAGE CONTENTS
Dark chocolate model - 30167
Gray model - 30168
Matte white model - 30169
25"W x 36-3/4"H x 19"D
1" screws (x 4)
Base (x1)
Bumpers (x 4)
Dark chocolate model - 30158
Gray model - 30165
Matte white model - 30172
49"W x 36-3/4"H x 19"D
Base (x1)
or e-mail: contactus@magickwoods.com.
Faucet and drain not included.
Dark chocolate model - 30156
Top (x 1)
Knobs (x 2)
Base (x1)
Knobs (x 6)
Bumpers (x 4)
1" screws (x 8)
1-1/2" screws
(x 4)
Dark chocolate models: 30167, 30156, 30157, 30158, 30159
Gray model - 30163
Matte white model - 30170
31"W x 36-3/4"H x 19"D
Top (x 1)
Knobs (x 2)
1" screws (x 4)
Bumpers (x 4)
Top (x 1)
Base (x1)
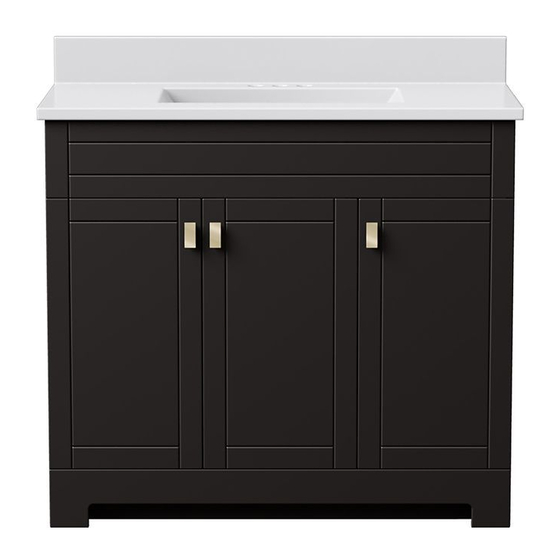
ESSEX VANITY WITH TOP
INSTALLATION INSTRUCTIONS
Gray models: 30168, 30163, 30164, 30165, 30166
Matte white models: 30169, 30170, 30171, 30172, 30173
Dark chocolate model - 30157
Gray model - 30164
Matte white model - 30171
37"W x 36-3/4"H x 19"D
Base (x1)
Dark chocolate model - 30159
Gray model - 30166
Matte white model - 30173
61"W x 36-3/4"H x 19"D
1-1/2" screws
1" screws (x 10)
Top (x 1)
Knobs (x 3)
1" screws (x 6)
Bumpers (x 4)
Top (x 1)
Knobs (x 6)
(x 2)
Bumpers
(x 4)
Advertisement
Table of Contents

Summary of Contents for MAGICKWOODS Elements ESSEX Series
- Page 1 ESSEX VANITY WITH TOP INSTALLATION INSTRUCTIONS Dark chocolate models: 30167, 30156, 30157, 30158, 30159 Gray models: 30168, 30163, 30164, 30165, 30166 Matte white models: 30169, 30170, 30171, 30172, 30173 Questions? Call our customer service department at 1-855-995-5578, 8:30 a.m. - 5 p.m., EST, Monday - Friday or e-mail: contactus@magickwoods.com.
-
Page 2: Warnings And Cautions
PREPARATION Tools required for assembly (not included): • tape measure • electric drill with #2 drill bit (A) • level • (x2) #8 x 2" screws (B) • (x2) wall anchors - if the vanity will not be screwed to wall studs (C) •... -
Page 3: Troubleshooting
Top view Silicone Bottom view Bumper Bumper Figure 3 Figure 4 - Assembled Figure 5 TROUBLESHOOTING Problem: Possible Cause: Corrective Action: 1) Vanity doors or drawers rub Floor or vanity is not level. 1) Use a shim to ensure the vanity is level. against another surface. -
Page 4: Warranty
Drawer slide Lever Drawer front Screws Lever Drawer slide Drawer slide Step 1: Release the lever on each drawer slide (push the lever on the left Step 2: Using a Phillips screwdriver, loosen the screws that fasten the drawer slide downward and the lever on the right drawer slide upward) to drawer slide to the drawer. - Page 5 ESSEX COLLECTION 37" 37" Essex vanity base Replacement parts: 1. Left door - R17907 2. Right door - R17908 3. Non-functional drawer front - R17915 4. Toe-kick - R17916 5. Hinge (overlay) - R37628 6. Hinge fixing plate - 37629 7.


Need help?
Do you have a question about the ESSEX Series and is the answer not in the manual?
Questions and answers