Advertisement
Quick Links
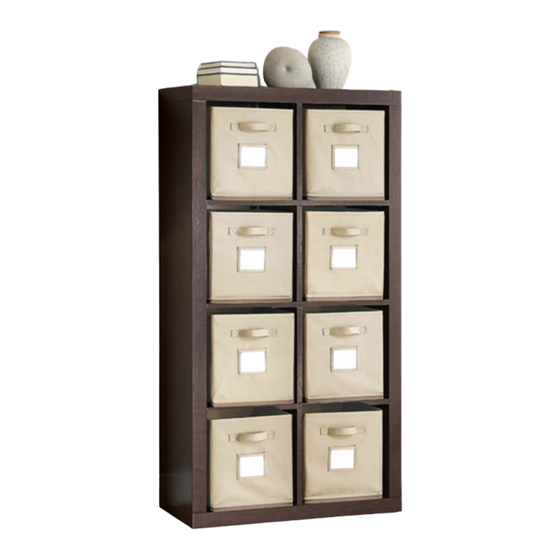
O'nin Espresso Room Divider
IMPORTANT,
If you have any questions regarding assembly or if parts are missing, DO NOT return this item
to the store where it was purchased. Please call our toll-free customer service number and
have your instructions and parts list ready to provide the model name, part name or factory
number:
Model # DMRD-E
ASSEMBLY INSTRUCTIONS
RETAIN
READ CAREFULLY
1-877-494-2536 (English, French and Spanish)
Pacific Standard Time: 8:30 a.m. - 4:30 p.m., Monday to
Friday (in the US, Canada and Mexico only)
Date 2015-11-19 Rev. 1 Factory: RIDHUA (17148)
FOR
FUTURE REFERENCE:
1
LOT NUMBER:
DATE PURCHASED: / /
E
Advertisement

Related Manuals for Whalen O’nin Espresso Room Divider


Summary of Contents for Whalen O’nin Espresso Room Divider
- Page 1 LOT NUMBER: DATE PURCHASED: / / O’nin Espresso Room Divider Model # DMRD-E ASSEMBLY INSTRUCTIONS IMPORTANT, RETAIN FUTURE REFERENCE: READ CAREFULLY If you have any questions regarding assembly or if parts are missing, DO NOT return this item to the store where it was purchased. Please call our toll-free customer service number and have your instructions and parts list ready to provide the model name, part name or factory number: 1-877-494-2536 (English, French and Spanish)
- Page 2 M AX I M U M R E C O M M E N D E D W E I G H T L O A D S MANUFACTURER: Whalen Furniture Manufacturing CATALOG: O’nin Espresso Room Divider (DMRD-E) MADE IN CHINA MAXIMUM LOAD 45.4 kg / 100 lb...
- Page 3 Parts and Hardware List Please read completely through the instructions and verify that all listed parts and hardware are present before beginning assembly. A- Top/Bottom Panel (Qty. 2) B- Side Panel (Qty. 2) C- Large Divider Panel (Qty. 2) D- Center Divider (Qty. 1) (With Cam lock holes) E- Small Divider Panel (Qty.
- Page 4 Assembly Instructions 1. Unpack the unit and confirm that you have all the hardware and required parts. 2. Lay the Side Panels (B) on a level and protected surface with the pre-drilled holes facing up. Screw 2 Cam Bolts (EE) into the plastic bushings included on the center of each Side Panel. Fully tighten with a Phillips screwdriver.
- Page 5 Assembly Instructions 4. Attach the Center Divider (D) and one Small Divider Panel (E) to the assembled Small Divider Panel (E) using 4 Small Wood Dowels (GG). 5. Repeat the last step to install the remaining Large Divider Panel (C) and Small Divider Panel (E) to the last assembly.
- Page 6 Assembly Instructions 9. Insert the Small Wood Dowels (GG) into the end holes of both Small Divider Panels (E) and insert 3 Large Wood Dowels (FF) into each end of the Side Panels (B). 10. Using the Wood Dowels as a guide, attach Top and Bottom Panels (A) to both Side Panels (B) by screwing the Bolts (AA) with Lock Washers (BB) and Flat Washers (CC) into the countersunk holes on Top/Bottom Panel.
- Page 7 TIPPING RESTRAINT HARDWARE NOTE: We have included two sets of Tipping Restraint Hardware for this unit. You must install this hardware to prevent accidents or injuries from falling unit. When properly installed, this restraint can provide protection against the unexpected tipping of the unit due to small tremors, bumps or climbing.
- Page 8 We hope you enjoy your purchase for many years. Thank you for your purchase! QUALITY GUARANTEE Whalen Furniture We are confident that you will be delighted with your purchase. Should this product be defective in workmanship or materials or fail under normal use, we will repair or Whalen Furniture replace it for up to one (1) year from date of purchase.
Need help?
Do you have a question about the O’nin Espresso Room Divider and is the answer not in the manual?
Questions and answers