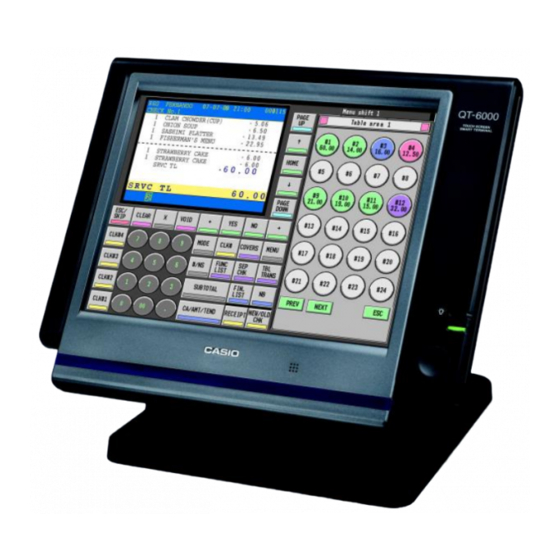
Casio QT6000 Operation Manual
Hide thumbs
Also See for QT6000:
- Reference manual (210 pages) ,
- Service manual (155 pages) ,
- Training manual (112 pages)
Advertisement
Quick Links
Advertisement

Subscribe to Our Youtube Channel
Related Manuals for Casio QT6000


Summary of Contents for Casio QT6000
- Page 1 QT6000 OPERATION MANUAL...
- Page 2 A. Making Sales B. Tables C. Errors and Refunds D. Reports...
- Page 3 A. Making Sales Ensure register is in REG mode. Sign on by pressing your Cashier button MAKING A SALE: 1. To sell a food item, select the item directly on the first menu. To sell an item that is on a different menu choose that menu on the screen and then choose the items you wish to sell.
- Page 4 B. Tables Charging Items to new or existing Tables ENTER Table Number (1 to 9999) PRESS OPEN TABLE button PRESS OPEN TABLE (This will show all current open tables) ENTER Items to be charged PRESS CLOSE TABLE Printing Out Table Accounts ENTER Table Number (1 to 9999) PRESS...
- Page 5 Transfer Table This has two uses: A. To transfer an existing check from one table to an open table or to a new table number: ENTER Table Number (1 to 9999) PRESS OPEN TABLE button PRESS OPEN TABLE (This will show all current open tables) ENTER New Table Number to transfer details to PRESS...
- Page 6 C. ERRORS AND REFUNDS Making Corrections to a Transaction: 1. To clear the last item (before the subtotal key is entered), press the ITEM VOID key. 2. To clear earlier items, use the arrow keys to highlight the item you wish to delete, then press the ITEM VOID key.
- Page 7 D. Reports End of Day Cash up 1. Press FUNCT to bring up the Function menu 2. Press REPORTS to bring up the report screen 3. Press DAILY Z to print your end of day totals End of Week Totals 1.
- Page 8 Journal Reports Print J-MEMO without resetting PRESS MODE PRESS X/Z button PRESS Yes (option 1. Daily X) ARROW Down to option 4. J-MEMO PRESS SELECT 1. All WAIT Until report finishes printing PRESS ESC ESC PRESS MODE PRESS REG to return to register operation Print J-MEMO and reset PRESS MODE...
- Page 9 1. Programming keytop descriptions a) Sign in as manager b) Mode c) Program 4 d) 1. Keyboard e) Choose the menu screen you wish to program too ie. Dinner f) 3. Key attribute g) Key Text h) Type in the text i) Press Enter j) Press the key to be reprogrammed k) Press Esc...
- Page 10 PLU Price Changes PRESS MODE PRESS PGM1 button PRESS Yes (1. Unit Price/Qty) PRESS Yes (1. PLU) PRESS Arrow Down or Page Down to reach desired PLU item (or select it from the menu) PRESS Yes to select PLU item ENTER Price (no decimal point required) PRESS...
- Page 11 optional – Department Link PRESS Yes to select Department Link PRESS Arrow Down to select Department Link for PLU item optional – Enabling/Disabling Kitchen Printing Arrow Down to the appropriate “Order Print #” PRESS PRESS Yes to turn on printing to kitchen No to turn off printing to kitchen optional –...
- Page 12 To add this item to the keyboard: (where you know the PLU number x) PRESS Mode and then PGM4 PRESS Yes on 1. Keyboard PRESS Yes on 1. Key Assign ENTER x063 where x is the PLU number (ie. PLU 101 would be 101063) PRESS The space where you want to add this key PRESS...
- Page 13 PRESS Yes to select PLU item ENTER Price (no decimal point required) PRESS Yes to confirm optional – Group Link PRESS Yes to select Group Link PRESS Arrow Down to select Group Link for PLU item PRESS Yes to select optional –...
Need help?
Do you have a question about the QT6000 and is the answer not in the manual?
Questions and answers