Atlantic SOLCC2 Product Manual
Hide thumbs
Also See for SOLCC2:
- Operating manual (4 pages) ,
- Operating manual (21 pages) ,
- Operating manual (21 pages)

Related Manuals for Atlantic SOLCC2

Summary of Contents for Atlantic SOLCC2
- Page 1 Product Manual | Manuel du Produit | Manual del Producto SOLCC2 / SOLCC6 / SOLCCLR / SOLCCH06 / SOLCCH12 / SOLCCSL2 / SOLCCMX3 / SOLCCMX7 / SOLTRANS88 1.330.274.8317 www.ATLANTICWATERGARDENS.com...
-
Page 2: Installation
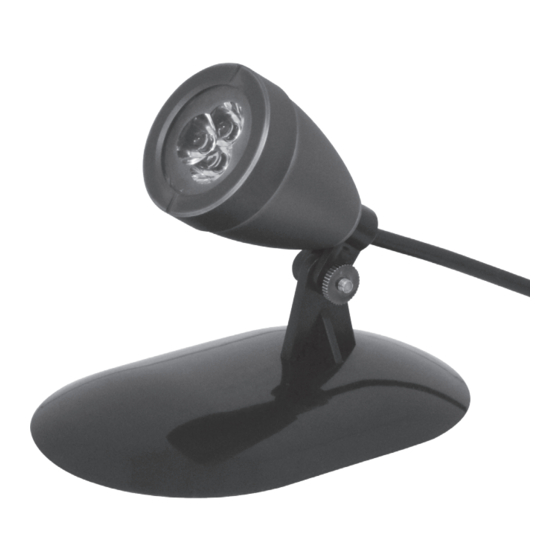
Introduction Thank you for purchasing Atlantic SOL Color Changing Lighting. Atlantic’s SOL lighting features solid brass bodies with an oil-rubbed bronze finish. These lights create a vibrant nighttime atmosphere with 48 different colors and 18 different pre-programed color changing combinations. Multiple fixtures can be connected to run through one transformer and be controlled by one remote. -
Page 3: Maintenance
When camouflaging the light cord with rocks and gravel, always leave enough slack in the cord so that the fixture can be raised above water level for servicing. SOLCC2: Maintenance Brass Lens Ring... - Page 4 Maintenance Replacement LED Bulbs are available for SOL Spout Lights. To loosen and tighten the brass lens ring on SOL Spout Lights, use the included key. Simply place the key in the slots on the brass lens ring to loosen or tighten. Ensure that all components are installed correctly after servicing. Inspect the silicone gaskets for defects and proper placement before re-assembling.
- Page 5 WIRING KITS - SOLCCMX3 / SOLCCMX7 All SOL Color Changing LED lights and wiring components are connected via a six wire quick-connect plug. SOL Color Changing LED Lights will not operate if plugs are aligned incorrectly. The six pronged connectors have raised arrows that indicate proper alignment. Color Changing six wire quick-connect plugs carry both AC and DC current to the in-line driver.
-
Page 6: Operation
WIRING KITS - SOLTRANS88 Installation Connect the supplied quick-connect pigtail to the power outlet on the back of the transformer. Loosen the screws on the Spade Connectors outlet terminals and slide the spade connectors on the pigtail under the screw plate. Tighten the screws to secure the spade connectors. -
Page 7: Control Module Installation
Control Module Installation The Control Module is weather-resistant with an IP54 rating. Do not submerse it or expose it to heavy rainfall. It must be mounted off the ground with antenna positioned vertically, close to the power source. Failure to do so will void the warranty. •... -
Page 8: Warranty
• If the SOL Lights blink white six or more times, it is clearing all codes. Repeat steps 1-3. Warranty All Atlantic SOL Color Changing Lighting carries a five-year limited warranty. All SOL Wiring Components carry a five-year limited warranty. - Page 9 Problem Possible Cause Possible Solution No input power to the Verify power to the outlet is on / Check GFCI reset transfomer Check the reset button / circuit breaker on the transformer No outlet power from Verify if the transformer is operational by Lights will not the transformer moving the timer to the ON position...
- Page 10 1.330.274.8317 www.ATLANTICWATERGARDENS.com...
Need help?
Do you have a question about the SOLCC2 and is the answer not in the manual?
Questions and answers