Table of Contents
Advertisement
Advertisement
Table of Contents

Related Manuals for Cambridge Audio Incognito SS10


Summary of Contents for Cambridge Audio Incognito SS10
- Page 1 SS10 6.5” Passive Ceiling Speakers Installation Guide...
-
Page 2: Table Of Contents
CONTENTS Introduction ...3 Preparing the location ...4 Painting the frame and grille ...5 Care and maintenance ...5 Mounting the SS10 ...5 Connecting the SS10 ...5 Troubleshooting...7 2 Incognito passive ceiling speakers... -
Page 3: Introduction
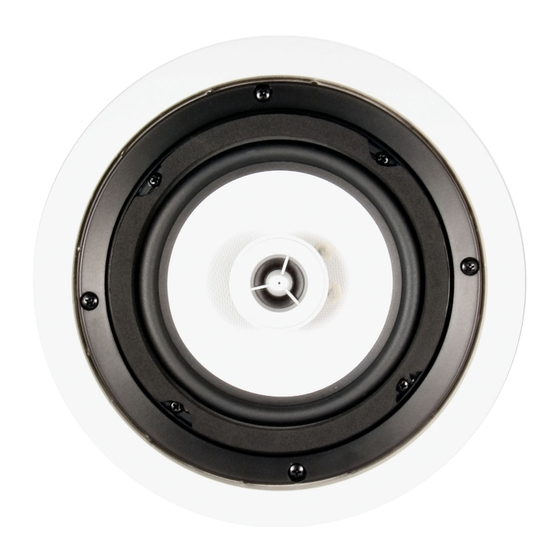
540A/640A Integrated amplifer SS10 Passive ceiling speakers INTRODUCTION Thank you for purchasing these Cambridge Audio incognito SS10 Passive Ceiling Speakers. Incognito is a cost-effective, modular based system using standard Cat-5 or Cat-6 cable to distribute hi-fi quality sound and video images around the home. The SS10 are for use primarily in conjunction with the KP10 amplified keypad. -
Page 4: Preparing The Location
2. Use the template to mark the position for the mounting hole at the selected location. Before cutting ceiling speaker holes, it is suggested that the area is tested for clearance by making an L-shaped probe from strong wire (see illustration below), drilling a small hole in the target area, inserting the probe and slowly turning. -
Page 5: Painting The Frame And Grille
Keep the speakers away from dust or dirt, which can cause premature wear of parts. Wipe the speaker frame occasionally with a damp cloth to keep it looking new. Do not use harsh chemicals, cleaning solvents or strong detergents. -
Page 6: Mounting The Ss10
( -) on your amplification system to black ( - ) on your speakers (fig.2). The speaker cable is coded with a bead or stripe down one lead’s insulation, or has differently coloured wires. Press the spring-loaded red or black tab back to reveal the connecting hole. -
Page 7: Specifications
Check that the interconnects are inserted correctly. The sound is distorted or garbled Check aerial connections and placements. There is a hum coming from the speaker Ensure that all cable connections are secure. There is unwanted background noise and interference Move the tuner (or other source) away from any other electrical equipment that may be likely to cause interference. -
Page 8: Limited Warranty
If your dealer is not equipped to perform the repair of your Cambridge Audio product, it can be returned by your dealer to Cambridge Audio or an authorised Cambridge Audio service agent. You will need to ship this product in either its original packaging or packaging affording an equal degree of protection. - Page 9 SS10 www.cambridge-audio.com Part No. AP17791/1...
Need help?
Do you have a question about the Incognito SS10 and is the answer not in the manual?
Questions and answers