Advertisement
Quick Links
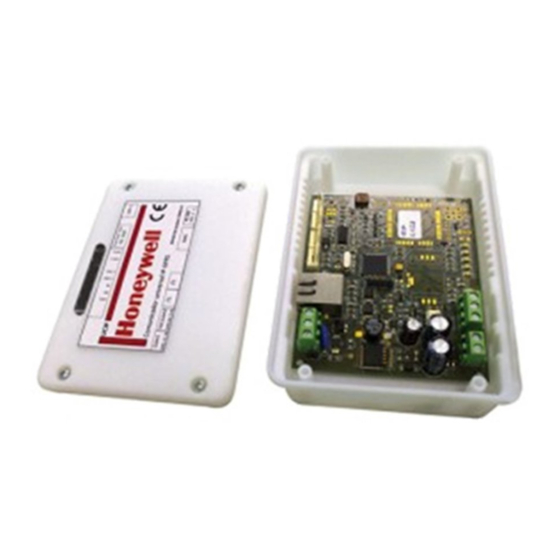
UCIP-GPRS
Installation
1
Standard cable holes
Cut the necessary holes in the SMB-T enclosure
1- RS-232 Port or AUX Port (Panel cable link)
2- RJ45 Ethernet port (Commissioning and Network)
3- GPRS antenna (UCIP GPRS only)
4- 24Vcc External power
4
UCIP GPRS
Honeywell
3
Stick the provided label in the
2
enclosure cover gap oriented with
1
the LEDs window upwards as in
the figure.
3
Connections
Connect needed cables as below:
STATUS LEDS
External Power
GPRS antena
24Vdc
SIM
RS232 Config.
Jp3 Jp4
TTL*
:
Vision/NFS
RS 232
:
ID / DXc ...
+
23 -
2
RS485 Port
AUX.Port.*
1
RS232*
Ethernet Network
Port.
RJ45
RS232 / TTL* Serial port
UCIP Uart1
PC Conf.
DXc/ID3000
ID60
VSN&NFS
DB9
RS232 (ISO232)
RS232
TTL*
RX
3
TX
2
2
TX
2
RX
3
3
GND
5
0V
5
4
HLSI-MA-192_05
2
SMB-T Enclosure installation
The SMB-T enclosure is designed to be installed on
a Surface and inside some devices by using
described holes:
1- Surface mounting: Install the enclosure in the wall close to the
panel by using holes marked as (1).
2- Conventional panels NFS, VSN2 y ESS: Open the panel box
enclosure and remove the left Touch Display or user label plate.
Install the box under the panel mains connector. Fit the box in
the panel back box by the holes marked as 2) and slightly slide it
downwards.
3- Fit the UCIP Communicator in the SMB-T en closure by the 4
screw holders marked 3).
135
mm
3
2
110
mm
1
3
4
Panel connection
Install de communicator as indicated above closet o panel linking the panel
- +
communication port to the corresponding on the UCIP as described in the
table on step 3). Connection examples:
Panel VSN/RP1r/Supra
ISO232 ID3000/DXc
1234
RS232
RS 232 (Panel) to 1+2 UCIP
ISO232 (Panel) to 1 UCIP
JP3 y JP4 UCIP
JP3 y JP4 UCIP RS232 mode
TTL mode
24V external required
Panel Port settings:
ID3000: Level 3 :6)Config. 6) Panel Settings 17) Isolated RS232
1
Port setup: Integration protocol, 9600 baud, 11A. Half Duplex.
Requires 24Vdc.
1
ID60: 5)Config.1)Config. 4)Peripherals 2)RS232: Integration. Half
Duplex.
Requires 24Vdc.
1
DXc: 5)Actions7)Commission1)General Options2ndSerial Port:
TTP,9600.
Requires 24Vdc.
1
VSN / NFS / RP1r (TTL*): *Requires to change Jp3 and Jp4 in UCIP.
+
2
Power (+) by AUX port (VSN / NFS / RP1r)
Read carefully the product manual before to install this material.
Settings
5
Configuration Console / Hyperterminal
The UCIP/GPRS can be configured by Ethernet port with RJ45
network cable El UCIP/GPRS or by RS232 serial port (cable not
provided), with it's config tool, Hyperterminal or Telnet
By default it has the following serial port and IP settings:
Default Serial P. UCIP:
RS232: 9600 Baud
No parity
1- To configure UCIP via RS232 port, make the cable: RS232-PC Conf.DB9
2- To configure UCIP via ETHERNET, Configure your PC in the sane IP
range as the UCIP: WindowsStart Control PanelNetwork center
Local area connectionchange adapter settings Properties
Prot.Int(IPv4)PropertiesAlternative IP config:
i.e.IP:192.168.0.50, Mask 255.255.255.0, Gateway 192.168.0.1
3
2
1
79m
m
97m
m
3
UCIP Console tool
DB9 (ID60)
1)Select Port type: TCP/IP Client
3)Clic on connection
3-Abra la consola de config. deUCIP o el Hyperterminal de Windows y
seleccione Puerto Serie y el puerto o TCP IP con la IP del UCIP puerto 23:
- Puerto Serie Com: 9600 bds,0,None,None
- Puerto TCP IP Client: 192.168.0.100, Puerto 23
Consola UCIP:
>Type here your
command
6
ETHERNET UCIP local IP and Port ETHERNET
TCPIP [local IP] [network Mask] [Gateway] [dhcp on/off] IP UCIP Config.:
i.e. 192.168.0.100,Mask:255.255.255.0,Gateway:192.168.0.1;DHCP:off
192.168.0.100 255.255.255.0 192.168.0.1 off
>TCPIP
>OK: Operation completed
CONFIG [Port] [Parameter] :
4- Para acceder a Configuración , con el cursor en la ventana de conexión
>CONFIG TCPSERVER
presione 3 veces la tecla "ESC" de su PC e inserte la clave "1234"
>OK: Operation completed
Note: In TG supervisor, set in panel config. Link : TCP/IP, permits multiple link
7
Central Receiver Alarm Center CRA IP
UCIP GPRS permits up to 2 IP address to send system states
to an IP compatible Receiver CRA1 and CRA2
CRA1 [CLIENT#][IP CRA][IP PORT][Alive T]
Default IP address: 192.168.0.100
[Password][Channel: ETH+GPRS;ETH;GPRS]
Mask: 255.255.255.0
Gateway:192.168.0.1
i.e. Client # AAAAAA, Receiver IP 192.168.1.100 and port
Config. Port:23
10001, Alive test time 60seg, encrypted password 111111 and
send only by GPRS channel:
>CRA1
AAAAAA 192.168.1.100 10001 60 111111 GPRS
>OK: Operation completed
CRA2 [CLIENT#][IP CRA][IP PORT][Alive T][Password]
[Channel_Send:GPRS+ETH;GPRS;ETH;_FAIL;_EVER]
i.e. Client # AAAAAA, Receiver IP 192.168.1.102 and port
10002, Alive test time 60seg, encrypted password 111111,
send only by GPRS channel and send on CRA1 fail :
>CRA1
AAAAAA 192.168.1.102 10002 60 111111 GPRS_FAIL
>OK: Operation completed
8
Config GPRS Network (i.e.FireIMT)
PIN [SIM PIN] : PIN of SIM card..
-Recommended to remove SIM PIN in a celular pone to
avoid lock it on error.
Ej. PIN XXXX. SIM must be placed to check the PIN
XXXX
>PIN
>OK: Operation completed
GPRS [APN mobile network][User][Password]
wlapn.es honeywell honeywell
GPRS
>OK: Operation completed
9
2)Type the UCIP IP and Port 23
UCIP GPRS can send SMS messages to a SMS compatible
Alarm Receiver or up to 2 user mobile telephones.
SMS[SMS Receiver phone][MOBILE1][MOBILE2]
ej. SMS sending to user mobile phone 699887766
>SMS
NONE 699887766 NONE
>OK: Operation completed
1234
4)
TYPE CONFIG COMMANDS, as described in steeps 6
to 9, including your data (red color in the examples),
separate and press ENTER to send it.
Set IP port i.e..5000
5000
Honeywell Life Safety Iberia, S.L. reserves the right to do any change in this information without notice.
For accurate and updated information go to
www.honeywelllifesafety.es
SMS Message sending to user Mobil
Advertisement

Related Manuals for Honeywell UCIP-GPRS


Summary of Contents for Honeywell UCIP-GPRS
- Page 1 Power (+) by AUX port (VSN / NFS / RP1r) HLSI-MA-192_05 Read carefully the product manual before to install this material. Honeywell Life Safety Iberia, S.L. reserves the right to do any change in this information without notice. For accurate and updated information go to www.honeywelllifesafety.es...
- Page 2 -GPRS BIDIRECTIONALITY ACTIVE ALRM4 DL4-RED -TCP/IP BIDIRECTIONALITY ACTIVE UCIP-GPRS is shipped to be connected to the Honeywell GPRS APN to be linked to the FireIMT online server and associated services. BLINK DL5-GREEN SOFTWARE WORKING When UCIP is connected to he compatible panels it recognizes the panel protocol and its serial port is automatically set to communicate ON: Powered inactive process with it.
Need help?
Do you have a question about the UCIP-GPRS and is the answer not in the manual?
Questions and answers