
Related Manuals for Bosch DIP-6083-8HD


Summary of Contents for Bosch DIP-6083-8HD
- Page 1 DIVAR IP 6000 2U DIP-6080-00N, DIP-6082-8HD, DIP-6083-8HD Quick Installation Guide...
-
Page 3: Table Of Contents
Setting the IP address 4.3.1 Remote desktop connection 4.3.2 Physical connection VRM Appliance 4.4.1 Default installation 4.4.2 Disabling the VRM service Standard system configuration Additional software and documentation Service and repair Bosch Sicherheitssysteme GmbH Quick Installation Guide 2014.01 | V4 | DOC... -
Page 4: Safety Precautions
AC adaptors. Using any other cables and adaptors could cause a malfunction or a fire. Electrical Appliance and Material Safety Law prohibits the use of UL or CSA-certified cables (that have UL/CSA shown on the code) for any other electrical devices. 2014.01 | V4 | DOC Quick Installation Guide Bosch Sicherheitssysteme GmbH... -
Page 5: Electrical Safety Precautions
Installation should only be carried out by qualified customer service personnel in accordance with the applicable electrical regulations. Disposal Your Bosch product has been developed and manufactured using high- quality materials and components that can be reused. This symbol means that electronic and electrical devices that have reached the end of their working life must be disposed of separately from household waste. -
Page 6: Esd Precautions
The chassis cover must be in place when the system is operating to assure proper cooling. Out of warranty damage to the system can occur if this practice is not strictly followed. 2014.01 | V4 | DOC Quick Installation Guide Bosch Sicherheitssysteme GmbH... -
Page 7: Important Notices
Operation of this equipment in a residential area is likely to cause harmful interference, in which case you will be required to correct the interference at your own expense. Bosch Sicherheitssysteme GmbH Quick Installation Guide 2014.01 | V4 | DOC... -
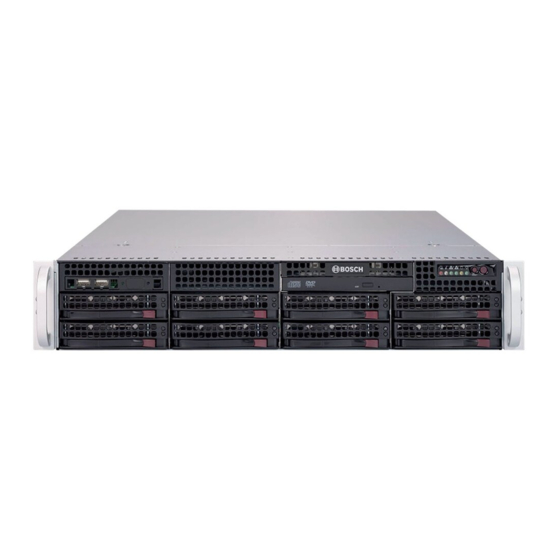
Page 8: System Overview
There are several LEDs on the front and rear of the chassis. The LEDs show the over-all status of the system and the activity and health of specific components. Front view: Power Failure Power Overheat/Fan Fail Reset NIC1/NIC2 Power on/off 2014.01 | V4 | DOC Quick Installation Guide Bosch Sicherheitssysteme GmbH... - Page 9 System overview | en Rear view: 2x mains connection 100 – 240 VAC, Serial interface COM1 50 - 60 Hz 2x PS/2 Monitor (VGA) 2x USB 2x Ethernet (RJ45) Bosch Sicherheitssysteme GmbH Quick Installation Guide 2014.01 | V4 | DOC...
-
Page 10: System Setup - Hardware
You should inspect the box the chassis was shipped in and note if it was damaged in any way. If the chassis itself shows damage, file a damage claim with the carrier who delivered it and notify the respective Bosch RMA desk. You will also need it placed near at least one grounded power outlet. -
Page 11: Rack Precautions
Equipment should be mounted into a rack so that the amount of airflow required for safe operation is not compromised. Mechanical loading Equipment should be mounted into a rack so that a hazardous condition does not arise due to uneven mechanical loading. Bosch Sicherheitssysteme GmbH Quick Installation Guide 2014.01 | V4 | DOC... -
Page 12: Rack Mounting Instructions
To separate the inner and outer rails: Locate the rail assembly in the chassis packaging. Extend the rail assembly by pulling it outward. 2014.01 | V4 | DOC Quick Installation Guide Bosch Sicherheitssysteme GmbH... -
Page 13: Installing The Inner Rails
Make sure the extension faces "outward" just like the pre- attached inner rail. Slide the extension toward the front of the chassis. Secure the chassis with 2 screws as illustrated. Repeat steps for the other inner rail extension. Bosch Sicherheitssysteme GmbH Quick Installation Guide 2014.01 | V4 | DOC... -
Page 14: Installing The Outer Rails To The Rack
Optional screws may be used to secure the to hold the front of the chassis to the rack. 2014.01 | V4 | DOC Quick Installation Guide Bosch Sicherheitssysteme GmbH... -
Page 15: Installing The Chassis Into A Telco Rack
Plug the power cord from the power supply unit into a high-quality power strip that offers protection from electrical noise and power surges. We recommended using an uninterruptible power supply (UPS). Press the power button on the control panel to turn on the system. Bosch Sicherheitssysteme GmbH Quick Installation Guide 2014.01 | V4 | DOC... -
Page 16: System Setup - First Steps
Changing the default configuration is only required if: – VRM is not used (DIVAR IP 6000 as standard iSCSI disk array) – The default settings are not appropriate for another Bosch iSCSI application. Setting the IP address The default IP address can be changed as follows: –... - Page 17 Bosch VRM Appliance initial configuration window will be shown. Use this program to configure the disk array’s IP Address. The top level view of Bosch VRM Appliance initial configuration displays an overview of the system’s configuration and settings. Select the link Configure networking to get access to the network configuration.
- Page 18 Click Properties, select Internet Protocol Version 4 (TCP/IPv4), then click Properties. This dialog box allows you to set the IP address configuration according to the requirements of your network. Reboot the system. 2014.01 | V4 | DOC Quick Installation Guide Bosch Sicherheitssysteme GmbH...
-
Page 19: Physical Connection
Bosch VRM Appliance initial configuration window will be shown. Use this program to configure the disk array’s IP Address. The top level view of Bosch VRM Appliance initial configuration displays an overview of the system’s configuration and settings. Select the link Configure networking to get access to the network configuration. - Page 20 Click Properties, select Internet Protocol Version 4 (TCP/IPv4), then click Properties. This dialog box allows you to set the IP address configuration according to the requirements of your network. Reboot the system. 2014.01 | V4 | DOC Quick Installation Guide Bosch Sicherheitssysteme GmbH...
-
Page 21: Vrm Appliance
64 channel license. This license might be expanded by a maximum of another 64 channels. VRM provides a powerful recording engine to be used with the Video Client or Bosch VMS for live viewing and replay of recorded data. Video Client and Bosch VMS must be purchased through the respective Bosch sales channels. -
Page 22: Additional Software And Documentation
Notice! For all viewing related configuration tasks (IVA, for example), the VRM configurator along with the Bosch Video SDK (available from the Bosch web site) must be installed on a separate client system. Documentation for Bosch Security System products can be found as follows: www.boschsecurity.com >... -
Page 23: Service And Repair
Service and repair | en Service and repair The storage system is backed by a 3-year warranty. Issues will be handled according to Bosch Support and Service guidelines. The standard Bosch support way of working applies. The following modules may be replaced on-site in case of a failure without returning the unit: –... - Page 28 Bosch Sicherheitssysteme GmbH Robert-Bosch-Ring 5 85630 Grasbrunn Germany www.boschsecurity.com © Bosch Sicherheitssysteme GmbH, 2014...
Need help?
Do you have a question about the DIP-6083-8HD and is the answer not in the manual?
Questions and answers