Advertisement
R
Assembly Instructions
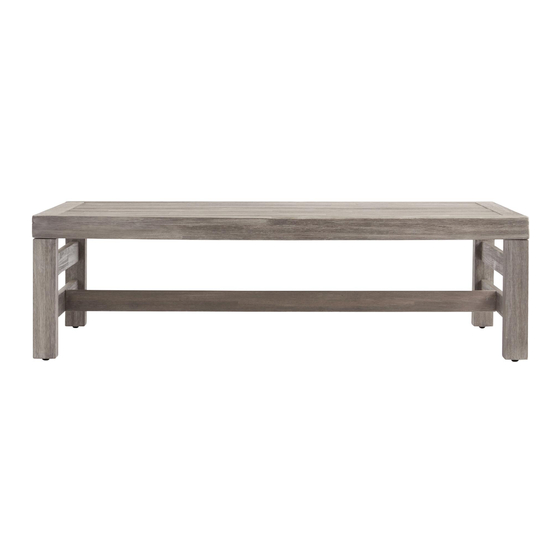
Marciana Coffee Table
SKU - 582731
THANK YOU FOR PURCHASE. IF YOU HAVE ANY QUESTIONS
PERTAINING TO THE ASSEMBLY OF THIS FURNITURE PIECE, PLEASE CONTACT
THE NEAREST COST PLUS WORLD MARKET STORE.
IF YOU ARE NOT NEAR A STORE, PLEASE CALL OUR CUSTOMER SERVICE CALL
CENTER TOLL FREE AT 877-967-5362 FOR ASSISTANCE.
Page 1
Advertisement
Table of Contents

Related Manuals for World Market 582731


Summary of Contents for World Market 582731
- Page 1 THANK YOU FOR PURCHASE. IF YOU HAVE ANY QUESTIONS PERTAINING TO THE ASSEMBLY OF THIS FURNITURE PIECE, PLEASE CONTACT THE NEAREST COST PLUS WORLD MARKET STORE. IF YOU ARE NOT NEAR A STORE, PLEASE CALL OUR CUSTOMER SERVICE CALL CENTER TOLL FREE AT 877-967-5362 FOR ASSISTANCE.
- Page 2 Component List LABEL PICTURE DESCRIPTION Table Top Leg Frame Bottom Stretcher Hardware LABEL PICTURE DESCRIPTION Allen Bolt (M8 x 30mm) Allen Screw (M6 x 50mm) Allen Key Wood Cap Page 2...
- Page 3 Do not assemble on flooring or carpet- Assemble on a clean non-marring surface (packing foam)- Save all packaging until finished- In case of missing parts, please contact nearest Cost Plus World Market store or our customer service call center 877-967-5362. Page 3...
- Page 4 Assembly Steps NOTE:It is strongly recommended that two adults are on hand for the assembly of this product. Step 1 (H-1) Allen Bolt x 3 (H-3) Allen key (H-3) (H-1) Using a second person to assist you, place Table Top (A) upside down onto a padded, non-marring surface.
- Page 5 Assembly Steps Step 3 (H-3) (H-1) Allen Bolt x 3 (H-2) (H-2) Allen Screw x 1 Allen key (H-3) (H-3) (H-1) Using a second person to assist you, repeat Steps 1 and 2 to install the remaining Leg Frame (B) and attach the other side of Bottom Stretcher (C) as shown. FULLY TIGHTEN all Allen Bolts (H-1) and Allen Screws (H-2) from Steps 1-3 at this time using Allen Key (H-3).
- Page 6 Assembly Steps Step 5 NOTE: Levelers can be used for additional adjustment if needed. Using a second person to assist you, place the completed assembly into the desired location and then finalize any leveling adjustments using the adjustable levelers as shown. Assembly is now complete and the product is ready for use.
- Page 7 Care & Maintenance Do not put hot items directly on furniture surface. Do not clean furniture with harsh cleansers or polish. Do not place furniture near heating or cooling vents. Do not write on furniture without a padded barrier to protect the surface. Store furniture or use an appropriate furniture cover during cold or inclement weather.
Need help?
Do you have a question about the 582731 and is the answer not in the manual?
Questions and answers