Table of Contents
Advertisement
Quick Links
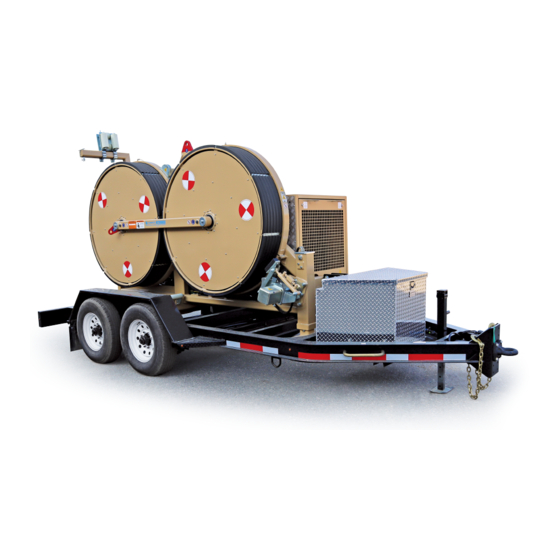
1150/PT1250/PT1252
PT
Quick start guide
Tensioning operations
GETTING STARTED
The purpose of this guide is to quickly get the machine ready for pulling operation. It
IS NOT
designed to replace the
Operator's manual. Please take time to review operator's manual information before preforming any operations
with this unit.
Control panel is located in the left rear area of the unit behind a small access door.
Insert key and turn unit on, it will take a few moments for the machine to boot up.
1-888-980-1209
1
8
PAGE
of
www.conduxtesmec.com
Advertisement
Table of Contents

Related Manuals for Condux TESMEC PT1150

Summary of Contents for Condux TESMEC PT1150
- Page 1 1150/PT1250/PT1252 Quick start guide Tensioning operations GETTING STARTED The purpose of this guide is to quickly get the machine ready for pulling operation. It IS NOT designed to replace the Operator’s manual. Please take time to review operator’s manual information before preforming any operations with this unit.
- Page 2 Once the loading process is finished a check mark will appear in the lower right corner of the screen press the lower right button to continue. The next screen shown will only appear if scheduled maintenance is due. If the screen above appears one of the maintenance timers has been tripped and the unit is due for scheduled mainte- nance.
- Page 3 REEVING and ANCHORING Reeving: For the working load of this machine under most circumstances 4 complete wraps are all that will be needed. Additional wraps can be added if slipping problems occur. The units come with 135 feet of quality rated rope when new to assist in loading bull wheels.
- Page 4 AUX EQUIPMENT MENU / SETTING JACK and STABILIZERS With the machine correctly positioned and proper anchors established. You will want to deploy the stabilizer legs and front hydraulic plow. Press the button circled in above, this will bring you to the AUX equipment menu on the next page. If the screen doesn’t appear to be the same as the one above, press the button highlighted in GREEN until it does.
- Page 5 LINKING RADIO CONTROLLER AND FUNCTIONS Now you are ready to activate the radio control transmitter, the indicator circled above indicates the radio is currently not connected. To connect follow the steps below: Turn on remote by rotating the switch shown above clockwise. After a few seconds the display will look similar to the picture above.
- Page 6 REMOTE CONTROL, CONTROLLER SCREENS & SCREEN INDICATORS Now the machine should be ready to operate, there are many more options and menus to access in the control panel. Important information concerning safe operation and specifications are listed in the Manual. *** Sync switches mentioned above are for multiple machine operation.
- Page 7 AUX EQUIPMENT — REEL WINDER/REEL STAND These ports at the rear of the unit are for connecting your reel winder/reel stand. Note that all Condux Tesmec reel winders and reel stands operate between a pressure ranges of 450 psi to 2000 psi. Some important things must be done to avoid dangerous or troublesome issues when using aux equipment.
- Page 8 BASICS OF PULLING OPERATIONS SETTING THE MAXIMUM PULL FORCE Setting maximum pull force will limit the maximum allowable force the machine will apply to the pulling rope. When set the unit will not pull with anymore force than programmed. If the machine reaches this level all motion will stop. This knob on the controller is used to adjust the maximum pull force setting.
Need help?
Do you have a question about the TESMEC PT1150 and is the answer not in the manual?
Questions and answers