Advertisement
Quick Links
Advertisement

Related Manuals for Heart of House 355/7732


Summary of Contents for Heart of House 355/7732
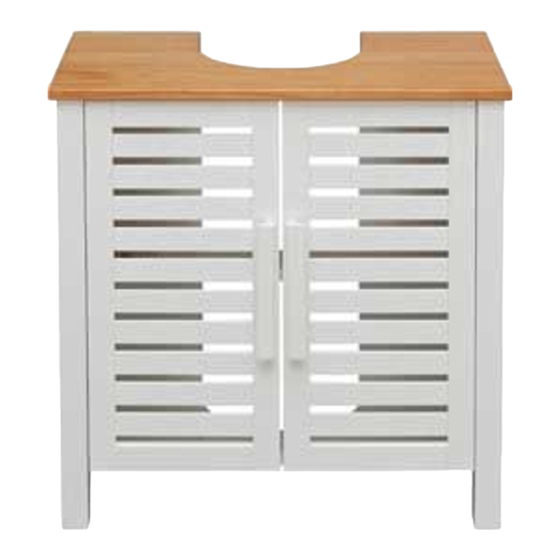
- Page 1 Sandford Undersink Storage Unit 355/7732 60cm 30cm 60cm Issue 1 - 09/29/14...
- Page 3 Components - Panels If you have damaged or missing components, call the Customer Helpline:08456 400800 Please check you have all the panels listed below Left front leg Right front leg Left back leg Right back leg Left side panel Right side panel Bottom panel Adjustable shelf Top panel...
-
Page 4: Tools Required
Components - Fittings Please check you have all the fittings listed below Note:The quantities below are the correct amount to complete the assembly .In some cases more fittings may be supplied than are required. Locking Pin x 16 Locking Nut x 16 Curved hinge x 4 Φ3 x 12mm Screw x 14... - Page 5 Assembly Instructions Step 1 Assembling left and right unit Planform Outside Inside Screw locking pin into left front and left back leg Screw locking pin into left side panel Attach left front leg and left back leg onto left side panel,Insert locking nut into left side panel , tighten the locking nut to...
- Page 6 Assembly Instructions Step 2 Assembling bottom panel NOTE:It would be useful to ask someone to help you at this stage. Attach left side panel and right side panel to bottom panle Insert locking nut into bottom panel and tighten it to secure the unit.
- Page 7 Assembly Instructions Step 8 Step 4 Assembling back panel NOTE:It would be useful to ask someone to help you at this stage. Use 12mm screws to attach back panels onto the unit as shown. Step 5 Assembling adjustable shelf panel NOTE:It would be useful to ask someone to help you at this stage.
- Page 8 Assembly Instructions Step 6 Step 8 Assembling door panel NOTE:It would be useful to ask someone to help you at this stage. Use 12mm screws to fix curved hinge onto door panels Use 25mm screws to fix handles onto doors . Carefully attach door panels to the unit by fixing curved hinge onto the side panels with 12mm...
Need help?
Do you have a question about the 355/7732 and is the answer not in the manual?
Questions and answers