Draper Clarion Assembly/Mounting Instructions
Hide thumbs
Also See for Clarion:
- Assembly/mounting instructions (4 pages) ,
- Brochure (32 pages) ,
- Assembly/mounting instructions (4 pages)
Table of Contents
Advertisement
Quick Links
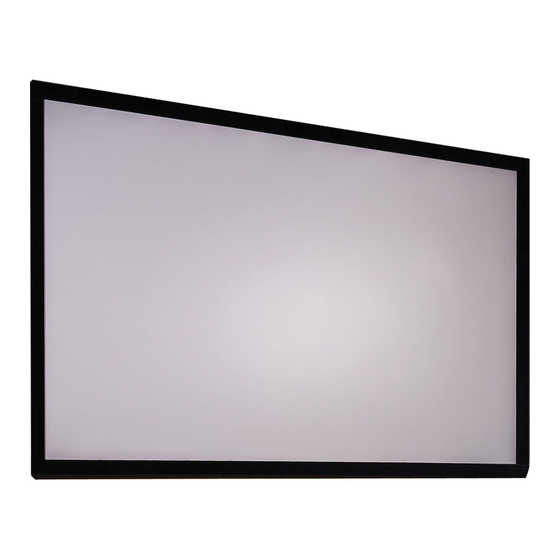
Curved Clarion Permanently Tensioned Projection Screen by Draper
1 Read instructions through completely before proceeding.
2 Follow instructions carefully. Installation contrary to instructions
invalidates warranty.
3 When lifting assembled screen, do not lift at only one corner; lift at
both corners. Lifting by one corner could result in damage to the
screen frame, especially on large screens.
4 Screen should be accessible for complete removal should fabric become
damaged or should other service be required.
5 Screen should be installed level (using a carpenter's level).
6 Nothing should be fastened to screen frame or viewing surface.
7 Make sure you have received all parts (see parts list below and exploded
diagram on page 2).
8 Screwdriver required for screen assembly; drill and screwdriver needed
for attachment to wall.
9 The ideal temperature range for assembling folding screens to prevent
damaging the surface is 68°-78° F (20°-26° C). Assembling below
recommended temperatures may damage surface and void warranty.
NOTE: Screen has been thoroughly inspected and tested at factory and
found to be operating properly prior to shipment.
Clarion—Hardware and Parts List
Frame Extrusions - 4
Self-tapping
Screws-8
Surface Retention
Extrusions- varies
Viewing Surface - 1
Frame Preparation
1 Clean area and place frame assembly pieces face down. Snap plastic
corner pieces into ends of aluminum frame extrusions as indicated in
Figures 1 through 4.
Patented by Draper, Inc., U.S. Patent Nos. 6,785,047; 7,113,332; and 7,369,310.
®
Copyright © 2013 Draper Inc.
Form CurvedClarion_Inst13 Printed in U.S.A.
Assembly/Mounting Instructions
Caution
Corners - 4
Part No. C098.019
Plastic Tubing - 4
Brackets -
See last page of
instructions
Figure 1
2 Check to verify that all four (4) plastic corners are seated securely in
aluminum frame extrusion lengths (see Fig. 5). Lock in place using eight (8)
self-tapping screws.
Caution: Do not over-tighten fasteners—over-tightening could cause
damage to the frame corners.
If you encounter any difficulties installing or servicing your Clarion screen, call your
dealer or Draper, Inc., Spiceland, Indiana, (765) 987-7999; or fax (765) 987-7142.
Figure 2
Figure 3
Figure 4
Figure 5
(Continued on Page 2)
Advertisement
Table of Contents

Related Manuals for Draper Clarion


Summary of Contents for Draper Clarion
- Page 1 ® Figure 5 (Continued on Page 2) If you encounter any difficulties installing or servicing your Clarion screen, call your Copyright © 2013 Draper Inc. Form CurvedClarion_Inst13 Printed in U.S.A. dealer or Draper, Inc., Spiceland, Indiana, (765) 987-7999; or fax (765) 987-7142.
- Page 2 Curved Clarion by Draper Page 2 of 3 3 Repeat on opposite side of surface, again using notch #2. Surface Preparation 4 Repeat steps 2-3 with remaining edges of surface. 1 Move frame assembly out of the way, unroll viewing surface and place on 5 Ensure surface retention extrusions are centered lengthwise in tension smooth/clean surface.
- Page 3 35" 100" 60" x 80" 64" x 84" C501.322 39" 72" x 96" 76" x 100" C501.322 44" Clarion (Exploded Rear View) Clarion Frame— 150" 90" x 120" 94" x 124" C501.323 59" 108" x 144" 112" x 148" C501.323 71"...
Need help?
Do you have a question about the Clarion and is the answer not in the manual?
Questions and answers