Symbol PPT 2837 Setup Instructions
Hide thumbs
Also See for PPT 2837:
- Product reference manual (362 pages) ,
- Quick reference manual (45 pages)
Advertisement
Quick Links
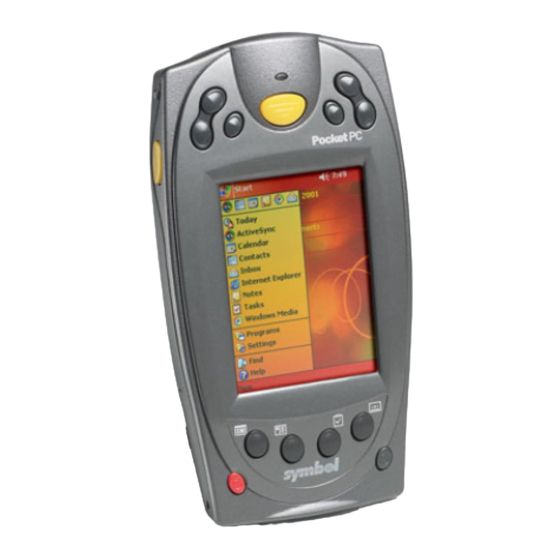
Symbol PPT 2837/PDT 8137
Set-Up Instructions
1. SIM Installation (USE Caution here)
The first step is to install the SIM. Remove the battery (you may need to lift a
Mylar cover over the SIM chip). Slide the silver lock to the right and lift the left side
of the SIM holder. Insert the SIM with the gold contacts facing down and to the
right. The notched corner should be to the lower left as shown below:
Push the SIM holder back down and slide the silver lock to the left to lock it in
place (replace the Mylar cover, if applicable)
2. GSMDemo Installation
GSMDemo.exe should already be installed on the PPT 2837/PDT 8137. If it is not
there, you will need to obtain it from the software download site at Symbol
(http://devzone.symbol.com), and install it on the handheld device ActiveSync.
The purpose of this is to verify your environment. This software will enable you to
verify that the device can connect and establish the proper settings.
Advertisement

Related Manuals for Symbol PPT 2837


Summary of Contents for Symbol PPT 2837
- Page 1 (replace the Mylar cover, if applicable) 2. GSMDemo Installation GSMDemo.exe should already be installed on the PPT 2837/PDT 8137. If it is not there, you will need to obtain it from the software download site at Symbol (http://devzone.symbol.com), and install it on the handheld device ActiveSync.
- Page 2 3. GSMDemo Settings On the PPT 2837/PDT 8137, do Start...Programs...File Explorer, and manually search for the gsmdemo.exe and click on it. You may find it in the application directory under My Device. Note: you must change the GPRS BAND to be 1900, otherwise the device will not connect to the network and this utility will help you accomplish that task.
- Page 3 Click on Change Band and change it to be 1900Mhz. Click Change to accept. Click Yes to return you to the previous screen. Click GPRS Parameters…...
- Page 4 For T-Mobile networks, set the parameters as follows: Context ID: 1 Context: VoiceStream (Note that this is T-Mobile) PDP Type: IP APN: internet2.voicestream.com (This is important - default is internet3.voicestream.com. Only use internet3.voicestream.com if the SIM is provisioned for VPN access. If you don’t know what that means, use internet2) Recommend that all other parameters be set to zero (0).
- Page 5 Click OK. Then click Yes (twice) to SAVE these updated values. Click OK to return to the Main Screen. VERY IMPORTANT: When you return to the following screen, you MUST, click File, then Exit. Do not click X as this does not close the Virtual Com9 port properly and you will not be able to connect to the internet.
- Page 6 4. Creating the Connection ON the Symbol 2837 or 8137 Click on Start (top left corner of PDA) then click Settings...
- Page 7 Click on the Connections tab, then click Connections on the screen: Click Modify on the Internet Settings area. Click on New…...
- Page 8 Click on New. Assign it a name (e.g., GPRS). Select a modem and choose Virtual GPRS modem on COM9 and set the Baud rate to be 19200: Click Advanced. Make sure Data bits is 8, Parity is None, Stop bits is 1, and Flow Control is set to hardware.
- Page 9 Click Next on the Make New Connection screen. Enter the appropriate Country Code (USA=1), local area code (not required) and in the Phone number field, enter *99# (star 99 pound)...then click Next Uncheck all boxes, leave all other defaults and click FINISH. Click OK at the top right of the screen.
-
Page 10: Dialer Settings
5. Dialer Settings While in Connections, click on Dialing Locations tab at bottom of screen. Then click on Dialing Patterns. Each entry may have 9, (nine, comma) as the first two characters. If it does, remove the 9 and the comma from each entry and leave everything else alone. Click OK. - Page 11 Click the lower X to return to the Main Screen. This completes the setup of the Symbol PPT 2837/PDT 8137.
Need help?
Do you have a question about the PPT 2837 and is the answer not in the manual?
Questions and answers