
Subscribe to Our Youtube Channel
Related Manuals for GINNY’S 779570


Summary of Contents for GINNY’S 779570
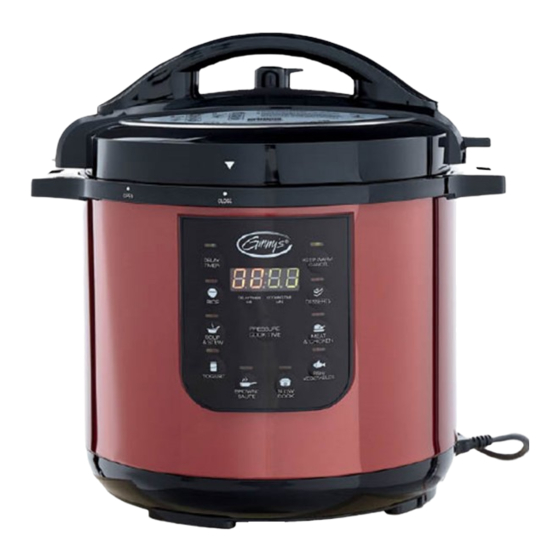
- Page 1 BRAND 8-QT. MULTICOOKER User Guide Item: 779570 Ginnys.com • 800-544-1590 Facebook.com/GinnysBrand Pinterest.com/GinnysBrand...
-
Page 2: Table Of Contents
____________________________________________________________ ____________________________________________________________ Thank you for purchasing a Ginny’s Brand 8-Qt. Multicooker. Pressure cooking puts quicker and healthier dinners at your fingertips. The family-size pot, presets galore and several safety features make using this pressure cooker simple and worry free! See the recipes in the back of this manual to get started—through breakfast to dinner and even dessert. -
Page 3: Important Safeguards
IMPORTANT SAFEGUARDS READ CAREFULLY BEFORE USING AND SAVE THESE INSTRUCTIONS! • FOR HOUSEHOLD USE ONLY. DO NOT USE THIS APPLIANCE FOR OTHER THAN ITS INTENDED USE. • Remove all packaging materials and labels before first use. • Wash all removable parts before first use. See Cleaning & Care. •... -
Page 4: Electrical Safety And Specifications
ELECTRICAL SAFETY This appliance is equipped with a detachable 3-prong grounding plug. This is a safety feature to reduce the risk of electrical shock. DO NOT use an exten- sion cord with this appliance. The plug should be attached to the appliance before connecting to an electrical outlet. - Page 5 GET TO KNOW YOUR APPLIANCE View Under Lid 1. Lid Release Button 10. Base Interior 2. Safety Float Valve 11. Notch for Rest Tab 3. Pressure Limiting Valve 12. Base Handle (2) 4. Lid Handle 13. Condensation Cup 5. Lid Rest Tab 14.
-
Page 6: How To Operate
HOW TO OPERATE WARNINGS: • If the lid is not properly locked on to the base, the unit will not operate (except for BROWN/SAUTÉ function). The display will show “LID” and the unit will beep until the lid is properly closed. •... - Page 7 HOW TO OPERATE Note: Before first use, fill the pot to the 6-cup line with water, lock on the lid (see #2 below), turn the pressure release valve to AIRTIGHT and press SOUP/STEW. When complete, CANCEL and unplug the unit. Release the pressure naturally (see page 8, #12) for 15 minutes.
- Page 8 HOW TO OPERATE 9. While the unit is building up pressure, the display will show a scrolling pattern. When the unit is pressurized, the cooking time count down will show on the display with a “P.” 10. When done cooking, the cooker will automatically switch to KEEP WARM. The KEEP WARM light will illuminate and the display will show “bb.”...
- Page 9 HOW TO OPERATE MAKING RICE 1. When cooking rice, the maximum amount is 8 cups. 2. When measuring rice, use the plastic rice cup provided along with the pot markings to make perfect rice every time. DO NOT use a standard measuring cup.
- Page 10 HOW TO OPERATE USING BROWN/SAUTÉ 1. Press BROWN/SAUTÉ. Press PRESSURE COOK TIME if more than 5 minutes will be needed. DO NOT use the lid. 2. Add food to the pot per your recipe and stir or turn food as needed. DO NOT use metal utensils! 3.
- Page 11 HOW TO OPERATE Tip: Frozen foods can be cooked in the pressure cooker. However, we DO NOT recommend cooking very large cuts of frozen meats (a whole roast, a block of frozen ground meat or a whole chicken). a. For individual cuts of frozen meats up to 1" thick, the cooking time does not need to be altered.
-
Page 12: Cleaning & Care
CLEANING & CARE 1. Turn off and unplug the appliance. 2. Always allow the appliance to cool completely before cleaning. 3. DO NOT use abrasive pads or harsh cleaning solutions. 4. Use a soft cloth, sponge or rubber spatula to remove any stuck-on food or residue. -
Page 13: Troubleshooting
TROUBLESHOOTING PROBLEM SOLUTION Is the pressure limiting Yes. Set to AIRTIGHT to pressurize. Set to EXHAUST to valve supposed to be release pressure (or cook without pressure). loose? Nothing happens Make sure the lid is locked securely and the power cord when I press a is attached and plugged into an electrical outlet. - Page 14 TROUBLESHOOTING PROBLEM SOLUTION Food is finished cooking Make sure all the pressure and steam has been com- and all the pressure is pletely released. Make sure the safety float valve is no released, but I cannot longer in the up position (if it’s stuck, tap the lid gently unlock and open the lid.
-
Page 15: Recipes
RECIPES Hearty Pressure Cooker Breakfast 2 Tbsp. butter, divided ½ tsp. red pepper flakes 16 oz. breakfast sausage 10 eggs, beaten ½ onion, chopped 2 cups pork or beef gravy 1½ lbs. potatoes, diced 2 cups cheddar cheese, shredded 1 bell pepper, chopped 4 green onions, minced ¼... - Page 16 RECIPES Macaroni and Cheese ½ cup lemon juice 1 Tbsp. onion powder 1 Tbsp. baking soda 1 Tbsp. garlic powder 5 cups water 1 tsp. dry mustard 16 oz. elbow noodles 1 cup milk 2 tsp. black pepper 16 oz. cheddar cheese, shredded 1 Tbsp.
- Page 17 RECIPES Potato Bacon Soup 2 lbs. potatoes, peeled and diced 6–8 slices bacon, cooked and crumbled 2 carrots, sliced ½ cup plain Greek yogurt 1 onion, diced 2 cups cheddar cheese, shredded 4 cups vegetable stock 1 tsp. salt ¼ cup butter ½...
- Page 18 RECIPES Asian Pulled Pork ½ cup hoisin sauce 1 Tbsp. Worcestershire sauce ¼ cup rice vinegar 3 Tbsp. chili-garlic paste, divided ¼ cup soy sauce 4 lbs. boneless pork roast ¼ cup honey 1. To avoid cross contamination, wash hands, cutting boards, utensils, etc. after touching raw meat.
- Page 19 RECIPES Chipotle Chicken Stew 20 oz. diced tomatoes with chilies 1 tsp. salt 1 onion, cut-up 2 zucchinis, chopped 1" pieces 3 chipotle chilies in adobo sauce 15 oz. black beans, drained 2 Tbsp. adobo sauce 1 cup corn 4 cloves garlic 2 lbs.
-
Page 20: Warranty
WARRANTY Ginny’s warrants this product free from defects in material and workmanship for one year from provable date of purchase. Within this warranty period, Ginny’s will repair or replace, at its option, defective parts at no charge provided the product is returned freight prepaid with proof of purchase to Ginny’s.
Need help?
Do you have a question about the 779570 and is the answer not in the manual?
Questions and answers