Advertisement
Available languages
Available languages
Quick Links
Quality Products
for the way you live
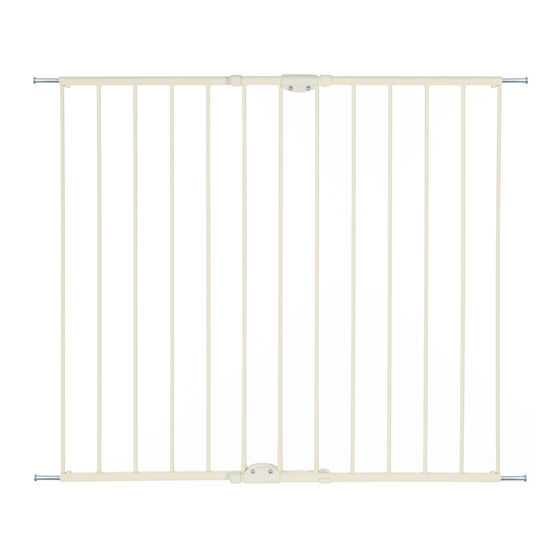
INSTRUCTIONS FOR MODELS 5050/5052
IMPORTANT: PLEASE KEEP FOR FUTURE REFERENCE!
For helpful tips and instructions, please visit our website: www.northstatesind.com or
contact our Customer Care department via email: CustomerService@northstatesind.com
Phone: (763) 486-1754 or Toll Free: (800) 848-8421
Intended for use with children 6-24 months
Advertisement

Subscribe to Our Youtube Channel
Related Manuals for NORTH STATES 5050


Summary of Contents for NORTH STATES 5050
- Page 1 Quality Products for the way you live INSTRUCTIONS FOR MODELS 5050/5052 IMPORTANT: PLEASE KEEP FOR FUTURE REFERENCE! For helpful tips and instructions, please visit our website: www.northstatesind.com or contact our Customer Care department via email: CustomerService@northstatesind.com Phone: (763) 486-1754 or Toll Free: (800) 848-8421...
-
Page 2: Installation
Template 90° 90° To ensure safe operation, additional or replacement parts should be obtained only from North States or its authorized distributors. Contact information appears on the cover of these instructions. Any damage to property during installation or your safety gate is the sole responsibility of the end user. - Page 3 Page 3 Measurements Overlap (bar) Top view (inch) 28.68~30.87 Overlap (bar) 30.87~33.72 33.72~36.56 36.56~39.41 39.41~42.24 42.24~45.10 Fitting openings (inch) 45.10~47.85 Please refer to the chart to determine the correct width of the opening and the position of the The dimensions in the chart include the wall-mount brackets. Always make sure the safety barrier is in the correct position according to the template.
- Page 4 Page 4 Step 4 the gate frame by reinserting the screws. (4a~4b) Step 5 Do not mount hardware into sheet rock or plaster. Hardware is included for use in solid materials only such as wood or metal. Hold template (L) against the surface side).
- Page 5 Page 5 Step 8 Secure the lower and upper latches with the mounting screws provided. Step 9 upper and lower spindles of the gate frame on the upper and lower hinge pins. Secure the spindles in place by tightening the set screws with the Allen wrench. Then slide the top portion of the hinge back on the hinge pins until it clicks securely in place.
- Page 6 Page 6 90° Note: After installation, ensure that the gate is perpendicular. The gate can not be mounted at an angle. (11a ~ 11b) WARNING When using the gate at the top of the stairs, never allow the gate to swing over the stairs. Recess the gate at least 1"...
-
Page 7: Operation
Page 7 Operation Opening the gate: 1. Press the upper latch button downward with thumb. 2. Lift the latch spindle out of the cup. 3. Push or pull the gate open. Closing the gate: 1. Manually swing the gate closed. 2. - Page 8 Page 8 Distributed in the United States by North States Industries, Inc. 5455 Highway 169 N Plymouth, MN 55442 www. northstatesind.com Manufactured in China...
- Page 9 Productos de calidad para su estilo de vida INSTRUCCIONES PARA MODELES 5050/5052 IMPORTANTE: ¡CONSERVE COMO REFERENCIA FUTURA! Para obtener consejos útiles e instrucciones, visite nuestro sitio web: www.northstatesind.com, o Comuníquese con nuestro Departamento de Atención al Cliente por correo electrónico: CustomerService@northstatesind.com...
-
Page 10: Instalación
90° 90° Para garantizar su funcionamiento seguro, las piezas adicionales o los repuestos deben adquirirse solo a North States o a sus distribuidores autorizados. La información de contacto aparece en la portada de las instrucciones. Cualquier daño a la propiedad durante la instalación de su puerta de seguridad es exclusiva Instalación... - Page 11 Página Medidas Superposición Vista desde arriba (pulgadas) (barrotes) 28.68~30.87 Superposición (barrotes) 30.87~33.72 33.72~36.56 36.56~39.41 39.41~42.24 42.24~45.10 Apertura de los accesorios 45.10~47.85 (pulgadas/cm) Consulte el cuadro para determinar el ancho correcto de la abertura y la posición de los accesorios de montaje. Las dimensiones de la tabla incluyen los soportes de montaje en pared.
- Page 12 Página Paso 4 superiores reinsertando los tornillos en el marco de la puerta. (4a~4b) Paso 5 No instale la tornillería en paneles o paredes de yeso. La tornillería que se incluye sirve para su uso exclusivo en materiales sólidos como la madera o el metal.
- Page 13 Página Paso 8 Fije los pestillos superior e inferior con los tornillos de montaje proporcionados. Paso 9 bisagra. Coloque los ejes inferior y superior del marco de la puerta en los pasadores inferior y a colocar la parte superior de la bisagra en los pasadores hasta que encaje en su lugar. (9a ~ 9c) Nota: Al tirar de los ejes, no se pase de la...
- Page 14 Página CORRECTA 90° Nota: Después de la instalación, asegúrese de que la puerta esté de manera perpendicular. La puerta no puede montarse en ángulo. (11a ~ 11b) ADVERTENCIA Si se utiliza la puerta en la parte superior de las escaleras, jamás permita que esta se mueva sobre ellas. Ajuste del bloqueador de dirección Tanto el pestillo superior como el inferior cuentan con un bloqueador de una dirección.
- Page 15 Página Procedimiento Cómo abrir la puerta: 1. Presione el botón del pestillo superior hacia abajo con el pulgar. 2. Levante el eje del pestillo hacia afuera de la traba. 3. Empuje o tire de la puerta para abrirla. Cómo cerrar la puerta: 1.
- Page 16 Página Distribuido en los Estados Unidos por North States Industries, Inc. 5455 Highway 169 N Plymouth, MN 55442 www. northstatesind.com Fabricado en China REV 7/2021...
Need help?
Do you have a question about the 5050 and is the answer not in the manual?
Questions and answers