Table of Contents
Advertisement
Quick Links
10' x 20'
Celebration ii DeCoratiVe CanoPY
assembly instructions
DesCriPtion
MoDel #
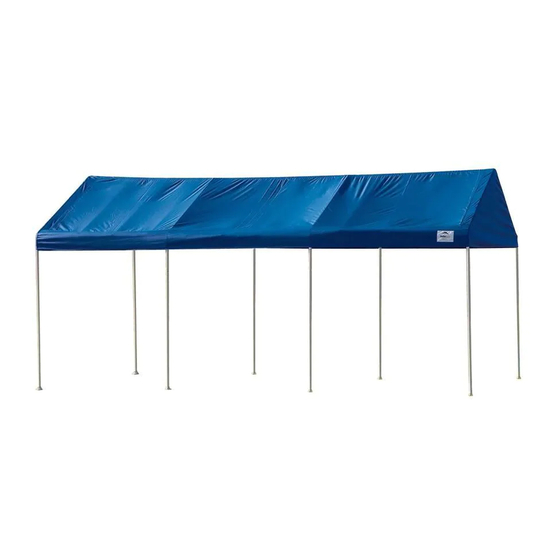
10' x 20' Celebration II Decorative Canopy - 8 Leg - Blue
25759
25765
10' x 20' Celebration II Decorative Canopy - 8 Leg - Green
25766
10' x 20' Celebration II Decorative Canopy - 8 Leg - Black
reCoMMenDeD tools
Please read instructions COMPLETELY before assembly. This shelter MUST be securely anchored.
THIS IS A TEMPORARY STRUCTURE AND NOT RECOMMENDED AS A PERMANENT STRUCTURE.
Before you start: 2+ individual recommended for assembly, approximate time 2 hr.
1-800-524-9970
150 Callender Road
Canada:
Watertown, CT 06795
1-800-559-6175
www.shelterlogic.com
6/28/10
Page 1
05-25759_25765_25766-0C
Advertisement
Table of Contents

Related Manuals for ShelterLogic Celebration II


Summary of Contents for ShelterLogic Celebration II
- Page 1 10' x 20' Celebration ii DeCoratiVe CanoPY assembly instructions DesCriPtion MoDel # 10' x 20' Celebration II Decorative Canopy - 8 Leg - Blue 25759 25765 10' x 20' Celebration II Decorative Canopy - 8 Leg - Green 25766 10' x 20' Celebration II Decorative Canopy - 8 Leg - Black reCoMMenDeD tools Please read instructions COMPLETELY before assembly.
- Page 2 This shelter product is manufactured with quality materials. It is designed to fit the ShelterLogic custom fabric cover included. ® , LLC ShelterLogic Shelters offer storage and protection from damage caused by sun, light rain, tree sap and animal - bird excrement.
- Page 3 25759 10' x 20' Celebration II Decorative Canopy - 8 Leg - Parts List - Model # 25765 25766 Description of Parts: Quantity Part # Rafter Poles, Swedge 24.4" 13104 Poles, Swedge 40.7" 13103 Cross Poles 39.5" 13107 Leg Poles 39"...
- Page 4 2. asseMble rooF FraMe Swedged Tubes Connections NOTE: Swedged tubes insert into plain ends at the crimp marks. 13103 13104 Crimp Marks 3. asseMble leGs & attaCH to rooF FraMe Leg Pole Assembly A. Attach all legs to one side first. Let the other side of roof frame rest on the ground.
- Page 5 5. PlaCe CoVer anD seCUre to CanoPY FraMe A. Place cover over assembled roof frame with grommet panels facing down, aligned with cross rails. B. Make sure the cover is properly aligned on the frame, secure the four corners of the cover with bungees to the frame first Attach remaining bungees.
Need help?
Do you have a question about the Celebration II and is the answer not in the manual?
Questions and answers