Table of Contents
Advertisement
Quick Links
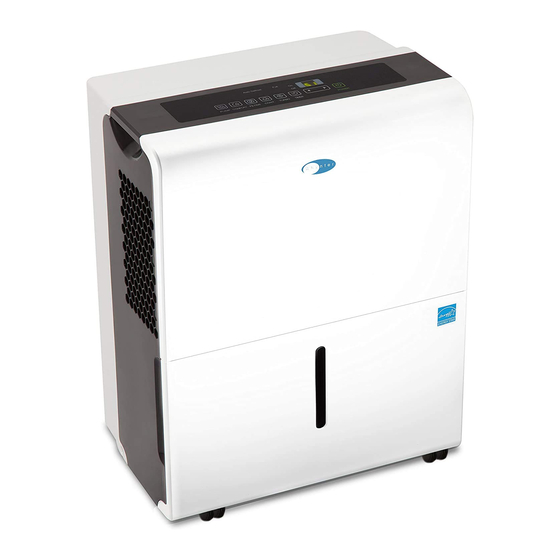
Whynter 50 Pint Portable Dehumidifier with Built-in Pump in
White, Energy Star
Model # : RPD-506EWP
INSTRUCTION MANUAL
Congratulations on your new Whynter product. To ensure proper operation, please read this Instruction Manual carefully before
using this product. Keep this manual in a safe place for future reference.
Advertisement
Table of Contents

Related Manuals for Whynter RPD-506EWP


Summary of Contents for Whynter RPD-506EWP
- Page 1 Whynter 50 Pint Portable Dehumidifier with Built-in Pump in White, Energy Star Model # : RPD-506EWP INSTRUCTION MANUAL Congratulations on your new Whynter product. To ensure proper operation, please read this Instruction Manual carefully before using this product. Keep this manual in a safe place for future reference.
-
Page 2: Disposal Information
We trust that your Whynter dehumidifier will provide the performance and reliability that we stand for. Your Whynter dehumidifier is designed to remove moisture in the air by con- densation removal and collecting the condensation water in the drain bucket or draining through a drain hose. -
Page 3: Table Of Contents
TABLE OF CONTENTS PAGE DISPOSAL INFORMATION SAFETY PRECAUTIONS INTRODUCTION / TECHNICAL DATA PARTS AND CONTROLS 6 - 9 OPERATION INSTRUCTIONS 10 - 11 12 - 13 WATER DRAINAGE INSTRUCTIONS MAINTENANCE TIPS ON WHEN TO USE YOUR PORTABLE DEHUMIDIFIER 16 - 17 TROUBLESHOOTING WARRANTY INFORMATION... -
Page 4: Safety Precautions
SAFETY PRECAUTIONS TO REDUCE THE RISK OF FIRE, ELECTRICAL SHOCK, OR INJURY WHEN USING YOUR PORTABLE DEHUMIDIFIER, FOLLOW THESE WARNING BASIC PRECAUTIONS: Read all instructions before using the appliance. Never clean appliance parts with flammable fluids. The fumes can create a fire hazard. Do not use an exces- sively wet cloth, industrial solvents, and oil-based products to clean this appliance. -
Page 5: Introduction / Technical Data
Make sure the drain bucket is fitted correctly otherwise appliance will not turn on. Energy Saving Guide This Whynter dehumidifier is an Energy Star rated appliance. Follow the guide below can help to get the best performance and efficiency from your dehumidifier. •... -
Page 6: Parts And Controls
PARTS AND CONTROLS OTHER ACCESSORIES: 1. 20“ Continuous/ Gravity Drain hose 2. 16.5 ft. pump drain hose 3. Power Cord Buckle Power Cord Buckle Installation For easy storage, install the power cord buckle to the rear of the unit. Once installed, the power cord can be wrapped using the buckle for safe storage. - Page 8 PARTS AND CONTROLS 5. Timer Button Press to activate the Timer delay feature, in conjunction with the Timer Control Buttons. Timer Delay Switch Off When the appliance is ON, press the Timer button to activate Auto-stop function and the Timer OFF light will come on.
- Page 9 PARTS AND CONTROLS Bucket Full Indicator The appliance will run continuously until the set RH% is reached or when the drain bucket is full. When the drain bucket is full, the Full indicator light will illuminate and the dehumidifier will stop operating. Remove the water in the bucket with two hands, then place the drain bucket back to it's proper position and the machine will start operating again.
-
Page 10: Operation Instructions
OPERATION INSTRUCTIONS AIR FILTERS INSTALLATION Your Whynter portable dehumidifier is equipped with washable pre-filter. This pre-filter removes large particles such as dust, pet hair and dander. WARNING: NEVER OPERATE THE DEHUMIDIFIER WITHOUT THE FILTER START OPERATION 1. Ensure that the appliance is connected to the power socket. - Page 11 OPERATION INSTRUCTIONS POSITIONING THE UNIT This dehumidifier is intended for indoor residential applications only and should not be used for commercial or industrial applications. Place the dehumidifier on a smooth, hard and level floor strong enough to support the appliance with a full bucket of water.
-
Page 12: Water Drainage Instructions
WATER DRAINAGE INSTRUCTIONS Using a portable dehumidifier requires that collected water be emptied frequently. Draining water from this unit can be done in 3 different methods: 1. DRAIN BUCKET METHOD 1. When the bucket is full, the Full indicator light will light. The com- Fig. - Page 13 WATER DRAINAGE INSTRUCTIONS 2. CONTINUOUS / GRAVITY DRAIN METHOD Water can be automatically emptied into a floor drain by attaching the 20” continuous/gravity drain hose to the con- tinuous/gravity drain outlet. To use gravity to drain your portable dehumidifier, it must be installed on a level surface or at least 12 inches above the ground, on a sturdy table or shelf unit.
-
Page 14: Maintenance
MAINTENANCE CAUTION: Always turn off and unplug the dehumidifier before cleaning 1. Cleaning the air grille and main unit Use a damp cloth to wrap the main unit or use water and a mild detergent. Do not use bleach, chemicals or abrasives. -
Page 15: Tips On When To Use Your Portable Dehumidifier
Indoor environments with excessive moisture can cause mold and fungus to thrive inside the walls and be- neath the carpet. Many types of mold are potentially dangerous and can lead to health problems. This Whynter Portable Dehumidifier reduces the amount of moisture in the air inside a home, which makes it far more difficult for harmful mold to grow. -
Page 16: Troubleshooting
TROUBLESHOOTING Many common portable dehumidifiers problems are easily resolved. Try the troubleshooting suggestions below to see if the problems can be resolved before having to contact the service department. Problem Possible Causes Solutions The dehumidifier does not Power failure / outage. ... - Page 17 The dehumidifier leaks. Continuous/gravity drain hose Secure the drain hose. is loose. Cracked drain bucket. Contact Whynter Service Department. The dehumidifier does not Power failure or outage. Restore the power supply. operate. The automatic switch, line ...
- Page 20 All defective products and parts covered by this warranty will be repaired or replaced on a mail-in basis to Whynter’s Service Center. This warranty is not transferable. After the expiration of the warranty, the cost of labor and parts will be the responsibility of the original owner.
Need help?
Do you have a question about the RPD-506EWP and is the answer not in the manual?
Questions and answers