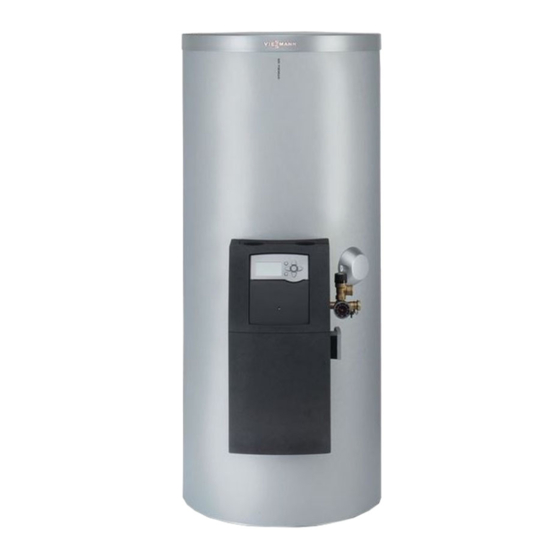
Viessmann Vitocell 100-B Installation Instructions For Contractors
Dual mode dhw cylinder 400/500 l with solar-divicon
Hide thumbs
Also See for Vitocell 100-B:
- Service instructions manual (28 pages) ,
- Installation instructions manual (24 pages) ,
- Technical data manual (12 pages)

Subscribe to Our Youtube Channel
Related Manuals for Viessmann Vitocell 100-B


Summary of Contents for Viessmann Vitocell 100-B
- Page 1 VIESMANN Installation instructions for contractors Vitocell 100-B Type CVBA Dual mode DHW cylinder 400/500 l with Solar-Divicon VITOCELL 100-B Dispose after installation. 5838690 GB 2/2019...
- Page 2 ■ Never touch the hot surfaces of uninsulated pipes and fittings. Repair work Please note Repairing components that fulfil a safety func- tion can compromise the safe operation of the system. Replace faulty components only with genuine Viessmann spare parts.
-
Page 3: Table Of Contents
Index Information Disposal of packaging ................Symbols ....................Intended use ..................Product information ................Vitocell 100-B, type CVBA ..............■ Installation information Product information ................Connections ..................■ Siting information ................■ Installation sequence Siting the DHW cylinder ................. Fitting the Solar-Divicon and thermal insulation ........ -
Page 4: Information Disposal Of Packaging
Disposal of packaging Please dispose of packaging waste in line with statu- tory regulations. Symbols Symbol Meaning Reference to other document containing further information Step in a diagram: The numbers correspond to the order in which the steps are carried out. Warning of material losses and environ- mental pollution Live electrical area... -
Page 5: Product Information
Incorrect usage also occurs if the components in the system are modified from their intended use (e.g. through direct DHW heating in the collector). Product information Vitocell 100-B, type CVBA ■ Enamelled DHW cylinder with internal indirect coil for heating domestic hot water in conjunction with the following: –... -
Page 6: Installation Information Product Information
Product information Connections Fig. 1 Female connection for immersion heater DHW with high limit safety cut-out Cylinder temperature sensor Heating water flow DHW circ. Heating water return Connection for thermometer sensor Cold water/drain outlet Siting information Please note ■ Provide adequate clearance from the wall so that the The thermal insulation must not be able to come Vitosolic 100 can be operated (if installed). - Page 7 Product information (cont.) Installation dimensions (150) Fig. 3 Immersion heater installation instructions Maintain the minimum clearance. Fig. 2 Note The unheated length of any threaded immersion Wall clearance heater installed on site must be at least 100 mm. Female connection for immersion heater The threaded immersion heater must be suitable for installation in enamelled DHW cylinders.
-
Page 8: Installation Sequence Siting The Dhw Cylinder
Siting the DHW cylinder Level the cylinder and fit the thermal insulation mat at the bottom. Fig. 4 Bag with type plate Note If no immersion heater is installed, seal the front female connection with the plug supplied. Fitting the Solar-Divicon and thermal insulation Removing the Solar-Divicon cover Fig. -
Page 9: Fitting Threaded Studs And Spacer Sleeves
Fitting the Solar-Divicon and thermal insulation (cont.) Fitting threaded studs and spacer sleeves Fig. 6 1. Screw in threaded studs by hand as far as they will 2. Slide on spacer sleeves. -
Page 10: Fitting The Thermal Insulation Jacket
Fitting the Solar-Divicon and thermal insulation (cont.) Fitting the thermal insulation jacket Fig. 7 Note 2. At the front of the cylinder: Attach 5 clip fasteners ■ 2 people are required for the following work. to the edges of the right and left sections of the ■... -
Page 11: Fitting The Profile Bracket
Fitting the Solar-Divicon and thermal insulation (cont.) Fitting the profile bracket Fig. 8 Note After fitting the profile bracket, check that no parts of the thermal insulation jacket are trapped under the spacer sleeves or profile bracket. Fitting the overflow pipe Fig. -
Page 12: Fitting The Solar-Divicon
Fitting the Solar-Divicon and thermal insulation (cont.) Fitting the Solar-Divicon The example shows the installation of a Solar-Divicon SD1 with Vitosolic. The Solar-Divicon SDIO/SM1A is installed in the same way. Fig. 10 1. Position Solar-Divicon on bracket plate. 3. Secure Solar-Divicon with M8 nuts. Torque: 20 Nm 2. -
Page 13: Route The Cable
Fitting the Solar-Divicon and thermal insulation (cont.) Route the cable. Guide the SDIO/SM1A or SD1cable through the recess in the Solar-Divicon to the back. Route it under the thermal insulation to the back strip. Note To make it easier to route the power cable behind the Solar-Divicon, group wires together with adhesive tape. - Page 14 Fitting the Solar-Divicon and thermal insulation (cont.) Fig. 14 1. Close Solar-Divicon cover. 4. Attach cover strips. 2. Position cylinder cover. 5. Attach logo. 3. Trim cover strip, then remove protective foil.
-
Page 15: Connecting The Immersion Heater Ehe
Fitting the Solar-Divicon and thermal insulation (cont.) Fig. 15 1. If no immersion heater is inserted, seal the female 3. Affix the type plate. connection with the cover. 2. Fit back cover strip and bezels. Connecting the immersion heater EHE Immersion heater EHE installation instructions Please note To prevent equipment damage, cables must not... -
Page 16: System Scheme With Solar Collectors And Boiler
(for version with SDIO/SM1A electronics module: S1 Collector temperature sensor (for version with Insert SDIO/SM1A plug into electronics mod- SDIO/SM1A electronics module: Insert SDIO/ ule) SM1A plug into electronics module) Vitocell 100-B or Vitocell 100-W comprising: & DHW cylinder Solar-Divicon Vitosolic 100 SDIO/SM1A electronics module... -
Page 17: Connections On The Dhw Side
Connecting the heating water side and solar side (cont.) Solar collector Fill valve Boiler Temperature sensor, high limit safety cut-out Heating circuit (STB) Cylinder temperature sensor (on the heating water side) Fig. 17 1. Install the heat supply control unit. 4. -
Page 18: Safety Valve
Connections on the DHW side (cont.) Permissible temperature: 95 °C Permissible operating pressure: 10 bar (1.0 MPa) Test pressure: 16 bar (1.6 MPa) Fig. 18 Expansion vessel Flow regulating valve Drain outlet Pressure gauge connection DHW circulation pipe Non-return valve Drain outlet Spring-loaded check valve Cold water... -
Page 19: Install High Limit Safety Cut-Out (Stb)
Install high limit safety cut-out (STB) Please note Damaged sensor leads (capillary tubes) result in incorrect sensor functions. Never route the connecting lead and the capilla- ries near hot components. Do not kink the capillary tubes. Fig. 19 1. Seal in the sensor well. 3. -
Page 20: Setting The Response Temperature
Install high limit safety cut-out (STB) (cont.) Fig. 20 High limit safety cut-out Plug of solar circuit pump Plug of high limit safety cut-out (to control Solar circuit pump unit) Setting the response temperature Service instructions Reset high limit safety cut-out (STB) Service instructions Connecting the equipotential bonding Connect the equipotential bonding in accordance with... -
Page 21: Specification
Specification Dimensions and weights Type CVBA CVBA Cylinder capacity DIN registration no. 9W271/12-13MC Dimensions Length ( With thermal insulation ■ Excl. thermal insulation ■ Overall width with Solar-Divicon With thermal insulation 1086 1086 ■ Excl. thermal insulation ■ Height With thermal insulation 1612 1942 ■... - Page 24 Viessmann Werke GmbH & Co. KG Viessmann Limited D-35107 Allendorf Hortonwood 30, Telford Telephone: +49 6452 70-0 Shropshire, TF1 7YP, GB Fax: +49 6452 70-2780 Telephone: +44 1952 675000 www.viessmann.com Fax: +44 1952 675040 E-mail: info-uk@viessmann.com...
Need help?
Do you have a question about the Vitocell 100-B and is the answer not in the manual?
Questions and answers