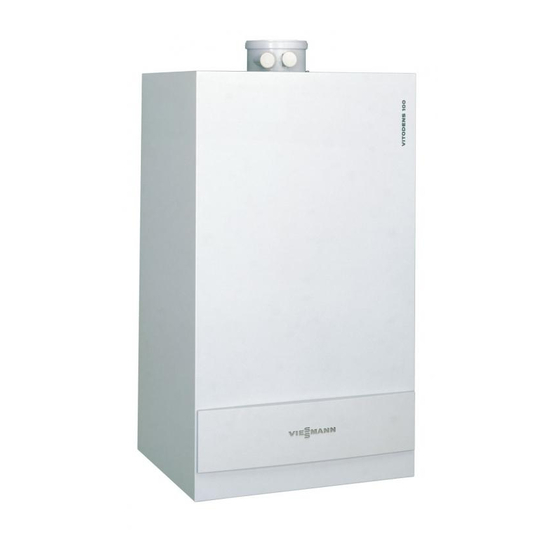
Viessmann Vitodens 100 Installation Information
Return connecting pipe replacement
Hide thumbs
Also See for Vitodens 100:
- Installation and service instructions manual (96 pages) ,
- Manual (96 pages) ,
- Operating instructions manual (20 pages)
Advertisement
Quick Links
Installation information
for heating engineers
Return connecting pipe replacement
for Vitodens 100, type WB1A
Safety instructions
Observe the following safety instructions:
Installation, initial start−up, inspection,
maintenance and repairs must be
carried out by a competent person
(heating engineer/installation
contractor).
Before working on the equipment/
heating system, isolate the power
supply (e.g. by removing a separate
mains fuse or by means of a mains
isolator) and safeguard against
unauthorised reconnection.
5341 210 GB
7/2005
Close the main gas shut−off valve
and safeguard against unauthorised
reopening.
It is not permitted to carry out repairs
on parts that fulfil a safety function.
For replacements, use only original
spare parts from Viessmann or those
which are approved by Viessmann.
Dispose after installation!
Advertisement

Related Manuals for Viessmann Vitodens 100


Summary of Contents for Viessmann Vitodens 100
- Page 1 Installation information for heating engineers Return connecting pipe replacement for Vitodens 100, type WB1A Safety instructions Observe the following safety instructions: Installation, initial start−up, inspection, Close the main gas shut−off valve maintenance and repairs must be and safeguard against unauthorised carried out by a competent person reopening.
-
Page 2: Removing The Burner
Removing the burner 1. Shut down the heating system. 5. Pivot control unit 3 downwards. 2. Close the gas shut−off valve and 6. Remove screws and pull out cover plate 4. safeguard against reopening. 3. Release the screw 1 on the front panel 2 and remove the front panel. - Page 3 Removing the burner (cont.) 7. Pull cables from the fan motor 5, gas valve 6 and ignition unit 7. 8. Remove the control hose 8. 9. Release the gas connecting pipe fitting 9. 10. Release the four screws qP and remove the burner.
- Page 4 Removing the connecting pipe 1. Position a container underneath 4. Remove screws and the flue outlet 5. the boiler water temperature sensor 1, remove the locking spring 2 and remove the boiler 5. Release the hexagon nuts and water temperature sensor 1. remove the heat exchanger 6 Collect drained heating water in with the heating water return...
- Page 5 Removing the connecting pipe (cont.) 6. Release the screws and remove the heating water return connecting pipe 7. 7. Remove the spring clip 8 and the return temperature sensor 9 from the old connecting pipe 7 and fit with the new O ring to the new connecting pipe 7.
- Page 8 Viessmann Werke GmbH & Co KG D 35107 Allendorf Tel: +49 6452 70 0 Fax: +49 6452 70 27 80 www.viessmann.de Viessmann Limited Hortonwood 30, Telford Shropshire, TF1 7YP , GB Tel: +44 1952 675000 Fax: +44 1952 675040 E−mail: info−uk@viessmann.com...
Need help?
Do you have a question about the Vitodens 100 and is the answer not in the manual?
Questions and answers