Advertisement
Quick Links
Advertisement

Subscribe to Our Youtube Channel
Related Manuals for BROSA Alpha Floor Lamp


Summary of Contents for BROSA Alpha Floor Lamp
- Page 1 Alpha Floor Lamp A S S E M B LY G U I D E...
- Page 2 F O R Y O U R S A F E T Y Lift, don’t drag. This protects Check the assembly guide your floor and product. for required components. Assembly requires 1 person. Assembling this product on And it's always easier with a a soft surface protects its friend.
- Page 3 Safety MAX.40W 220-240V ~ 50Hz 1. For indoor use only. 2. Follow instructions carefully. Any deviations may be hazardous, or void your warranty. 3. The external flexible cable or cord of this luminaire cannot be replaced; if the cord is damaged, the luminaire shall be destroyed. 4.
- Page 4 Components Before you get started, check you have all of the pieces below. If anything’s missing, we’ll sort it out right away. Simply visit: www.brosa.com.au/pages/product-return-and-parts-request ① Shade x 1 ② Top Pole x 1 ③ Middle Pole x 2 ③...
- Page 5 Step 1 ③ ② Align a middle pole with the top pole and firmly screw them together. Repeat this for the other middle ③ and then the base pole ④. pole ② ③ ③ ④...
- Page 6 Step 2 Unscrew the bolt attached to the bottom of the pole using the big Allen key A. Keep the removed bolt for the following assembly.
- Page 7 Step 3 Fit the structure formed in Step 2 into the base ⑤ and adjust the base carefully to make sure the bulb holder faces straight forward as shown in the Bird’s View. Insert the bolt removed in Step 2 into the hole from tho bottom of the base and tighten it with the big Allen key A.
- Page 8 Step 4 Gently screw the correct bulb (not included) into the bulb holder.
- Page 9 Step 5 Unscrew the bolt attached to the top of the stand using the small Allen key B. Keep the removed bolt for the following assembly.
- Page 10 Step 6 ① Position the shade over the bulb. Make sure the bracket inside the shade overlaps with the hole on the top of the stand. Fix the shade into place with the bolt removed in Step 5 and the small Allen key ①...
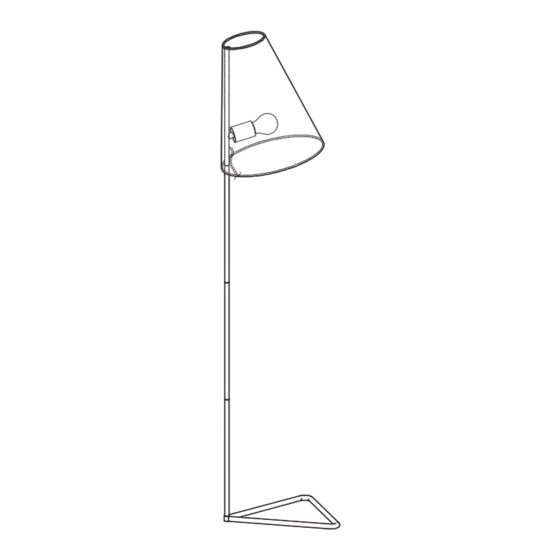
- Page 11 Step 7 Place the completed product in its desired location. Enjoy! We hope your new Alpha Floor Lamp lights up your life!
Need help?
Do you have a question about the Alpha Floor Lamp and is the answer not in the manual?
Questions and answers