
Related Manuals for Gemini MDJ-1000V2


Summary of Contents for Gemini MDJ-1000V2
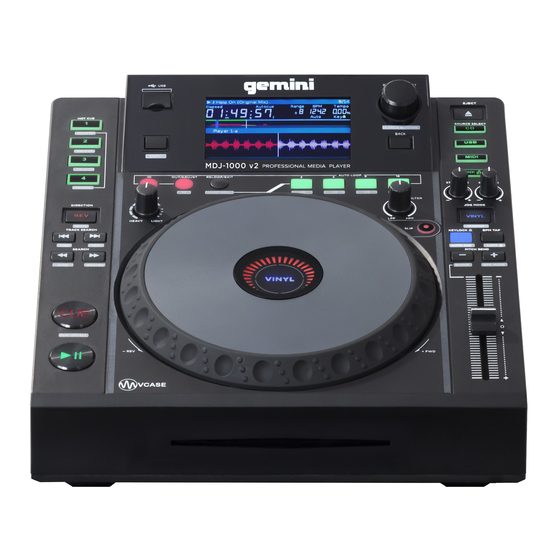
- Page 1 MDJ-1000V2 P R O F E S S I O N A L M E D I A C O N T R O L L E R USER MANUAL Please read the manual carefully before operation! W W W. G E M I N I S O U N D . C O M...
- Page 2 PLEASE READ BEFORE USING APPLIANCE USING APPLIANCE IMPORTANT WARNING AND SAFETY INSTRUCTIONS! CAUTION: This product satisfies FCC regulations when shielded cables and connectors are used to connect the unit to other equipment. To prevent electromagnetic interference with electric appliances such as radios and televisions, use shielded cables and connectors for connections. The exclamation point within an equilateral triangle is intended to alert the user to the presence of important operating and maintenance (servicing) instructions in the literature accompanying the appliance.
- Page 3 Thank you for purchasing our Gemini MDJ-1000V2. We are confident that the Gemini family of products will not only make your life easier through the use of the latest technological advancements in cross-platform connectivity and sound reproduction but will raise the bar for DJ and pro audio products.
- Page 4 P L AYA B L E F O R M AT S Select the MDJ-1000V2 as your device to use it as your audio device. ASIO drivers can also be configured for use with the MDJ-1000V2 and are available at geminisound.com The MDJ-1000V2 plays music files on USB and CD storage devices.
- Page 5 TO P V I E W R E A R V I E W MDJ-1000V2 M D J - 1 0 0 0 P R O F E S S I O N A L M E D I A C O N T R O L L E R...
- Page 6 C O N N E C T I N G T H E M DJ - 1 0 0 0 V 2 P O W E R Plug the 2 prong power cable into the power input on the back of the MDJ-1000V2 (A), and the other end into Mains power.
- Page 7 VINYL MODE INDICATOR The inner VINYL indicator illuminates when VINYL mode is activated. Once you have connected all your cables, you can turn the MDJ-1000V2’s power on by pressing the POWER (1) button. Pressing the button again will turn the unit off.
- Page 8 (The VirtualDJ software by Atomix offers native support for the MDJ-1000V2 and allows MIDI control, USB audio, and screen support). Pressing the EJECT (16) button will eject the disc from the LINK SLOT-IN CDROM.
-
Page 9: Au To C U E
T E M P O A N D P I TC H set. All songs played from your MDJ-1000V2 will now be at the selected tempo. A D J U S T I N G T E M P O The tempo increases when the pitch slider [26] is moved To turn off, press shift and BPM TAP again. - Page 10 B E AT G R I D SE TTI NG A M AN UA L LOOP The MDJ-1000V2 is able to generate a beat grid by either internal During playback, press LOOP IN (8) at the desired starting analysis or track analysis done in VCASE. A beat grid is used position for the loop (loop in point).
-
Page 11: Viny L Mode
JO GWHEEL START TI ME Adjusting the START TIME (18) jog mode adjustment adjusts the When devices are linked, you will see an icon in the MDJ-1000V2 speed at which playback returns to normal when the top of the display that indicates link status. See the image table below…... -
Page 12: Time Format
M I DI M ODE TIME FORMAT The MDJ-1000V2 has MIDI mode, which allows the data from the buttons and dials of the MDJ-1000V2 to be encoded into MIDI TIME FORMAT toggles the display between ELAPSED or format. -
Page 13: Sound Card
• Select the MDJ-1000V2 as your MIDI device* • Select the MDJ-1000V2 as your AUDIO device* *Refer to DJ software’s instructions SOUN D CARD The MDJ-1000V2 USB audio interface has the following bit depth / sample rate options available… • 24-bit/192kHz •... - Page 14 Settings are stored and loaded from the USB storage device when one is connected. To manually set or recall your settings, use the “Load Settings from MSD” or “Save Settings to MSD” features from your settings page in the MDJ-1000V2. The Gemini VCASE software can also create and set settings data.
-
Page 15: T R O U B L E S H O O T I N G / S P E C I F I C At I O N S
- If a “ERR E-1006 Too many devices” message appears, it is Signal to Noise Ratio..............< 100dB because a USB hub is in use. The MDJ-1000V2 does not work Dynamic Range................> 100dB with USB hubs. Disconnect the USB hub and connect the USB Output Level..............1.0 +/- 0.2V R.M.S. - Page 16 IN THE USA: IF YOU ARE EXPERIENCING PROBLEMS WITH THIS UNIT CALL 1-732-346-0061 FOR INNOVATIVE CONCEPTS AND DESIGN LLC CUSTOMER SERVICE. DO NO ATTEMPT TO RETURN THIS EQUIPMENT TO YOUR DEALER. Parts of the design of this product may be protected by worldwide patents. Information in this manual is subject to changes without notice and does not represent a commitment on the part of the vendor.
Need help?
Do you have a question about the MDJ-1000V2 and is the answer not in the manual?
Questions and answers