Sign In
Upload
Download
Table of Contents
Contents
Add to my manuals
Delete from my manuals
Share
URL of this page:
HTML Link:
Bookmark this page
Add
Manual will be automatically added to "My Manuals"
Print this page
×
Bookmark added
×
Added to my manuals
Manuals
Brands
Euromaid Manuals
Cookers
F96 Series
Manual
Euromaid F96 Series Manual
Freestanding electronic control
Hide thumbs
1
2
3
4
5
6
7
8
9
10
11
12
13
14
15
16
17
18
Table Of Contents
19
page
of
19
Go
/
19
Contents
Table of Contents
Bookmarks
Advertisement
Table of Contents
1
Instructions for Installation
2
Electrical Connection
3
Description of Symbols
4
Instructions for Cooking
5
Desserts(Pastries)
6
Shelf Positions
7
Maintenance and Cleaning
8
Cleaning the Oven Door
Download this manual
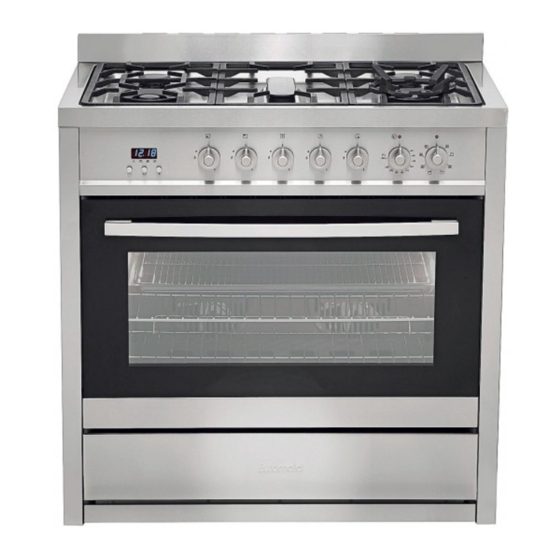
Model EGE9TS/GE9SS
F96 SERIES FREESTANDING COOKERS MANUAL
Electronic control
Instructions for installation and use
Table of
Contents
Previous
Page
Next
Page
1
2
3
4
5
Advertisement
Table of Contents
Need help?
Do you have a question about the F96 Series and is the answer not in the manual?
Ask a question
Questions and answers
Related Manuals for Euromaid F96 Series
Cookers Euromaid EGE9TS User Manual
900mm dual fuel upright stainless / black (25 pages)
Cookers Euromaid FC9PS Installation And Operation Manual
900mm ceramic freestanding cooker stainless steel (36 pages)
Cookers Euromaid F54CW User Manual
540mm separate grill upright cooker (34 pages)
Cookers Euromaid FGO54W User Manual
540mm upright gas cooker (13 pages)
Cookers Euromaid FGO54W User Manual
(28 pages)
Cookers Euromaid UEF54 Installation And Operation Manual
540mm upright electric cooker (13 pages)
Cookers Euromaid UEF54 Installation And Operation Instructions Manual
Single fan forced electric cooker with grill (15 pages)
Cookers Euromaid CUF54 Installation And Operation Instructions Manual
Single fan forced electric cooker with grill (15 pages)
Cookers Euromaid Range User Manual
(12 pages)
Cookers Euromaid SC 1531 Owner's Manual
Single oven electric cooker with grill (17 pages)
Cookers Euromaid CS505 Installating And Operation Manual
500mm upright cooker (17 pages)
Cookers Euromaid GS60NG Installation And Operating Instruction Manual
Single oven gas cooker with grill (20 pages)
Cookers Euromaid SC 205 Installation And Operating Manual
Single oven electric cooker with grill (16 pages)
Cookers Euromaid SC600 Installation And Operation Manual
600mm upright cooker (20 pages)
Cookers Euromaid CWH 405 Installation & Operating Instructions And Cooking Guidance
Single oven electric cooker with grill (16 pages)
Cookers Euromaid GS50NG Installation & Operating Instructions And Cooking Guidance
(24 pages)
This manual is also suitable for:
Ege9ts
Ge9ss
Table of Contents
Print
Rename the bookmark
Delete bookmark?
Delete from my manuals?
Login
Sign In
OR
Sign in with Facebook
Sign in with Google
Upload manual
Upload from disk
Upload from URL


Need help?
Do you have a question about the F96 Series and is the answer not in the manual?
Questions and answers