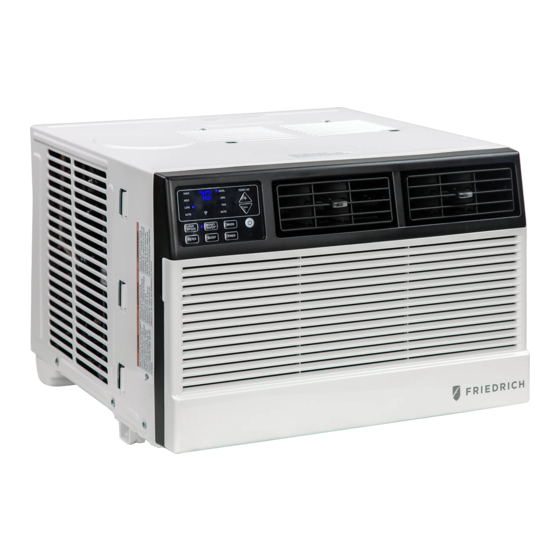
Friedrich CCW06B10B Operating Instructions Manual
Electronic window air conditioner
Hide thumbs
Also See for CCW06B10B:
- Service manual (63 pages) ,
- Installation and operation manual (25 pages) ,
- Service manual (54 pages)
Advertisement
Quick Links
Advertisement

Summary of Contents for Friedrich CCW06B10B
- Page 1 CCW06B10B CCW08B10B CCW10B10A CCW12B10A CEW08B11A CEW12B33A...
- Page 2 INTRODUCTION IMPORTANT SAFETY INSTRUCTION ................ELECTRICAL REQUIREMENTS ................... PACKING LIST ......................INSTALLATION&ASSEMBLY INSTRUCTIONS .............. THROUGH-THE-WALL INSTALLATION INSTRUCTIONS..........USING YOUR AIR CONDITIONER ................OPERATING YOUR AIR CONDITIONER ................ CARE AND CLEANING ....................TROUBLESHOOTING ....................
- Page 4 6K/8K/10K/12K Cooling 12K Heating (6K cooling) 10A time-delay fuse or 8K Heating circuit breaker (8K-12K cooling & 8K heating) 15A time-delay fuse or circuit breaker (12K heating) 20A time-delay fuse or circuit breaker...
- Page 5 3/8" Short Screws 1/2" Length Screws 3/4" Long Screws 5/8" Big Flat Head Bolt and Locknut Sill Angel Bracket 1/2" Small Flat Head Bolt and Locknut Chassis Lock Support Bracket(with R and L remark) Battery...
- Page 6 ALL INFORMATION AND THE TECHNICAL SPECIFICATIONS PRESENTED IN THIS USER’ S MANUAL ARE THE PRESENTATION OF THE MANUFACTURE. PLEASE READ AND FOLLOW THESE INSTRUCTIONS CAREFULLY. Window preparation 1. This air conditioner is designed to be installed In a standard double-hung window with a window width between 23”...
- Page 7 REMOVE FRONT PANEL AND CHASSIS 1. Pull down the front panel and remove the filter. 5. Remove the control panel screw and WI-FI module screw (if available) from the front panel. 2. Lift the front panel upwards to remove and place to the side.
- Page 8 Top Rail Assembly Top Foam Top Rail 1. Place the cabinet on a hard flat surface. 2. Remove top rail from the top form of the packaging material as shown in FIG. A. 3. Align the hole in the top rail with those on the top of the unit as shown in FIG.
- Page 9 Accordion Panel and cabinet Assembly 1.Hold the Accordion Panel in one hand and gently 4.Use two or more people, place the air conditioner pull the center to free the open end. into the window opening so the bottom of the air conditioner frame is against the window sill.
- Page 10 1.Hold each support bracket flush against the outside of the window sill. Tighten each bracket to the bottom of the cabinet as shown. Mark the brackets at top lever of the Bolt and Support bracket window sill and then remove. Locknut Sill angle bracket 4.
- Page 11 5.Extend the side accordion panels out against 7.To secure lower sash in place, attach right angle the window frame as shown. sash lock with 3/4” screws as shown. Sash lock 6.Drive 1/2” locking screws through frame holes, 8.Cut foam seal and insert in the space between and drive one 3/4”...
- Page 12 THROUGH-THE-WALL INSTALLATION INSTRUCTIONS - OPTIONAL The case may be installed through-the-walll as optional. NOTE: The allowed maximum wall thickness is less than Read completely, then follow step-by-step. 8 9/10”. Otherwise, the wall will block the air inlet of NOTE: Obtain all materials locally for mounting the air outdoor side, it will effect the normally operation of unit.
- Page 13 Cool Mode: The cooling function allows the air conditioner to cool the room and at the same time reduces air humidity . Press the MODE button to activate the cooling function. T o optimize the function of the air conditioner, adjust the For Cooling model temperature and the speed by pressing the button indicated.
- Page 14 Directional Louvers: To direct the airflow, 6. Money Saver Button: When the unit is in Money horizontal wheel to control the horizontal direction, Saver mode, the light will turn on. In Money Saver air deflector to control the vertical direction. mode, the unit will turn-off once the room is cooled to the user set temperature.
- Page 15 Power: Turn the air conditioner on and off. This button will clear the TIMER setting. 2. MODE: Press the button to select the mode of operation, AUTO, COOL, DRY, FAN ONLY , HEAT. Note: The HEAT mode is only for some heating models. If you do not need it, press the MODE button for more than 5 seconds to delete the HEAT function, and the COOL mode will be selected automatically.
- Page 16 FIG. 15...


Need help?
Do you have a question about the CCW06B10B and is the answer not in the manual?
Questions and answers