
Related Manuals for NewAir CC-300H


Summary of Contents for NewAir CC-300H
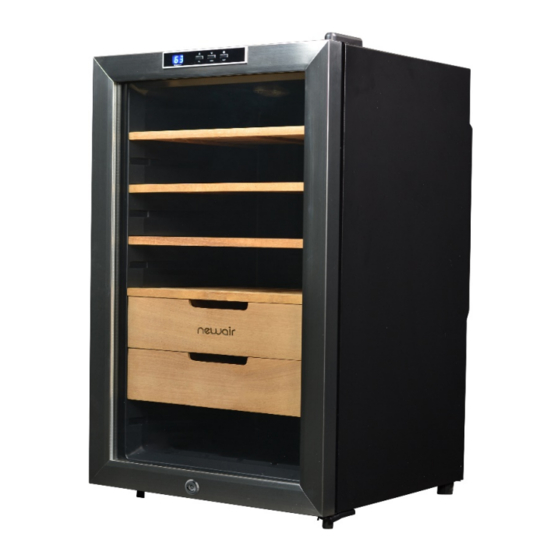
- Page 1 CC-300H Climate Controlled Electronic Humidor OWNER’S MANUAL Read and save these instructions. Manual v1.1...
- Page 2 Count on NewAir. As a proud NewAir owner, welcome to our family. There are no robots here, real people shipped your product and real people are here to help you.
-
Page 3: Table Of Contents
Safety Information & Warnings ................5 Installation ......................7 Operating Instructions ..................9 Cleaning & Maintenance ..................10 Cigar Storage Guide ................... 11 Troubleshooting ....................12 Limited Manufacturer’s Warranty ..............14 SPECIFICATIONS CC-300H ODEL 50W / 1A OWER ONSUMPTION 110-120V AC/ 60Hz ATED OLTAGE... -
Page 4: Register Your Product Online
REGISTER YOUR PRODUCT ONLINE Register Your NewAir Product Online Today! Take advantage of all the benefits product registration has to offer: Service and Support Diagnose troubleshooting and service issues faster and more accurately Recall Notifications Stay up to date for safety, system updates and recall notifications... -
Page 5: Before First Use
Do not store or use gasoline or any other flammable vapors and liquids near this or any other appliance. • Do not store perishable foods in the cigar humidor, as the interior temperature will not be low enough to prevent food spoilage. newair.com... - Page 6 Never cut or remove the ground wire from the supplied power cord. • The use of an extension cord is not recommended. • The cord should be secured behind the humidor. Also, to prevent • accidental injury, do not expose or dangle the cord. newair.com...
-
Page 7: Installation
Leave the door open and allow it to air dry thoroughly. If a “plastic” smell persists, place a dish of baking soda in the unit or stuff the humidor with newspapers overnight. When finished, let the unit run a full day to complete the airing out process. newair.com... - Page 8 If it drops too much, you can use the same seasoning method to bring it back up. During this entire process, it is recommended to not open the door unnecessarily, as this lets moisture escape and can delay the process. newair.com...
-
Page 9: Operating Instructions
After turning on the cigar humidor, the LED display will show the ambient temperature first, and then the internal cabinet temperature. After you set the desired temperature, this set temperature will flash for 5 seconds on the display and then revert back to the internal cabinet temperature. newair.com... -
Page 10: Cleaning & Maintenance
• Securely tape down all loose parts located inside the unit. • Turn the leveling feet up to the base in order to avoid damage. • Tape the door shut. • Be sure the humidor stays in an upright position during transportation. newair.com... -
Page 11: Cigar Storage Guide
• Check cigars regularly for signs of tobacco beetles and mold, and take preventative measures if necessary. • Properly stored cigars can improve with age for as long as 5-10 years, and can be kept even longer in ideal conditions. newair.com... -
Page 12: Troubleshooting
The door is not Make sure the door is closed completely. closed securely. The door seal does Replace the seal on the not seal properly. door. Replacements can be acquired from the NewAir customer support department. newair.com... - Page 13 5 inches clearance clearance. between the back of the unit and any adjacent walls. The light does not There may be a Contact the NewAir work. problem with the customer support display board. department. The humidor The unit is not sitting Make sure the unit’s feet...
-
Page 14: Limited Manufacturer's Warranty
When making a warranty claim, please have the original bill of purchase with purchase date available. Once confirmed that your appliance is eligible for warranty service, all repairs will be performed by a NewAir™ authorized repair facility. The purchaser will be responsible for any removal or transportation costs.
Need help?
Do you have a question about the CC-300H and is the answer not in the manual?
Questions and answers