Advertisement
Table of Contents
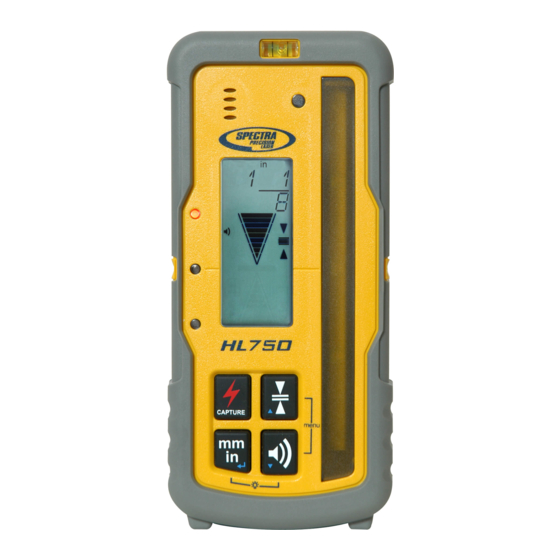
Pairing HL750 + HL750
Before using one HL750 as a receiver and the second one as a remote
display, both receivers have to be paired. (required only once for each
device)
Identification code of the paired device is stored in memory.
Please follow the pairing steps on both receivers as shown on the next
slides.
10.02.2015
1
Advertisement
Table of Contents

Related Manuals for Spectra Precision HL750


Summary of Contents for Spectra Precision HL750
- Page 1 Pairing HL750 + HL750 Before using one HL750 as a receiver and the second one as a remote display, both receivers have to be paired. (required only once for each device) Identification code of the paired device is stored in memory.
- Page 2 Pairing HL750 + HL750 Turn on the receivers, then press and hold the Scroll up and Scroll down buttons for two seconds. After two seconds, the display on both receivers shows MENU first, then RDIO Press and release the Enter button –...
- Page 3 Pairing HL750 + HL750 If not already set to HL, press Enter button, then press Scroll up or scroll down button until HL is displayed. Press Enter (unit) button again to enter selection then press the Scroll down button until PAIR is displayed.
- Page 4 PANEL Turn on the HL750 that is desired to be the SENSOR first. Turn on the HL750 that is desired to be the REMOTE DISPLAY / CONTROL PANEL second. RMT.D – OK (flashing) will be displayed. ...
- Page 5 HL750: General Operation When working as a remote display, an antenna symbol is permanently turned on. During REMOTE DISPLAY / CONTROL PANEL operation, RMT.D is displayed. The Unit will remotely display the elevation readings of the SENSOR, as long as the Antenna symbol shows the two are within radio range of each other up to 80 meters (260 ft).
Need help?
Do you have a question about the HL750 and is the answer not in the manual?
Questions and answers