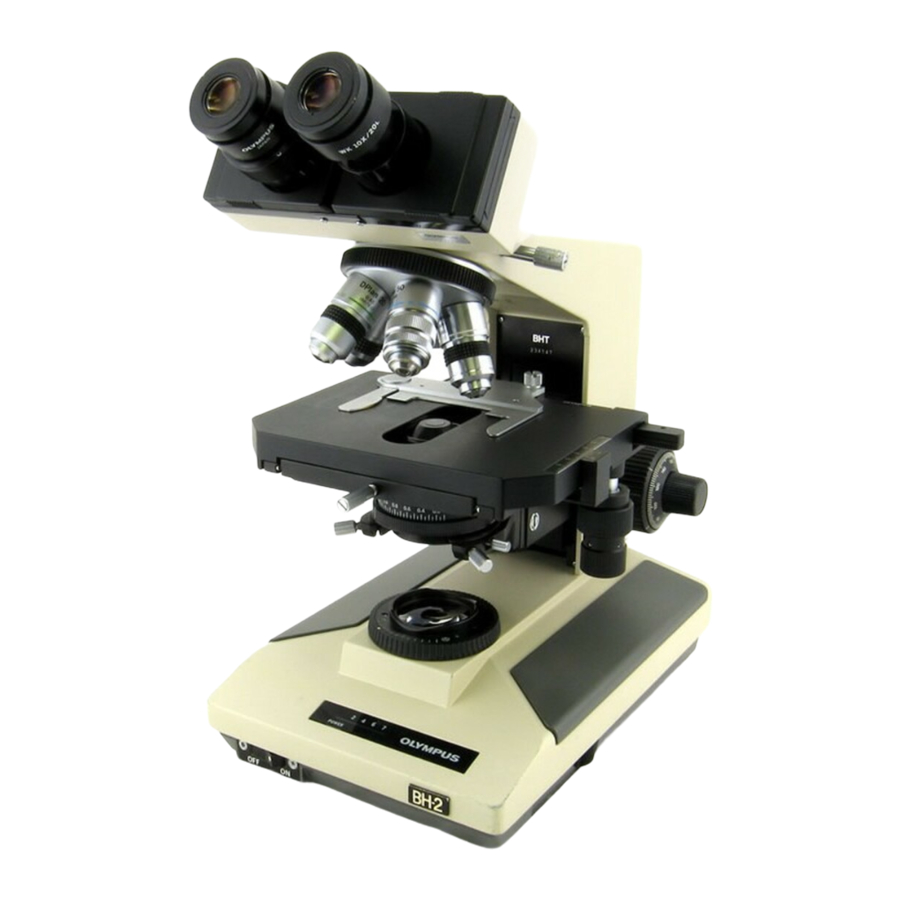
Olympus BH-2 Installation Manual
Hide thumbs
Also See for BH-2:
- Repair manual (104 pages) ,
- Troubleshooting & adjustment manual (46 pages) ,
- Teardown, cleaning and reassembly (45 pages)
Advertisement
Quick Links
2021/10/12 04:32
Olympus BH-2 Microscope Motor Drive
Installation
Motor Drive Installation
This procedure steps you through the installation and alignment of the ASI motor drive onto the
Olympus BH-2 microscope. The following tools are required for this procedure:
Small knife or screwdriver
2.5 mm Allen wrench ( Provided )
3.0 mm Allen wrench ( Provided )
1.5 mm Allen wrench ( Provided )
3/32 mm Allen wrench ( Provided )
5/64 mm Allen wrench ( Provided )
7/64 mm Allen wrench ( Provided )
9/64 mm Allen wrench ( Provided )
1/16 mm Allen wrench ( Provided )
Preparing The Microscope
In this part of the procedure the left fine focus knob will be removed from the microscope:
Prior to removing left fine focus knob, the microscope stage should be fully lowered. To do this,
release the lock by rotating fully counter-clockwise the lock ring behind the left coarse focus knob,
then rotate the coarse knob to lower the stage all the way down.
Applied Scientific Instrumentation - https://asiimaging.com/docs/
1/9
Note: the terms left and right refer to the sides of the
microscope as viewed from the front.
Olympus BH-2 Microscope Motor Drive Installation
Advertisement

Subscribe to Our Youtube Channel
Related Manuals for Olympus BH-2


Summary of Contents for Olympus BH-2
- Page 1 Motor Drive Installation This procedure steps you through the installation and alignment of the ASI motor drive onto the Olympus BH-2 microscope. The following tools are required for this procedure: Small knife or screwdriver 2.5 mm Allen wrench ( Provided ) 3.0 mm Allen wrench ( Provided )
- Page 2 Last update: 2021/09/23 17:15 oly_bh2_zdrive_installation https://asiimaging.com/docs/oly_bh2_zdrive_installation 1) Carefully slip the knife point into the inside edge of the left fine focus knob end and pry out the 20mm black disk that covers the fine focus knob attachment screw. 2) Remove the left fine focus knob by first removing the attachment screw using the 2.5mm hex wrench then pulling the knob off...
- Page 3 2021/10/12 04:32 Olympus BH-2 Microscope Motor Drive Installation Back Plate Drive Assembly In this step we will install the ASI backplate and motor drive assembly as a unit. The ASI backplate will be installed and clamped to the back of the microscope as shown only after the motor drive is clamped onto the fine focus shaft of the microscope.
- Page 4 Last update: 2021/09/23 17:15 oly_bh2_zdrive_installation https://asiimaging.com/docs/oly_bh2_zdrive_installation Vertical adjustment screws Installing the Drive & Brass Clutch Plate Use the 7/64 Allen wrench to loosen the clamp that is located on the ASI drive shaft. This clamp is located at the end of the drive shaft as it protrudes out of the black encoder cover. Once the clamp is loose slide it back towards the encoder and slide the brass clutch plate onto the ASI drive shaft.
- Page 5 2021/10/12 04:32 Olympus BH-2 Microscope Motor Drive Installation Slide ASI drive over fine focus shaft Press clamp & clutch plate firmly against microscope Applied Scientific Instrumentation - https://asiimaging.com/docs/...
- Page 6 Last update: 2021/09/23 17:15 oly_bh2_zdrive_installation https://asiimaging.com/docs/oly_bh2_zdrive_installation Securely Tighten Clamp Clutch & Drive Securely Tightened Aligning the drive After installing & securing the drive and brass clutch plate to the focus shaft of the microscope the back plate can be positioned and secured. Position the back plate to a point midway along the slots for the two vertical adjustment screws and secure it in place by tightening the set screw to depress https://asiimaging.com/docs/ Printed on 2021/10/12 04:32...
- Page 7 2021/10/12 04:32 Olympus BH-2 Microscope Motor Drive Installation the clamp on side of the microscope. Position back plate so that vertical adjustment screws are midway in slots Use the 5/64” Allen Wrench to tighten the Base plate clamp at a point where the vertical adjustment screws are midway in the slots After securing the back plate check for proper drive alignment be rotating the right fine focus knob.
- Page 8 3) Plug in the power cord / power supply This completes the steps necessary to interconnect the ASI motor drive, focus controller and computer. Please refer to the operation section of this manual before using the unit zdrive, olympus, bh-2 https://asiimaging.com/docs/...
- Page 9 2021/10/12 04:32 Olympus BH-2 Microscope Motor Drive Installation From: https://asiimaging.com/docs/ - Applied Scientific Instrumentation Permanent link: https://asiimaging.com/docs/oly_bh2_zdrive_installation Last update: 2021/09/23 17:15 Applied Scientific Instrumentation - https://asiimaging.com/docs/...
Need help?
Do you have a question about the BH-2 and is the answer not in the manual?
Questions and answers