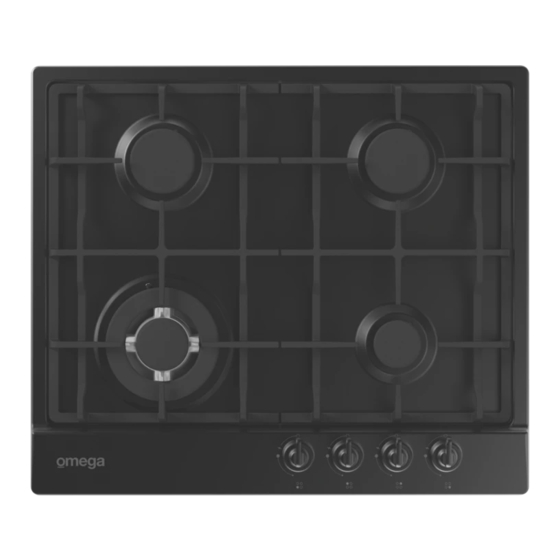
Summary of Contents for Omega OCG64XTGG
- Page 1 Instruction Manual Gas Cooktop OCG64XTGG OCG64FFETGG OCG604XCOM OCG604FFECOM OCG604X...
- Page 2 Thank you for purchasing an Omega appliance Tailored for the modern aesthetic and lifestyle of busy people, your new Omega Appliance will make a welcome addition to the family. Omega caters to style-savvy customers who look for balance between stunning form and clever function.
-
Page 3: Table Of Contents
The manufacturer will not be responsible for any damage to property or to persons caused by incorrect installation or improper use of the appliance. Due to continual product development, Omega reserves the right to alter specifications and appearances without notice. -
Page 4: Important Safety Warnings
Important Safety Warnings IMPORTANT: Read the assembly instruction section and safety precautions of this booklet carefully before removing the contents of this carton. 1. This appliance is not intended for use by persons (including children) with reduced physical, sensory or mental capabilities, or lack of experience or knowledge, unless they have been given supervision or instruction concerning the use of the appliance by a person responsible for their safety. -
Page 5: Appliance Details
Appliance Details Gas Type: ULPG Burner Pressure: 2.75 kPa 1.00 kPa Injector Injector MJ/hr Rating MJ/hr Rating Diameter Diameter Auxiliary Burner Ø0.55 mm 4.0 MJ/ hr Ø0.90 mm 4.0 MJ/ hr Semi-Rapid Burner Ø0.70 mm 6.3 MJ/ hr Ø1.10 mm 6.0 MJ/ hr Wok Burner Ø0.98 mm... -
Page 6: Gas Connections
Gas Connections LOCAL AUTHORITY REQUIREMENTS Check Gas Type and specifications plate placed on the bottom face of the unit. All gas fitting work, service and repairs can only be performed by an authorized person in accordance with the current edition of AS/NZS5601 and local gas regulations. - Page 7 This operation can only be performed by an authorized person. Remove the gratings and the burner covers; Using a spanner, replace the nozzle injectors “J” (Fig.20) with either Natural Gas sized injectors or LPG sized injectors. Ensure you replace the corresponding gas type label on the appliance after conversion.
-
Page 8: Test And Adjusting Gas Pressure
Test And Adjusting Gas Pressure NATURAL GAS – Appliance test point located at the regulator The supplied regulator must be fitted to the appliance inlet connection. Gas pressure must be adjusted to 1.0 kPa when approximately 50% of the burners are on a high setting. UNIVERSAL LPG –... -
Page 9: Electrical Connections
Electrical Connections LOCAL AUTHORITY REQUIREMENTS Installation is only permitted by an authorized person, and carried out according to instructions provided by the manufacturer. Incorrect installation might cause harm and damage which the manufacturer accepts no responsibility. The electrical connection can be found 30mm in from the rear edge and 280mm from the left hand side (looking from the front). - Page 10 The fixture has to be made according to specific requirements in order to prevent the gas burners from going out, even when the flame is turned down to minimum, due to pressure changes while opening or closing the cupboard doors. When the hob is installed above a cupboard with doors, a separate panel must be installed underneath it.
-
Page 11: Operating Instructions
Operating Instructions IGNITING THE BURNERS The knob on your gas cooktop controls both ignition and the safety device. Proceed as follows to ignite the burners: Press down & turn the knob for the burner you would like to use. Keep the knob strongly pressed in for approximately 1 second to allow the ignitor to light the gas, and allow the thermocouple to heat up. -
Page 12: Cleaning And Storage
Cleaning and Storage Please follow the maintenance & cleaning guidelines below to keep your Omega cooktop in good working order. The cooktop should be cleaned regularly with all stains and boil overs being cleaned up. Do not allow stains and boil overs to become burnt onto the appliance. -
Page 13: Maintenance
Maintenance Clean burner tops and trivets at least once a week, or after any spillage. Check injectors are not blocked and the electrode and probe are clean. Gas inlet pipes should be checked periodically for leakages (see section on leak testing) a minimum of every 12 months. -
Page 14: Notes / Service History
Notes / Service History... -
Page 15: Australian & New Zealand Product Warranty Statements Of Standard Warranty Conditions
The Damage which occurs during delivery or installation. product will be repaired or replaced at the option of Omega, and 10. Claims to product surface coating due to liquid or solid spill- all costs of installation, removal, cartage, freight travelling overs, accidental damage or damage caused from cleaning expenses and insurance are to be paid by the customer. - Page 16 IM Rev1.6...


Need help?
Do you have a question about the OCG64XTGG and is the answer not in the manual?
Questions and answers