Advertisement
Available languages
Available languages
Quick Links
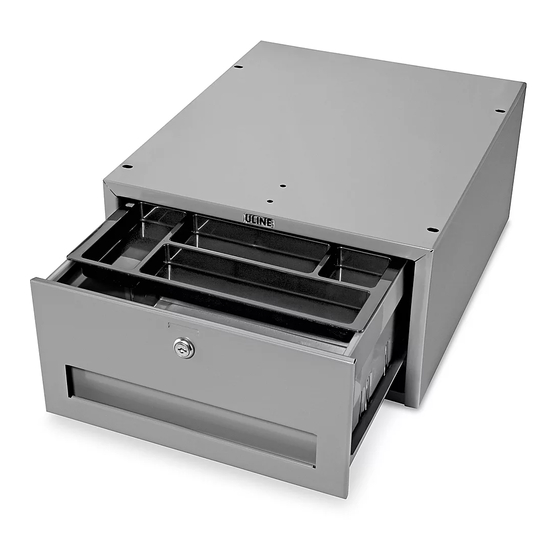
H-1550
PACKING TABLE
DRAWER
TOOLS NEEDED
Flathead Screwdriver
Phillips Screwdriver
7/16" Wrench
Drill and 5/32" Drill Bit
(if attaching to wood top)
ATTACHING TO STEEL TOP
NOTE: Mounting channels are included with
the steel top. Channels may extend past the
drawer assembly.
Mounting Channels
1. To free drawer from housing, fully extend the drawer
from the housing. Flip one plastic tab on the sliding
rails up and the second plastic tab on the sliding
rails down. Drawer is now unlocked from housing
and can be removed. (See Figure 1)
Drawer
Figure 1
PAGE 1 OF 6
1-800-295-5510
uline.com
ASSEMBLY
Tab
Pour le français, consulter les pages 5-6.
Some parts may have sharp edges.
Care must be taken when handling pieces
to avoid injury. For your safety, wear a pair
of work gloves when assembling.
2. Turn the packing table over. On the underside of
the table, slide mounting channels front to back
into table flanges. When channels are aligned,
mounting holes should be approximately 14½"
apart. Secure each channel with two 1/4"-20 x 5/8"
bolts.
3. Attach the drawer housing to the mounting
channels using four 1/4"-20 x 1/2" bolts.
(See Figure 2)
Figure 2
4. Insert the drawer and turn the packing table right
side up. Cycle the drawer in and out a few times to
check operation.
NOTE: The drawer and suspension have a
70 lb. weight capacity.
Para Español, vea páginas 3-4.
0621 IH-1550
Advertisement

Related Manuals for U-Line H-1550


Summary of Contents for U-Line H-1550
- Page 1 Para Español, vea páginas 3-4. Pour le français, consulter les pages 5-6. H-1550 1-800-295-5510 uline.com PACKING TABLE DRAWER TOOLS NEEDED Flathead Screwdriver Phillips Screwdriver Some parts may have sharp edges. Care must be taken when handling pieces to avoid injury. For your safety, wear a pair 7/16"...
- Page 2 ASSEMBLY CONTINUED ATTACHING TO NON-STEEL TOP Figure 5 1. To free drawer from housing, fully extend the drawer from the housing. Flip one plastic tab on the sliding rails up and the second plastic tab on the sliding rails down. Drawer is now unlocked from housing and can be removed.
-
Page 3: Herramientas Necesarias
H-1550 800-295-5510 uline.mx CAJÓN PARA MESA DE TRABAJO HERRAMIENTAS NECESARIAS Desarmador Plano Desarmador de Cruz Algunas partes pueden tener bordes filosos. Se debe tener cuidado al manejar las piezas para evitar lesiones. Para su seguridad, use guantes Llave de 7/16"... - Page 4 CONTINUACIÓN DE ENSAMBLE INSTALACIÓN EN UNA CUBIERTA QUE NO SEA Diagrama 5 DE ACERO 1. Para liberar el cajón de la cubierta, extienda por completo el cajón de la cubierta. Levante una de las pestañas de plástico y baje la otra de los rieles deslizantes.
-
Page 5: Outils Requis
H-1550 1-800-295-5510 uline.ca TIROIR POUR TABLE D'EMBALLAGE OUTILS REQUIS Tournevis plat Tournevis cruciforme Certaines pièces peuvent avoir des bords tranchants. Faites attention lorsque vous manipulez les pièces afin d'éviter les Clé de 7/16 po Mèche de perceuse de 5/32 po et perceuse blessures. - Page 6 MONTAGE SUITE FIXATION À UNE SURFACE AUTRE QU'EN ACIER Figure 5 1. Pour libérer le tiroir du compartiment, sortez le tiroir complètement. Tournez une des languettes en plastique situées sur les glissières vers le haut et la deuxième vers le bas. Le tiroir est alors dégagé et peut être retiré...
Need help?
Do you have a question about the H-1550 and is the answer not in the manual?
Questions and answers