
Related Manuals for Concept Pro VXH5AHD-4


Summary of Contents for Concept Pro VXH5AHD-4
- Page 1 VXH5AHD-4 VXH5AHD-8 VXH5AHD-16 DIGITAL VIDEO RECORDER QUICK START GUIDE Technical Documents VXH5AHD QUICK START GUIDE...
-
Page 2: What's In The Box
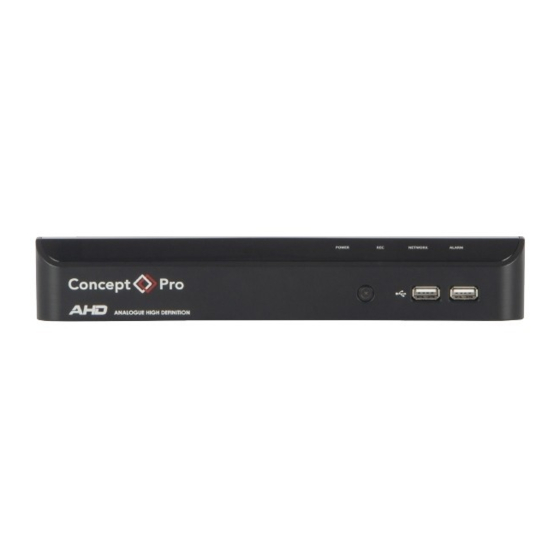
HDD Mounting Gaskets x5 (x10) Remote Control Batteries x2 Cable Clamp x1 Cable Clamp Screws x2 8-Pin Terminal Block x2 (8/16CH) Technical Documents INSTALLATION Back Panel VXH5AHD-4 VXH5AHD-8 VXH5AHD-16 Name Description VIDEO IN BNC analogue video input terminals for analogue cameras. AUDIO IN RCA audio inputs for audio devices such as microphones. - Page 3 INSTALLATION Camera Speaker SPOT MONITOR IP Router MONITOR MONITOR DC 12V or HUB Alarm Sensor Control Power Devices • Cable quality and distance may directly affect video quality. Consult an authorised installer. 720P COAX (RG59) UP TO 500M UP TO 500M UP TO 500M CAT5e UP TO 200M UP TO 305M UP TO 350M CAT6 UP TO 200M UP TO 305M UP TO 350M...
-
Page 4: Getting Started
GETTING STARTED Network Setup Wizard The Network Setup Wizard will help configure important network settings when the device is first booted up. Log in The log-in screen will appear after the system boots up. Select a user ID and enter the corresponding password. The default user ID is “ADMIN” and the default password is “1234”. Click <OK>. - Page 5 GETTING STARTED Status Bar: The status bar can be used in addition to the included remote control to access key features. Icon Description Icon Description [MENU] Select system setup, record [ZOOM] Move to the Digital Zoom screen. setup, search, and archiving menus.
- Page 6 AUTOMATIC RECORDING PROFILES 1. Press [MENU] on the remote control and use the direction buttons to select <RECORD SETUP>, then press [ENTER]. Alternatively, select <MENU> - <RECORD SETUP> from the status bar. 2. Set <RECORD SETUP MODE> to <AUTO CONFIGURATION> and select a desired recording profile: • CONTINUOUS RECORD: Always record video.
-
Page 7: Searching Recorded Video
SEARCHING RECORDED VIDEO 1. From the <SEARCH> menu, select <TIME SEARCH>. 2. Specify the date and time from the calendar. 3. Identify the type of recording data by the colour in the bar. • Light Green: Pre-Recording • Green: Continuous Recording • Blue: Motion Recording • Red: Alarm Recording • Yellow: Panic Recording... - Page 8 Some Concept Pro cameras come equipped with video analytics functionality, including line crossing, area entrance/exit, loitering, stopped, and object removed detection, that can be used from the Concept Pro suite of recorders. To use video analytics, you must first ensure the license is recognised by the recorder. To do this, first connect the camera to the Concept Pro recorder over the network. Then, through the recorder user interface, navigate to <MENU>...
- Page 9 ARCHIVING RECORDED VIDEOS 1. Click <MENU> and select <ARCHIVING>. This can be selected from either the Live or Playback screens. From <ARCHIVING>, select <NEW ARCHIVING>. 2. Select a date for the archive from the calendar to the left. Any dates containing recorded data will be coloured boxes. FIRST: Automatically select the first date with recorded video.
- Page 10 ARCHIVING RECORDED VIDEOS 5. To export to an external USB storage device, connect the device to the DVR and click <EXPORT>. 6. To reserve the data, click <RESERVE>. Enter a <TAG NAME> and click <OK>. Click <RESERVE> to save the archive to the internal hard disk. • Reserved data will not be erased by the DVR, even if it is set to overwrite mode.
-
Page 11: App Setup
Concept Pro Viewer SEQURINET REGISTER / LOGIN You will need to register your details with Sequrinet to set up any recording devices. You can login or set up your Securinet account with the Concept Pro App. Already registered? Complete the fields Click OK. -
Page 12: Dvr Setup
ACCESSING FROM THE VIEWER APP Connect to router or switch with router attached via a network patch cable. Navigate to the network menu in the recorder and either select DHCP or alternatively statically assign a valid IP address for your local network. Apply all settings and select Close DVR SETUP Select Menu at the bottom left hand corner of the screen and select Sequrinet at the... - Page 13 NOTES VXH5AHD QUICK START GUIDE...
- Page 14 NOTES VXH5AHD QUICK START GUIDE...
- Page 15 NOTES VXH5AHD QUICK START GUIDE...
- Page 16 S1530AU01_Rev01 VXH5AHD QUICK START GUIDE...
Need help?
Do you have a question about the VXH5AHD-4 and is the answer not in the manual?
Questions and answers