Sign In
Upload
Download
Table of Contents
Contents
Add to my manuals
Delete from my manuals
Share
URL of this page:
HTML Link:
Bookmark this page
Add
Manual will be automatically added to "My Manuals"
Print this page
×
Bookmark added
×
Added to my manuals
Manuals
Brands
ICANCLAVE Manuals
Laboratory Equipment
STE-18-T
Instruction manual
ICANCLAVE STE-18-T Instruction Manual
Hide thumbs
1
2
Table Of Contents
3
4
5
6
7
8
9
10
11
12
13
14
15
16
17
18
19
20
21
22
23
24
25
26
27
page
of
27
Go
/
27
Contents
Table of Contents
Troubleshooting
Bookmarks
Table of Contents
Table of Contents
General
Scope of Manual
Intended Use
General Safety Instructions
Standards and Directives
Symbols
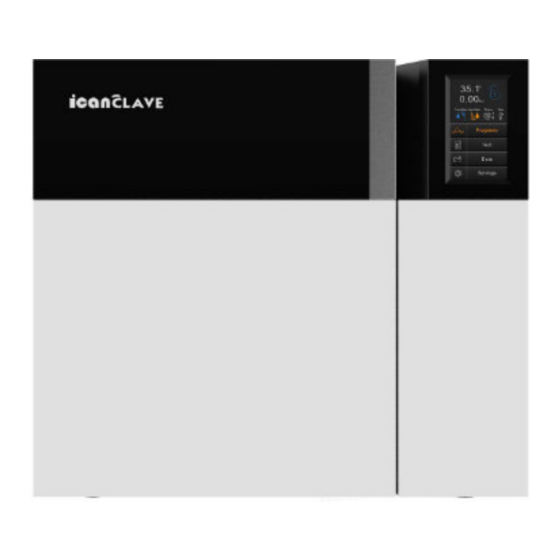
Description of the Sterilizer
Control Panel
Sterilizer Views
Technical Specification
Packing Content
Installation
General Conditions
Power Supply Connection
Location Requirements
Setup
Fill the Distilled Water Tank
Preparation of the Sterilization Materials
Basic Set
Advance Set
Operation
Select the Program
Start the Sterilization Program
End of Cycle
Manually Interruption of the Cycle
Delay Start Cycle
Test Program
Descale
Data
Print Report
Print Labels
Save Report
Maintenance
Clean the Distilled Water Tank
Replacement of the Bacteriological Filter
Door Adjustment
Replacement of the Door Seal Ring
The Drain Valve
Troubleshooting
Transportation and Storage
Safety Devices
Appendix 1
Water Properties/Characteristics
11. Appendix
Diagrams of the Sterilization Programs
Advertisement
Quick Links
1
General
2
Technical Specification
3
Troubleshooting
Download this manual
Instructions Manual
For Models: STE-18-T
STE-23-T
Table of
Contents
Previous
Page
Next
Page
1
2
3
4
5
Advertisement
Table of Contents
Need help?
Do you have a question about the STE-18-T and is the answer not in the manual?
Ask a question
Questions and answers
Related Manuals for ICANCLAVE STE-18-T
Laboratory Equipment ICANCLAVE STE-8-D Instruction Manual
(25 pages)
Laboratory Equipment ICANCLAVE STE-12-D Instruction Manual
(25 pages)
Laboratory Equipment ICANCLAVE STE-18-D Instruction Manual
(25 pages)
Laboratory Equipment ICANCLAVE STE-18-D Pro Instruction Manual
(25 pages)
Laboratory Equipment ICANCLAVE STE-23-D Instruction Manual
Steam sterilizers (23 pages)
Laboratory Equipment ICANCLAVE STE-29-D Instruction Manual
(25 pages)
Laboratory Equipment ICANCLAVE STE-23-T Instruction Manual
(27 pages)
This manual is also suitable for:
Ste-23-t
Table of Contents
Print
Rename the bookmark
Delete bookmark?
Delete from my manuals?
Login
Sign In
OR
Sign in with Facebook
Sign in with Google
Upload manual
Upload from disk
Upload from URL


Need help?
Do you have a question about the STE-18-T and is the answer not in the manual?
Questions and answers