Advertisement
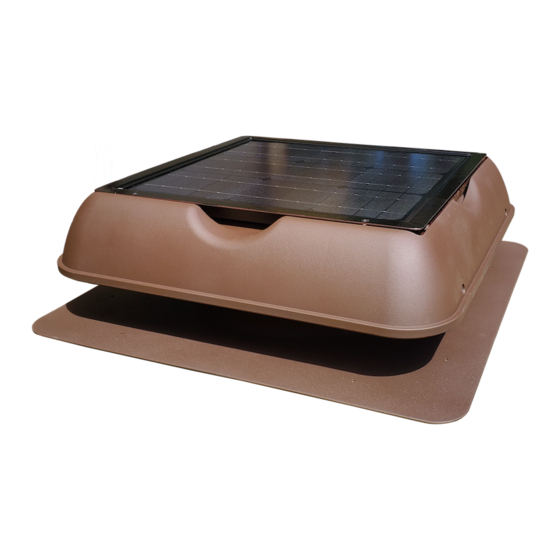
SOLAR ROYAL SR1800 QUICK INSTALL GUIDE
Thank you for purchasing a Solar Royal SR1800. The following is a quick guide to installing your attic fan. You may find the full
installation guide at manual.solarroyal.com. Please make sure to register your product, as this is necessary for activating your
warranty. Once again, it is crucial that the end user registers the products installed within ninety days or your product will not be
covered by our warranty. You may register with the enclosed form or online at reg.solarroyal.com.
Prior to the Installation:
Tools Required:
• Safety Goggles
• Measuring Tape
• Marking Pencil
• Utility Knife
• Screws (Provided)
• Caulk (MP1 or similar)
Set Up Note:
Prior to installation, please check the cabling for the thermostat (thermoball).
Please be careful to ensure the wiring is properly placed in the wiring channel
and the sliding clip is secure. If it is not properly placed, the cable can be damaged,
cut or become tangled into the motor. We recommend utilizing a piece of heavy duty
tape to secure the clip to ensure it will not move over time. See images to the right.
Installing an attic fan is fairly easy but Solar Royal, LLC recommends that if you have
no experience working with these materials or are not familiar with working on a
roof, you should hire an insured and bonded professional to install anything on your
roof, including a solar attic fan.
Step 1: Measure and Cut the Hole
On either 24" or 16" center construction, we recommend cutting a 15" round hole between the rafters. We recommend installing
the SR1800 between the rafters but if not possible it is OK to install the SR1800 over a rafter.
Measuring the hole
Step 2: Insert the Flashing
Once the hole as been made, trim away shingles as needed to accommodate the metal base flashing so that you have a clean and
tight fit. Normally, if you cut a clean 15" hole, we recommend trimming away from the top rows of shingles an additional 1" (one
inch) to allow the base flashing to slip under the top row(s) of shingles and over the bottom row(s). Slip the flat metal base under
the top rows of shingles and center the unit over the opening. The base is square so it does not matter which side is installed first.
Before attempting to slide in the flashing, remove any roofing nails or other obstructions. Avoid scratching the powder-coating.
Removing
obstructions
• Stud Finder
• Drill w/Phillips Bit
• Flat Pry Bar
• Caulk Gun
• Reciprocating Saw
• String and 2 Nails (Recommended)
Improperly Cabled
Properly Cabled
The hole cut out
Flashing after
sliding in
Advertisement
Table of Contents

Related Manuals for Solar Royal SR1800


Summary of Contents for Solar Royal SR1800
- Page 1 SOLAR ROYAL SR1800 QUICK INSTALL GUIDE Thank you for purchasing a Solar Royal SR1800. The following is a quick guide to installing your attic fan. You may find the full installation guide at manual.solarroyal.com. Please make sure to register your product, as this is necessary for activating your warranty.
- Page 2 Also if you want to have your solar panel at an angle - remember to take into consideration where and how the hood is placed down, in the event angling the panel is required. The SR1800 when placed on the base is slightly off and not exactly squared with the metal base unit until the unit is (turned to the left) clicked into place.
Need help?
Do you have a question about the SR1800 and is the answer not in the manual?
Questions and answers